
Hey cardmaking friends.
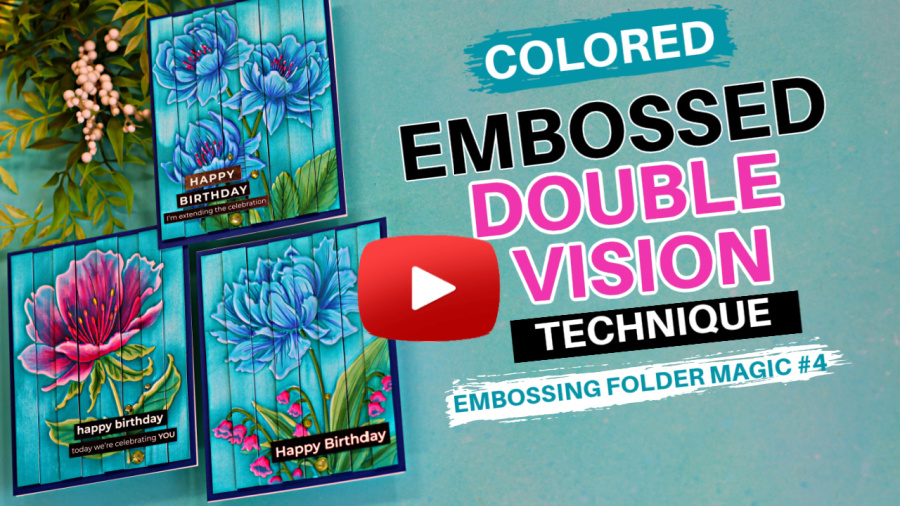
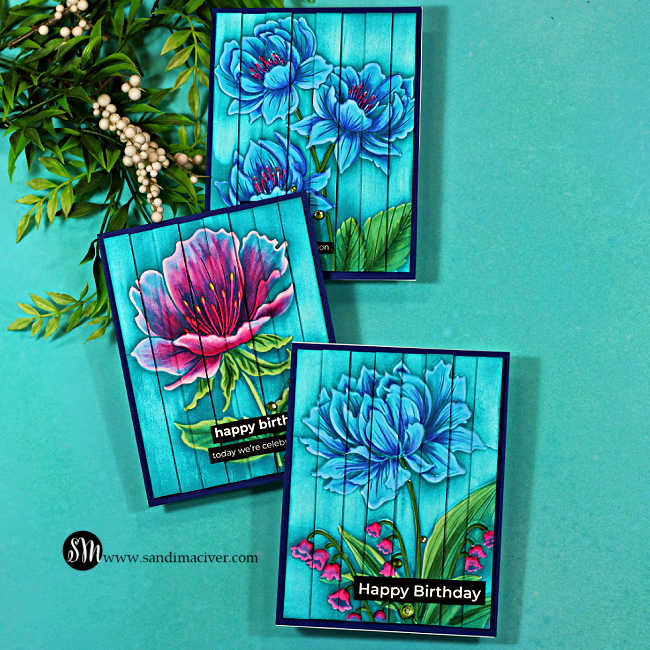
As promised, I have a brand- new video for you today! I took last week’s Embossed Double Vision Technique Video, and gave it a colorful makeover using the same Peony and Bells Embossing Folder. Then I took it a step further by combining it with the Blackout Technique to create an even more dramatic effect.
But, I didn’t stop there! I used the same colors with two more newly released embossing folders from Simon Says Stamp to create two additional cards, showing just how versatile this amazing technique really is.
What I love most about this combination is that you don’t have to be an artist, and you certainly don’t have to be an expert at coloring. The technique is incredibly forgiving and makes it easy for anyone to create cards that look beautifully detailed and professionally colored.
I hope you enjoy this new technique as much as I do and that you’ll give it a try! If you do, I’d love to see which embossing folders you choose for your own creations.
Products used for the Colored Embossed Double Vision Technique Cards:
Peony and Bells Embossing Folder
Peony Trio Embossing Folder
Curvy Blossom Embossing Folder
Sprout Dazzling Gems
Reverse Birthday EZ Strips
How to create the Colored Embossed Double Vision Technique with Embossing Folders:
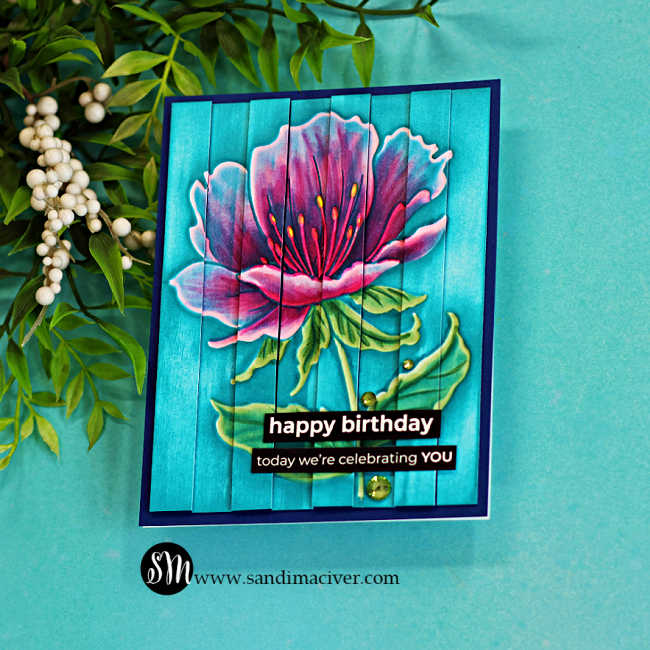
Begin by embossing a panel of white cardstock trimmed to 4″ x 5-1/4″.
Flip the panel over to the debossed side and color the image with Copic markers as shown in the video.
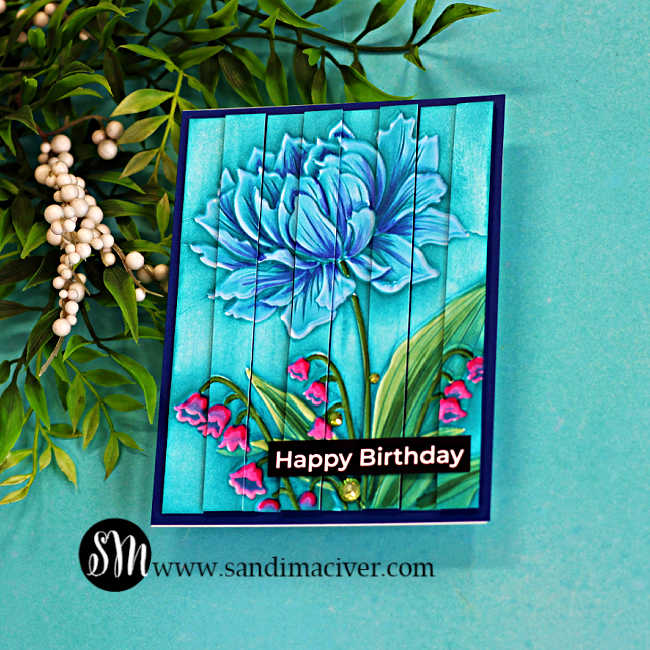
Next, drag the Ocean Ink Pad across the surface several times until you achieve a streaky, barnwood” style background.
Using a paper trimmer, cut the embossed panel into 1/2″ strips.
Attach the strips to a 4″ x 5-1/4″ panel of Cosmic Sky cardstock. Use foam strips on the raised strips and liquid glue on the flat strips to create the dimensional “Double Vision” effect.
PROTIP: – In this video, I share an easy way to line up the strips so they are perfectly spaced and uniform every time.
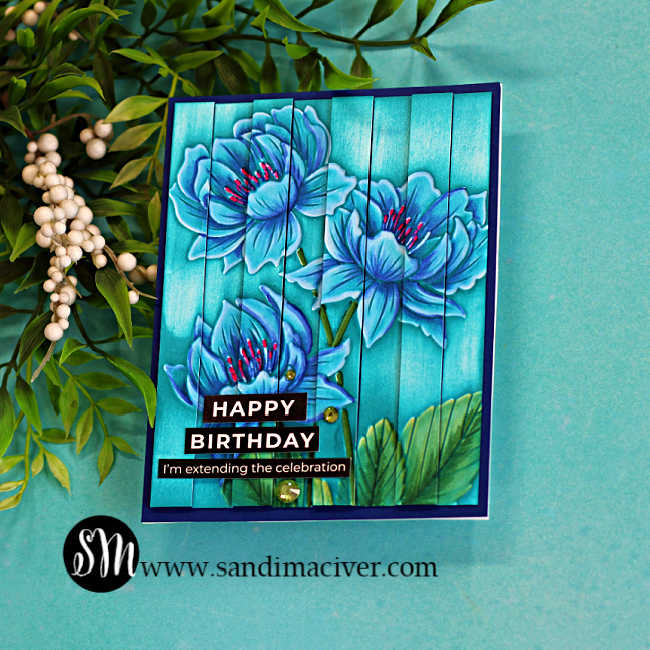
Create a white A2-sized top-folding card base and attach a 4-1/4″ x 5-1/2″ panel of Cosmic Sky cardstock to the front.
Finish the card by adding a sentiment in the lower right corner and embellishing with Sprout Dazzling Gems for a touch of sparkle.
Here’s today’s Colored Embossed Double Vision Technique with Embossing Folders Video:
I hope you enjoy it! If you do, I’d greatly appreciate a thumbs up and would love for you to share it with your crafty friends. Leaving a kind comment and shopping through my affiliate links are wonderful ways to support my channel and help me continue creating free cardmaking tutorials like this one.


Never Miss a Cardmaking Tutorial
Subscribe to my blog and get the latest cardmaking ideas, tutorials, and inspiration delivered straight to your inbox — plus access to exclusive content and updates you won’t want to miss!

Visit my YouTube channel for 270+ cardmaking tutorials, techniques, and creative ideas to inspire your next project
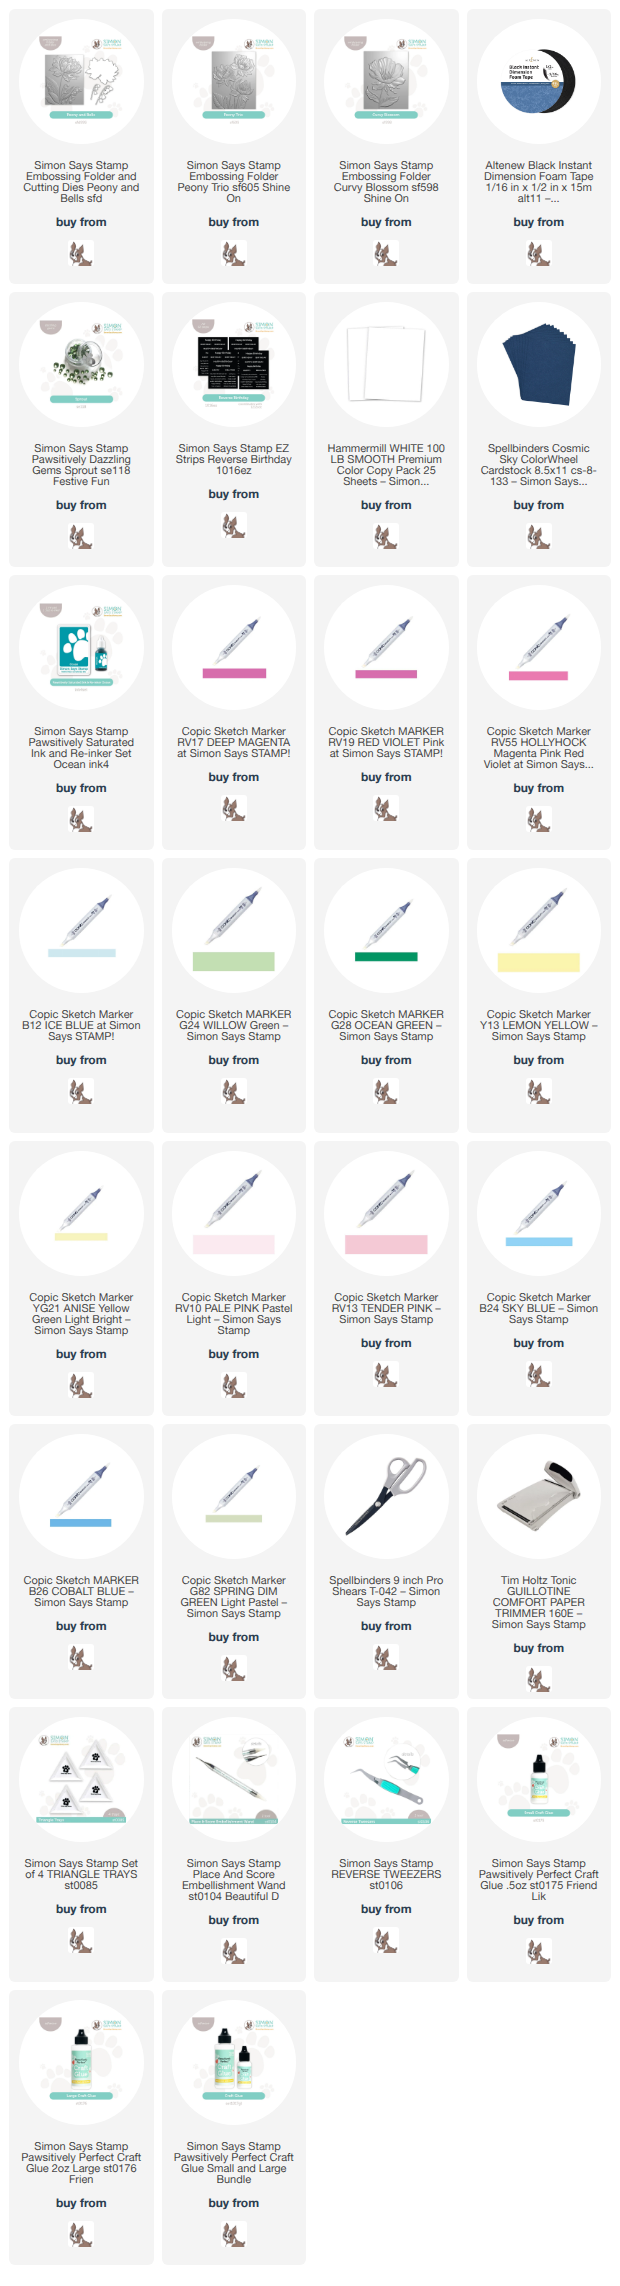
Cardmaking Supplies Used:
Here are the supplies I used to create today’s Colored Embossed Double Vision Technique cards.
Many of the links below are compensated affiliate links. This means if you click through and make a purchase, I may receive a small commission at no additional cost to you.
These commissions help support my website and allow me to continue sharing cardmaking tutorials, videos, and inspiration. I truly appreciate your support.
All products were personally purchased unless otherwise noted. Simon Says Stamp Shine On products were provided by the company for design purposes.
You can find my full affiliate disclosure on my disclosure page.
Click the icons below each product to shop my favorite stores.
Let’s Connect & Get Inspired
Follow along for more cardmaking ideas, techniques, and tutorials:
- Follow me on Instagram
- Join 38,800+ creatives on Pinterest
- Subscribe to my YouTube Channel
- Follow me on Facebook
- Join my Cardmaking Obsession Facebook Group
FREE Cardmaking Tutorials Library
Looking for more inspiration? Explore my FREE PDF GALLERY with 359+ cardmaking tutorials — packed with ideas, techniques, and step-by-step projects to spark your creativity.

Don’t Miss This Week’s Deals
Lot’s of great paper crafting sales and new releases happening now — check them out here!

Shop My Favorite Craft Brands
Browse my Go to Brands and supplies using my affiliate links.
Oh my goodness, your cards are stunning Sandi! The floral image are beautiful, love your designs! 🙂
thanks so much Amy, I’m having fun combining these techniques, LOL
Awesome cards! And so creative!
thank you Sharon
Love the cirs esp the one with pink! The technique is a nice change from using flat most of the time thx so much for explains how you used reversed side and not to worry about the coloring not being perfect with this technique. ( I’m not a coloring person.) thx again!
Thank you Dottie, and yes, this technique is very forgiving and has lots of depth and interest with the different layered strips, I hope you will give it a try