
Hi cardmaking friends!
Nesting dies are one of those basic supplies we tend to reach for again and again – usually to create layers, frames, or sentiment panels. But they can do so much more!
Today I’m bringing my nesting dies right to the foreground and using them to create the actual design of the card. By repeatedly die-cutting the Simon Says Stamp Chunky Ovals and arranging them in a simple pattern, I created this clean geometric background with plenty of dimension and texture.
It’s an easy way to look at those basic shapes in your die collection a little differently – and get even more creative mileage from supplies you may already own.
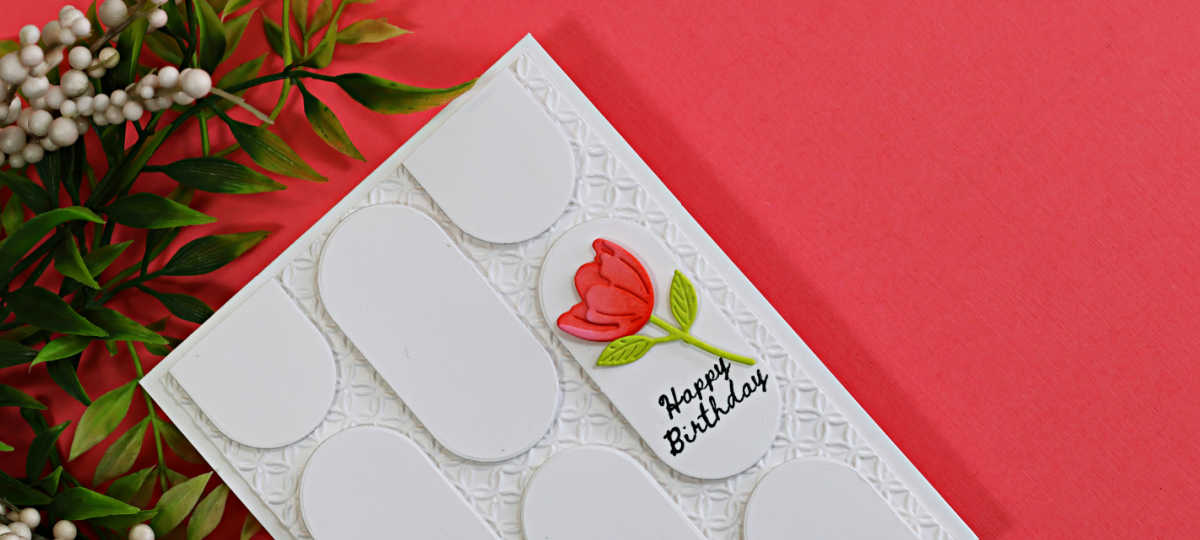
Products used for the Creative Ways to Use Nesting Dies Cards:
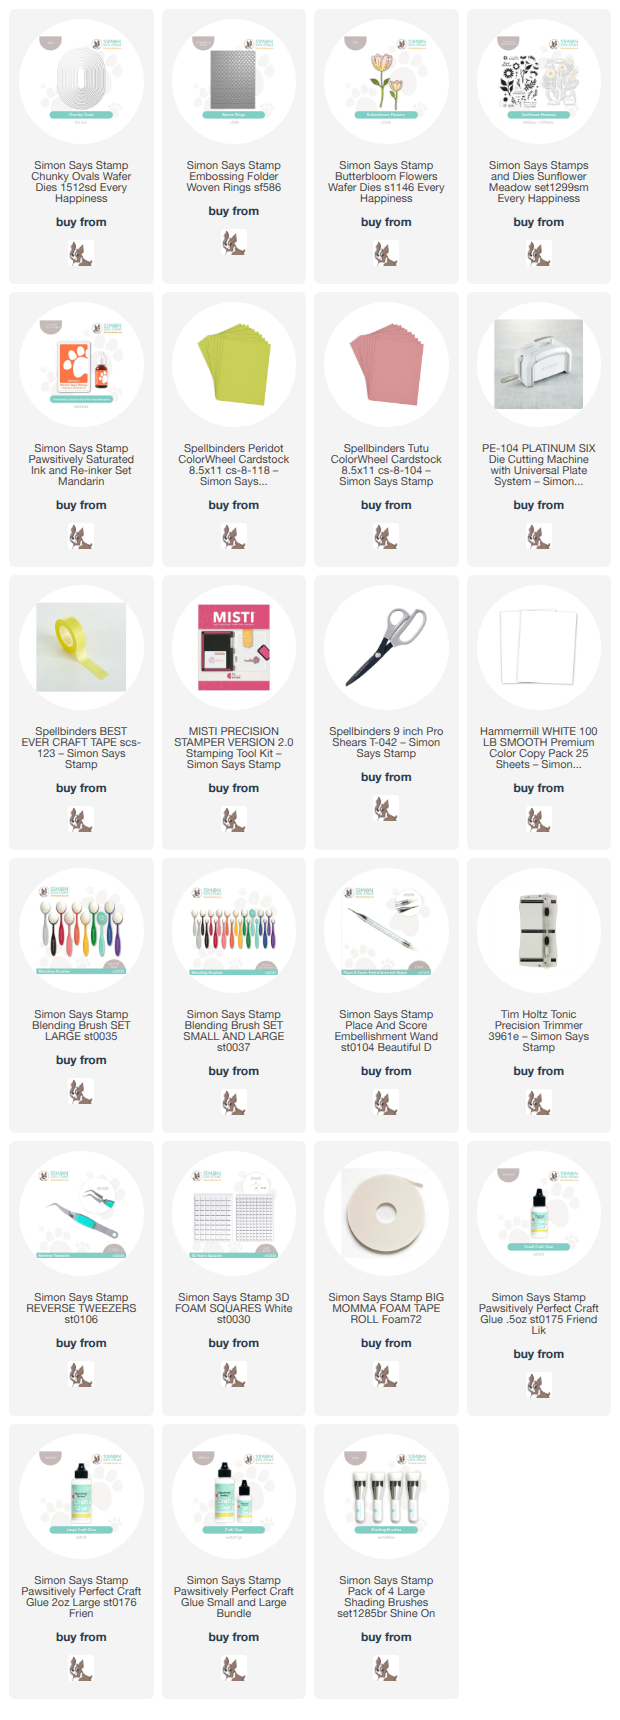
- Chunky Ovals Nesting Dies
- Sunflower Meadow Stamp Set (sentiment)
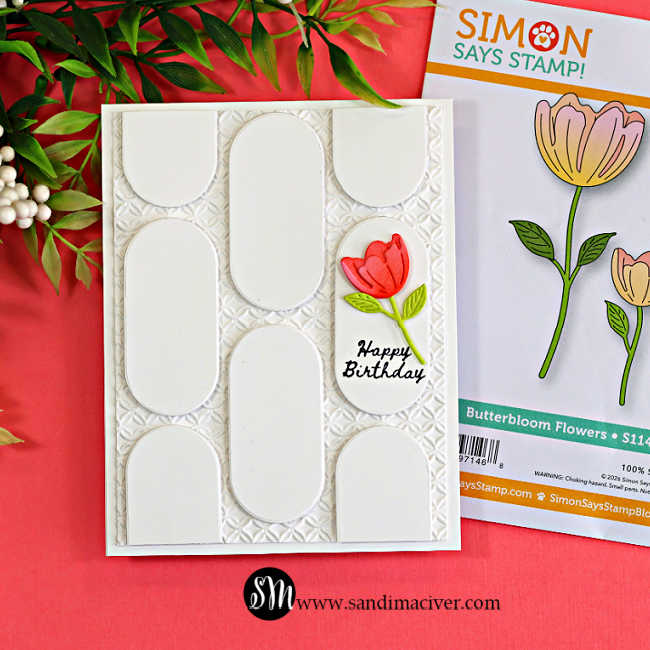
- Butterbloom Flowers dies
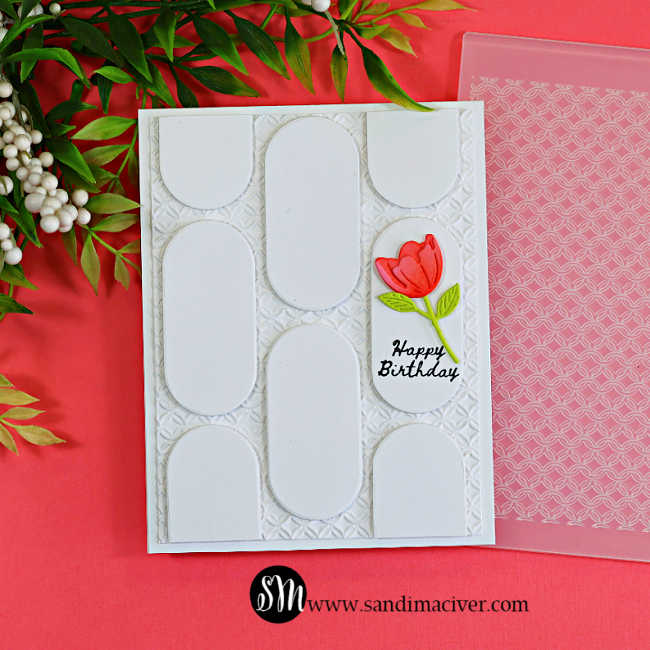
- Woven Rings Embossing Folder
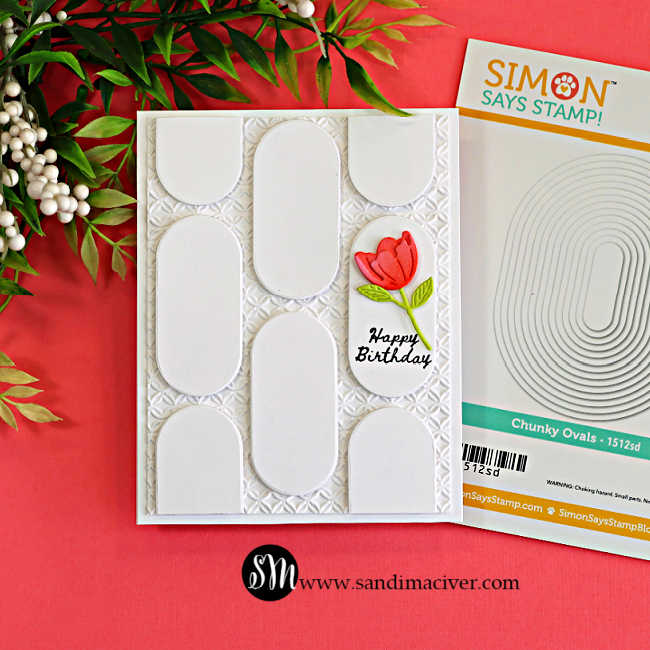
How to create the Creative Ways to Use Nesting Dies, Card #1
Create the textured background:
Trim a panel of white cardstock to 4″ x 5-1/4″ and emboss it with the Woven Rings Embossing folder. Attach the embossed panel to the front of a top-folding, white A2-sized card base.
PRO-TIP: The Woven Rings Embossing Folder has a small, tight geometric pattern that works beautifully behind the larger die-cut ovals. The subtle texture adds interest without competing with the bold shapes, allowing the nesting dies to remain the star of the design.
Die Cut the Ovals:
Using the third-smallest die from the Chunky Ovals Die Set, die cut six ovals from white cardstock.
Before assembling the design, stamp the birthday sentiment onto one of the ovals. Arrange all six ovals across the card front, alternating their placement to create the geometric pattern. Snip off the overhanging ones and use them to fill the other end of the design. Use foam squares to attach them, adding dimension and bringing those simple nesting-die shapes right to the foreground.
Die Cut the Floral Overlay:
Use the Butterbloom Flowers Die Set to cut the small tulip from Tutu and Peridot cardstock. Lightly ink blend the flower with Mandarin Ink to create the soft coral-peach shading.
Use foam squares to attach the finished flower to the same oval as the stamped birthday sentiment.
PRO-TIP – Placing both the sentiment and floral accent on a single oval creates one strong focal point for the eye. The surrounding white ovals then become part of the overall design, framing that focal point without adding extra embellishments or competing elements.
And that’s it! A simple white-on-white birthday card with plenty of texture and dimension- created by taking an everyday nesting die and using it in a complete different way.
This is Card #1 in my Creative Ways to Use Nesting Dies series, and I already have a couple more ideas to share. I hope it inspires you to pull out your own nesting dies and see what designs you can create when you bring those basic shapes out of the background and into the spotlight.


Never Miss a Cardmaking Tutorial
Subscribe to my blog and get the latest cardmaking ideas, tutorials, and inspiration delivered straight to your inbox — plus access to exclusive content and updates you won’t want to miss!

Visit my YouTube channel for 270+ cardmaking tutorials, techniques, and creative ideas to inspire your next project
Cardmaking Supplies Used:
Here are the supplies I used to create today’s creative ways to use nesting dies Card #1.
Many of the links below are compensated affiliate links. This means if you click through and make a purchase, I may receive a small commission at no additional cost to you.
These commissions help support my website and allow me to continue sharing cardmaking tutorials, videos, and inspiration. I truly appreciate your support.
All products were personally purchased unless otherwise noted. Simon Says Stamp Every Happiness products were provided by the company for design purposes.
You can find my full affiliate disclosure on my disclosure page.
Click the icons below each product to shop my favorite stores.
Let’s Connect & Get Inspired
Follow along for more cardmaking ideas, techniques, and tutorials:
- Follow me on Instagram
- Join 38,800+ creatives on Pinterest
- Subscribe to my YouTube Channel
- Follow me on Facebook
- Join my Cardmaking Obsession Facebook Group
FREE Cardmaking Tutorials Library
Looking for more inspiration? Explore my FREE PDF GALLERY with 359+ cardmaking tutorials — packed with ideas, techniques, and step-by-step projects to spark your creativity.

Don’t Miss This Week’s Deals
Lot’s of great paper crafting sales and new releases happening now — check them out here!

Shop My Favorite Craft Brands
Browse my Go to Brands and supplies using my affiliate links.
So pretty Sandi! Love the embossed background and the white-on-white layering! 🙂
thank you Amy
Stunning card- a great design (why can’t I think of doing this?)- love it!
haha, because you need me to show you, LOL, thanks Donna
What a cool idea! Dramatic, but so simple. I love it! You are so creative with thinking “outside the box”!
haha, thanks Gayle, trying to find new ways to play with existing stuff and making it fun
Fantastic! I love it!
Amazing design. Looks wonderful ♥
thank you Annie
this is cute Sandi! great idea for nesting dies!
thank you Lisa, gotta use what you got