
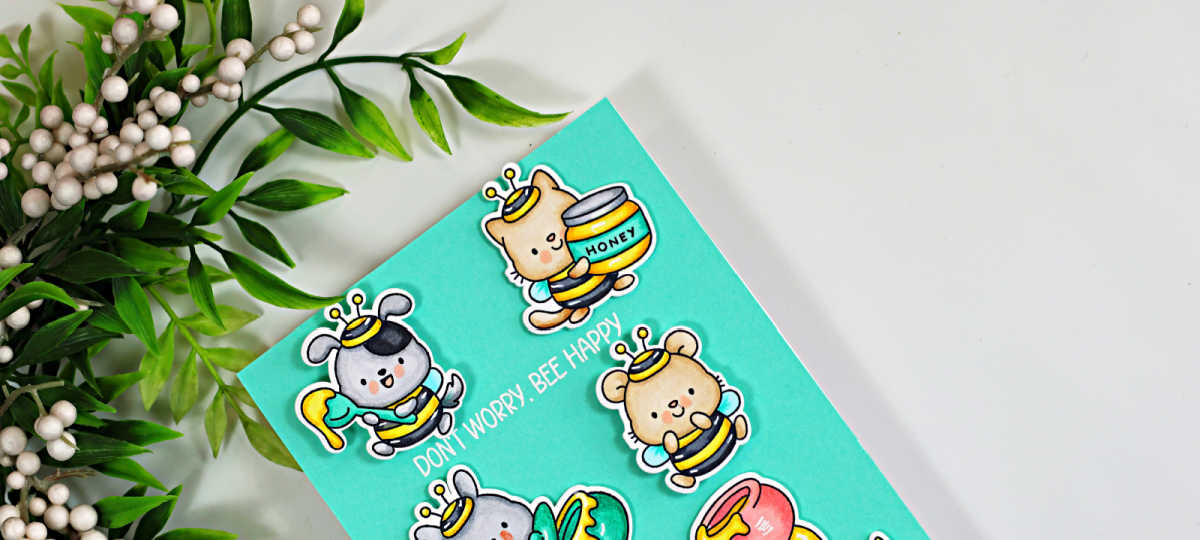
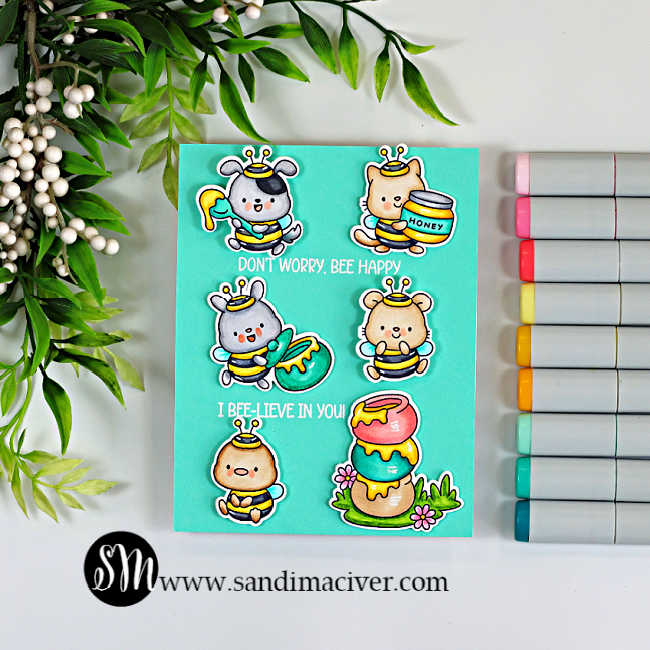
Today, I’m sharing an Easy Spinner Card with Cute Bee Critters featuring the adorable Bee’s Knees Stamp and Die Set from Simon Says Stamp and the new Card Spinners from Spellbinders. These sweet little critters are dressed for the occasion in their black-and-yellow bee costumes, and I colored them with Copic Markers in a bright, cheerful palette.
But the real fun is the interactive element! 3 of the little bee critters actually spin, thanks to a simple card spinner tucked behind them. It’s an easy way to add movement without creating a complicated interactive card–and I’ll show you how it all comes together in today’s Reel over on my Instagram channel.
I finished the card with a fresh Seafoam background and crisp white embossed sentiments, which really help all those colorful images pop. Let’s get started.
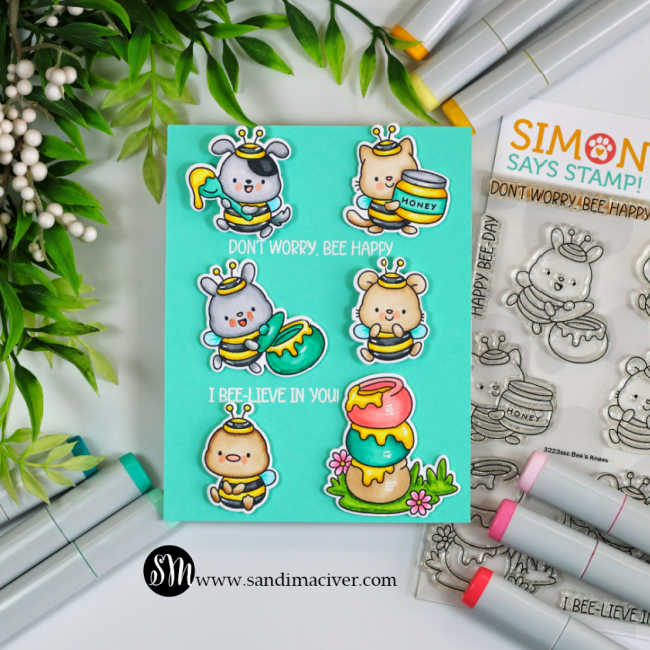
Products used for today’s Easy Spinner Card:
Bees’ Knees Stamp and Die Bundle
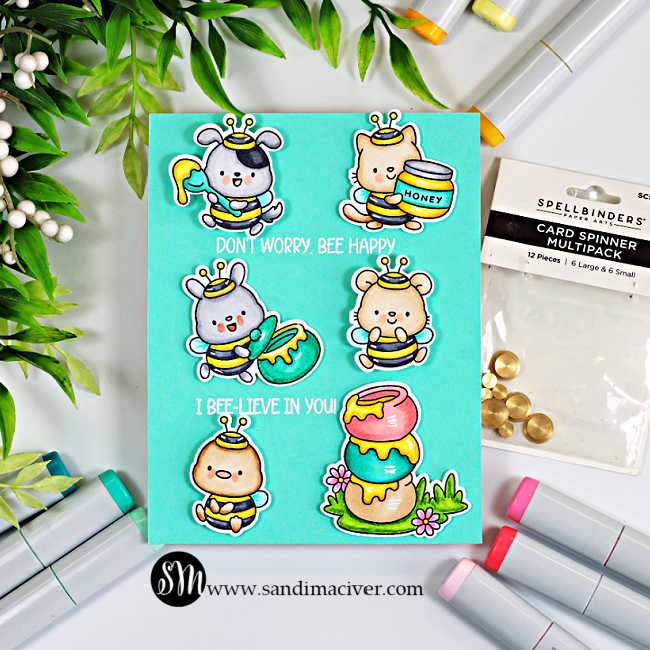
Spellbinders Card Spinner Multipack
Copic Markers: Listed below
How to create the Easy Spinner Card:
Create and Color the Critters:
Start by stamping the Bee’s Knees critters in Memento Black Ink onto a quarter sheet of Hammermill white cardstock. Color with copic markers:
- Brown: E41, E42, E31, E47
- Greens: YG03, YG17
- Black: N4, N7, N8 – Light Gray: N0, N1, N3
- Turquoise: BG11, BG13, BG49
- Pink: RV10, RV13, RV14
- Rose (honey pot) R20, R21, R22
- Yellow: Y11, Y15, Y19
Use the coordinating dies to die-cut all six images, then set them aside while you create the card base.
Create the Card Base:
Trim a panel of Seaside cardstock to 4-1/4″ x 5-1/2″ and place it into your Misti.
Dry-fit the critters onto the panel to determine the best placement for the sentiments. Position the sentiment stamps, remove the critters, and heat emboss the greetings in white.
Attach the finished Seaside panel to a top-folding, white A2-sized card base.
Attach the Critters and Make Them Spin:
For my card, the top left, middle right, and bottom left critters all spin, adding three fun interactive elements to the design.
Glue a Spellbinders Card Spinner to the center back of each of these three critters. Add a small dab of glue to the bottom of each spinner and getly attach it to the card.
PRO-TIP – Don’t use too much glue! If excess glue gets on the sides of the spinner, it can prevent it from turning freely–and you’ll have to carefully remove the dried glue to get it moving again. In this case, less glue is definitely better.
Finally, attach the remaining critters to the card with foam squares for a little extra dimension.
And that’s it! Give those three little bees a flick and watch them spin.


Never Miss a Cardmaking Tutorial
Subscribe to my blog and get the latest cardmaking ideas, tutorials, and inspiration delivered straight to your inbox — plus access to exclusive content and updates you won’t want to miss!

Visit my YouTube channel for 270+ cardmaking tutorials, techniques, and creative ideas to inspire your next project
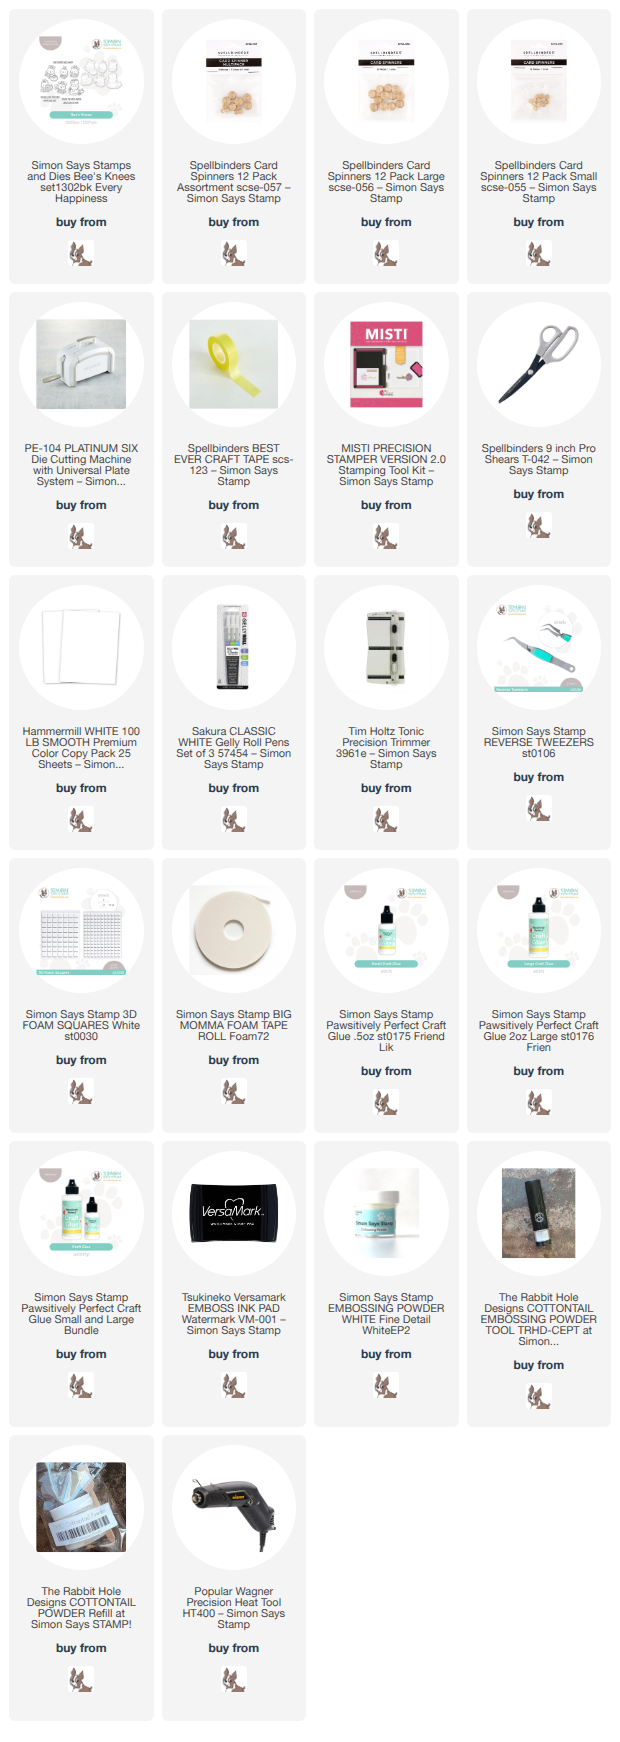
Cardmaking Supplies Used:
Here are the supplies I used to create today’s die cut quilt card with Altenew Patchwork Pathways.
Many of the links below are compensated affiliate links. This means if you click through and make a purchase, I may receive a small commission at no additional cost to you.
These commissions help support my website and allow me to continue sharing cardmaking tutorials, videos, and inspiration. I truly appreciate your support.
All products were personally purchased unless otherwise noted. Simon Says Stamp Every Happiness products were provided by the company for design purposes.
You can find my full affiliate disclosure on my disclosure page.
Click the icons below each product to shop my favorite stores.
Let’s Connect & Get Inspired
Follow along for more cardmaking ideas, techniques, and tutorials:
- Follow me on Instagram
- Join 38,800+ creatives on Pinterest
- Subscribe to my YouTube Channel
- Follow me on Facebook
- Join my Cardmaking Obsession Facebook Group
FREE Cardmaking Tutorials Library
Looking for more inspiration? Explore my FREE PDF GALLERY with 359+ cardmaking tutorials — packed with ideas, techniques, and step-by-step projects to spark your creativity.

Don’t Miss This Week’s Deals
Lot’s of great paper crafting sales and new releases happening now — check them out here!

Shop My Favorite Craft Brands
Browse my Go to Brands and supplies using my affiliate links.
Such a cute card Sandi! Love the little critters and the sentiments are perfect! 🙂
thank you Amy
Cute and adorable, Sandi! You must have an idea vault tucked away!!!
thank you Sharon, just my crazy brain thinking up new ways to play, haha
EEEEkkkk! so cute! I love that they spin around!
aw, thanks, I had fun with this one