
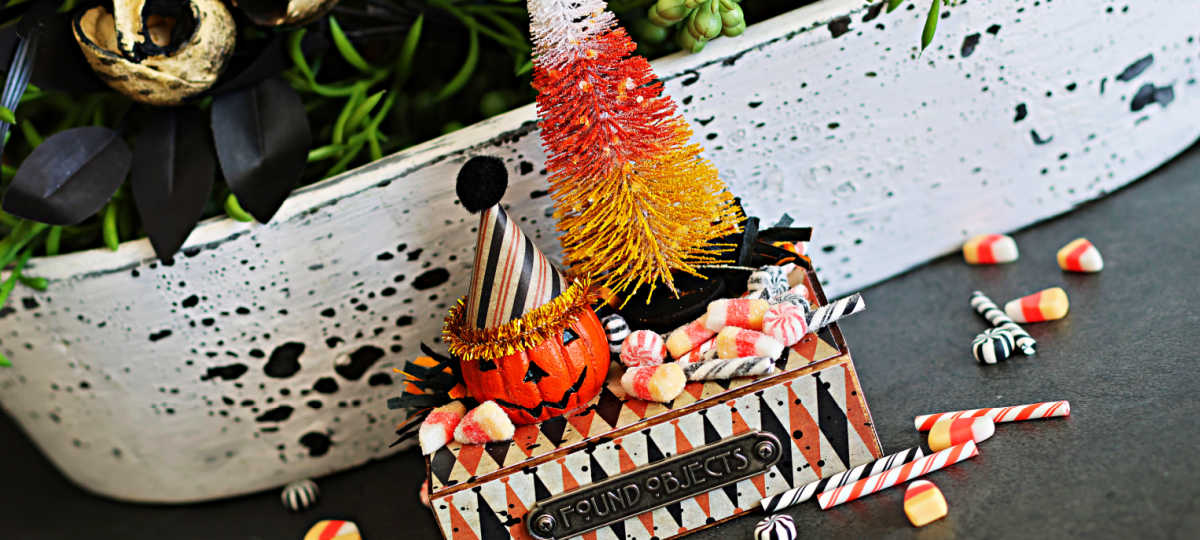
Hey cardmaking friends. I took the weekend off from “work” and had a little play to create this Tim Holtz Halloween Vignette. Tim shared one like this after the Simon Says Stamp Tim Holtz Collector’s Laboratory Kit & Halloween Video last month. I loved it so much, I jumped on the Simon website and ordered everything, haha….it took FOREVER to get here, but finally all the pieces arrived. I painted the tree about a week ago, and finally carved out time to complete the project.
Scroll down, I’ll share what I did and what I used.
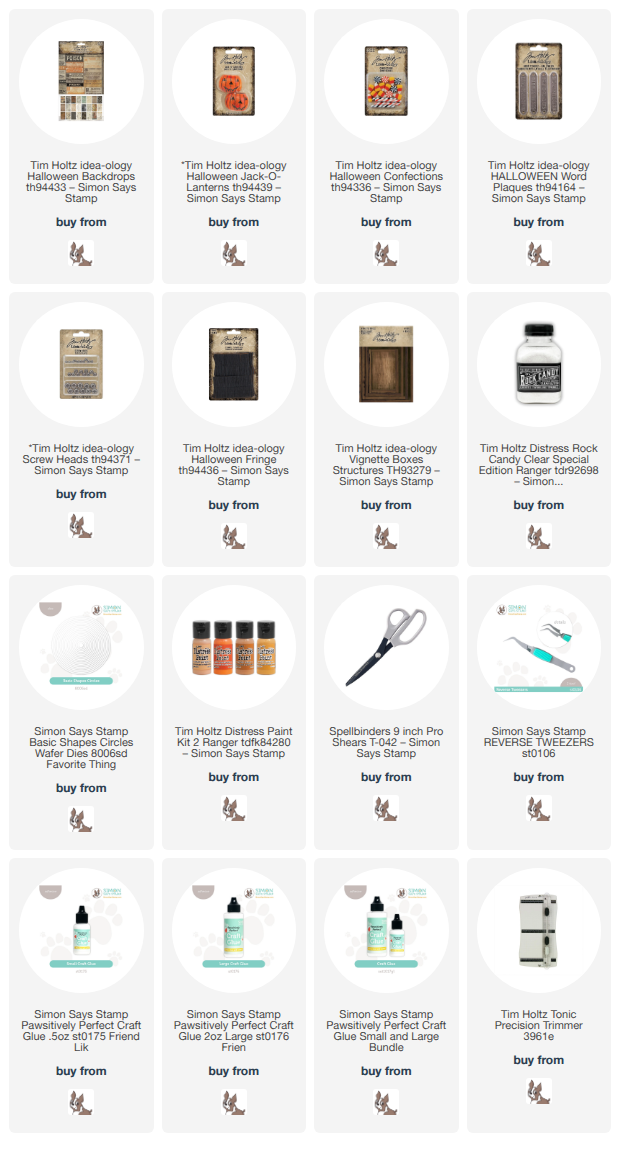
Products used to create the Thim Holtz Halloween Vignette:
- TH94433 – Backdrops paper
- TH94439 – Jack-o-lanterns
- TH94336 – Confections
- TH94164 – Word Plaques
- TH94371 – Screwheads
- TH94436 Fringe
- TH93279 Vignette Boxes
- Distress Rock Candy
- Wild Honey and Ripe Persimmon acrylic paints
- Circle Dies
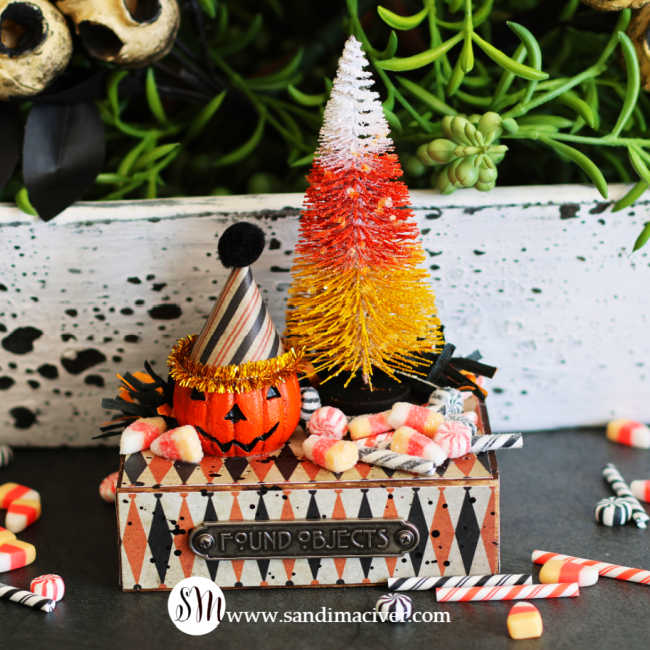
How to Create the Tim Holtz Halloween Vignette:
Paint the Tree:
Start by painting the miniature tree with Wild Honey and Ripe Persimmon acrylic paints to create a candy corn effect. I initially tried Distress Inks, but I couldn’t achieve the depth of color I wanted, so I switched to acrylic paint. Paint the tree base black.
Once the paint is dry, add little drops of glue throughout the tree and sprinkle with Distress Rock Candy for a touch of sparkle.
Create the Base:
I used the small box from the TH93279 Vignette Boxes, turning it upside down to create a pedestal for my Halloween Display.
Trim strips of Backdrops Paper to fit all four sides and the top of the box, then adhere them in place. Each box is slightly different in size, so I’ll leave the measuring up to you!
Next, splatter black acrylic paint over the decorated box and allow it to dry.
Finish by attaching the Found Objects Word Plaque to the front, adding a Screwhead to each end for an extra vintage touch.
Add Some Sparkle to the Confections:
I used an entire package of Tim Holtz Confections for this project!
To give the miniature candies a sugary, sparkly finish, coat each piece with glue and dip it into Distress Rock Candy. Set them aside to dry while you work on the pumpkin.
Dress Up the Pumpkin:
Use a circle die to cut a piece of Backdrops Paper, then cut the circle in half. Roll one half into a cone to create a pointy party hat and glue it onto the pumpkin.
Add a ring of gold pipe cleaner around the base of the hat for a little festive sparkle, then finish with a black pom-pom on the tip.
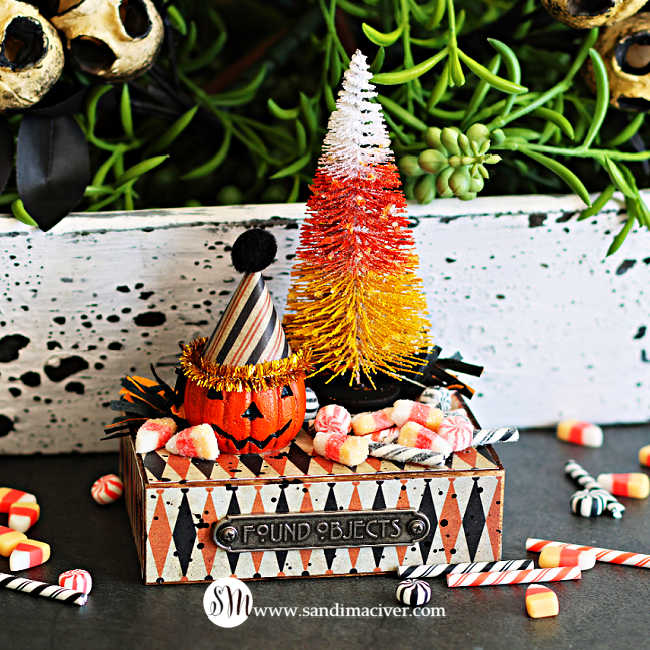
Assemble the Halloween Vignette:
Start by gluing the pumpkin and candy corn tree near the center of the pedestal.
Cut a strip of Tim Holtz Fringe, then twist and ruffle it to reveal some of the orange inside. Glue the fringe along the back of the pedestal, behind the tree and pumpkin, to add texture and dimension.
Finally, arrange the sparkly Confections across the top of the pedestal, concentrating most of them around the front of the tree. Glue them in place, allowing a few to tumble naturally around the pumpkin.
And that’s it! A sweet little Halloween Vignette filled with vintage charm, candy corn colors, and just the right amount of spooky sparkle!


Never Miss a Cardmaking Tutorial
Subscribe to my blog and get the latest cardmaking ideas, tutorials, and inspiration delivered straight to your inbox — plus access to exclusive content and updates you won’t want to miss!

Visit my YouTube channel for 270+ cardmaking tutorials, techniques, and creative ideas to inspire your next project
Cardmaking Supplies Used:
Here are the supplies I used to create today’s Tim Holtz Halloween Vignette.
Many of the links below are compensated affiliate links. This means if you click through and make a purchase, I may receive a small commission at no additional cost to you.
These commissions help support my website and allow me to continue sharing cardmaking tutorials, videos, and inspiration. I truly appreciate your support.
All products were personally purchased unless otherwise noted. Simon Says Stamp products were provided by the company for design purposes.
You can find my full affiliate disclosure on my disclosure page.
Click the icons below each product to shop my favorite stores.
Let’s Connect & Get Inspired
Follow along for more cardmaking ideas, techniques, and tutorials:
- Follow me on Instagram
- Join 38,800+ creatives on Pinterest
- Subscribe to my YouTube Channel
- Follow me on Facebook
- Join my Cardmaking Obsession Facebook Group
FREE Cardmaking Tutorials Library
Looking for more inspiration? Explore my FREE PDF GALLERY with 359+ cardmaking tutorials — packed with ideas, techniques, and step-by-step projects to spark your creativity.

Don’t Miss This Week’s Deals
Lots of great paper crafting sales and new releases happening now — check them out here!

Shop My Favorite Craft Brands
Browse my Go to Brands and supplies using my affiliate links.