
And today’s STAMPtempber® collaboration is with Ink on 3! I had so much fun with these two cards and got my hands good and messy playing with Distress Sprays, haha!
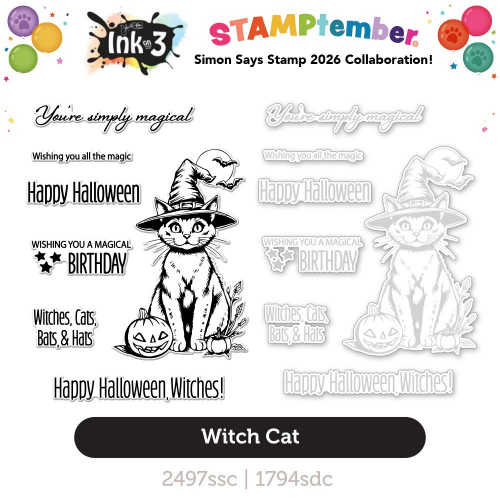
Order your Witch Cat Stamp and Die Bundle from Simon Says Stamp
Remember, these collaboration sets are – White Supplies Last and will not be restocked.
I have two cards to share with you today, both featuring this LARGE Witch Cat, and neither requires any coloring. YEAH! That’s a huge bonus because I’m on a serious time crunch this week with all the new releases. Plus we’re spending a few hours every day painting my mother-in-law’s new condo here, so things are a little nuts around here, haha! (But it’s always nuts around here for one reason or another, haha).
Anyway, this is a super cool stamp and die set, and I can’t wait to show you the two quick and easy Halloween cards I created with it. Let’s get started!
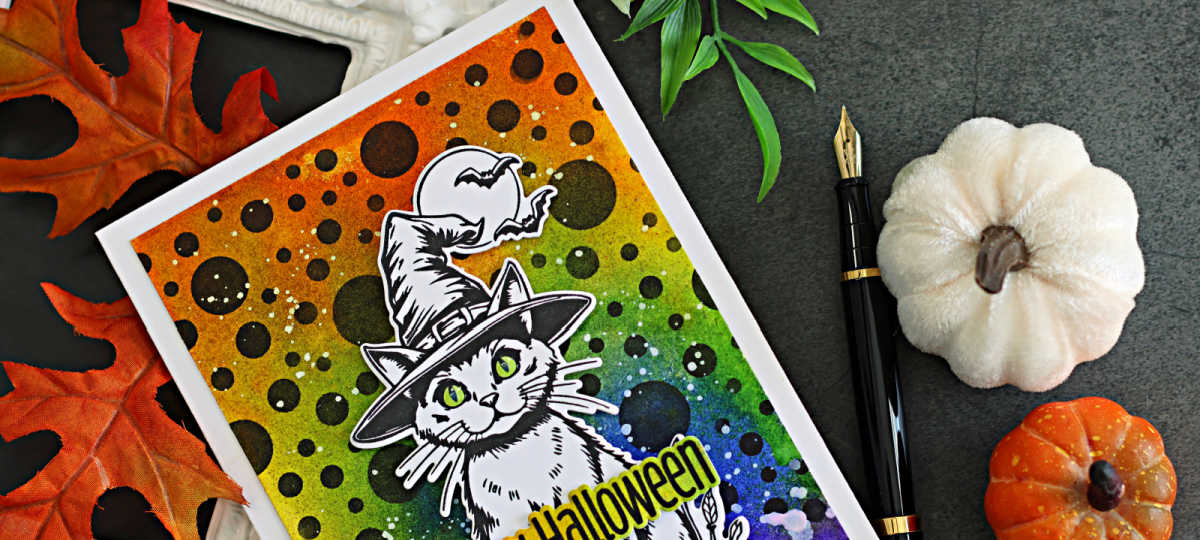
Products used for today’s Spooktacular Halloween Cards with Distress Sprays:
Distress Sprays:
- Carved Pumpkin
- Mustard Seed
- Twisted Citron
- Blueprint Sketch
- Wilted Violet
- VersaFine Clair Nocturne
- Pawsitively Perfect White Splatter Medium
- Stencils: Stars – Bubbles
- Craft Tacky Mat
- Glossy Accents
- Black Pawsitively Dazzling Gems
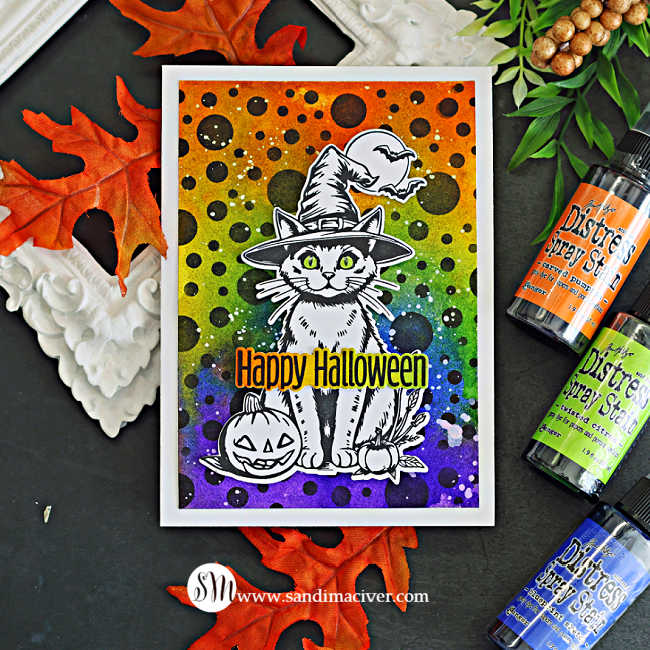
How to Create the Halloween Cards with Distress Sprays, Card #1:
Start with a 4-1/2″ x 6-1/2″ panel of watercolor paper on a protected, flat surface. Spray with the Distress Sprays and allow to dry completely.
Once dry, use the Bubbles stencil and VersaFine Clair Nocturne ink to stencil the entire panel. Place it inside your Splat Box and splatter generously with Pawsitively Perfect White Splatter Medium.
Once the panel is completely dry, attach it to a side-folding A5 white card base – 7″ x 10″, score and fold at 5″.
Place a half sheet of white cardstock into your Misti and stamp the large Witch Cat image with VersaFine Clair Nocturne Ink. Color the cat’s eyes with green markers and add Glossy Accents to make them shine!
Use the coordinating die to cut out the image, then attach it to the center of the card with foam squares for added dimension.
Use the leftover edges from the watercolor panel created for the second card, stamp the sentiment in black ink, and cut it out with the coordinating die.
Attach the sentiment across the Witch Cat’s body to finish the card.
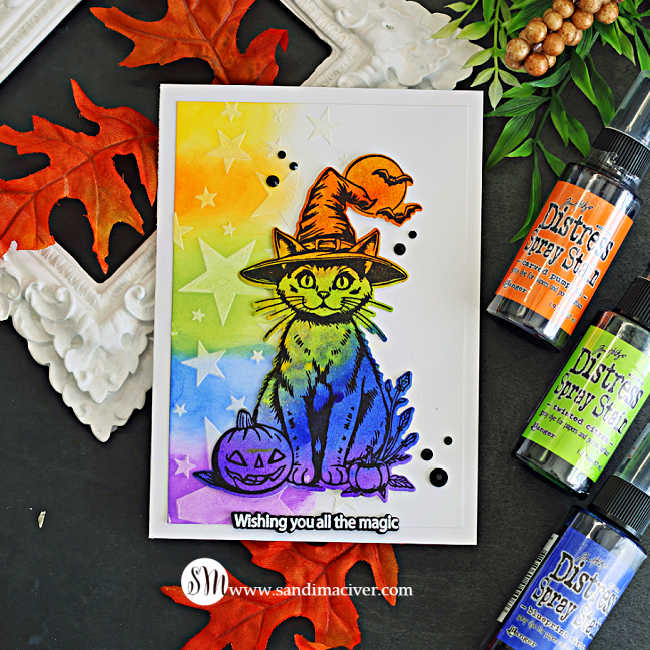
How to Create the Spooktacular Halloween Cards with Distress Sprays – Card #2:
Start by creating a watercolor panel the same as card #1.
Once the panel is completely dry, place it into your Misti and stamp the Witch Cat image. Die-cut with the coordinating die and set aside.
Trim a panel of white cardstock to 4-1/2″ x 6-1/2″. Apply stencil paste through the Fading Stars Stencil along the left side of the panel.
SORRY – the stencil I used is discontinued. I linked two others that will work under this post.
When the stencil paste is completely dry, use Distress Oxide Inks in the same colors as the Distress Sprays to ink-blend a strip of each color down the left side, extending approximately one-third of the way across the panel.
Attach the finished star panel to a side-folding A5-sized white card base.
Use foam squares to attach the Witch Cat, adding depth and dimension.
White heat-emboss a sentiment onto a scrap of black cardstock, die-cut it with the coordinating die, and attach it along the bottom of the card.
Finish by embellishing with Black Pawsitively Dazzling Gems.
NOTE: You could also add Glossy Accents on this cat’s eyes for a little extra shine!


Never Miss a Cardmaking Tutorial
Subscribe to my blog and get the latest cardmaking ideas, tutorials, and inspiration delivered straight to your inbox — plus access to exclusive content and updates you won’t want to miss!

Visit my YouTube channel for 270+ cardmaking tutorials, techniques, and creative ideas to inspire your next project
Cardmaking Supplies Used:
Here are the supplies I used to create today’s Halloween Cards with Distress Sprays.
Many of the links below are compensated affiliate links. This means if you click through and make a purchase, I may receive a small commission at no additional cost to you.
These commissions help support my website and allow me to continue sharing cardmaking tutorials, videos, and inspiration. I truly appreciate your support.
All products were personally purchased unless otherwise noted. Simon Says Stamp products were provided by the company for design purposes.
You can find my full affiliate disclosure on my disclosure page.
Click the icons below each product to shop my favorite stores.

Let’s Connect & Get Inspired
Follow along for more cardmaking ideas, techniques, and tutorials:
- Follow me on Instagram
- Join 38,800+ creatives on Pinterest
- Subscribe to my YouTube Channel
- Follow me on Facebook
- Join my Cardmaking Obsession Facebook Group
FREE Cardmaking Tutorials Library
Looking for more inspiration? Explore my FREE PDF GALLERY with 359+ cardmaking tutorials — packed with ideas, techniques, and step-by-step projects to spark your creativity.

Don’t Miss This Week’s Deals
Lots of great paper crafting sales and new releases happening now — check them out here!

Shop My Favorite Craft Brands
Browse my Go to Brands and supplies using my affiliate links.
Such cute cards Sandi! Love that cat image! 🙂
thank you Amy, It was a fun one for sure
Spooktacula is right! Love the backgrounds and the cat is so happy and cute!
thank you Sharon, I’m so glad you like them