
LaLa Land Crafts is today’s STAMPtember® collaboration with Simon Says Stamp, and I’ve always adored their clean-line images, so I was excited to color this adorable Santa.
There are two Santa images in the set with a variety of sentiments, giving you lots of fun design options. Once I had my Santa colored, I used a Uni-Posco white paint pen to add dots to the parcels. Then I carried that design element into the background by cutting a circular opening and turning it into a shaker window.
The result is a simple, almost-flat Christmas card with a fun interactive element and plenty of sparkle!
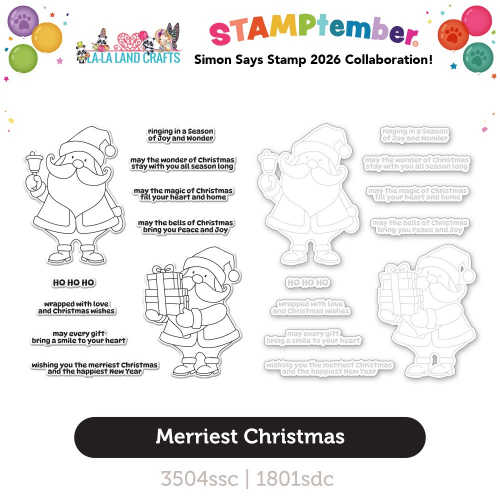
Grab your set of MERRIEST CHRISTMAS
from SIMON SAYS STAMP
Scroll down for the details.
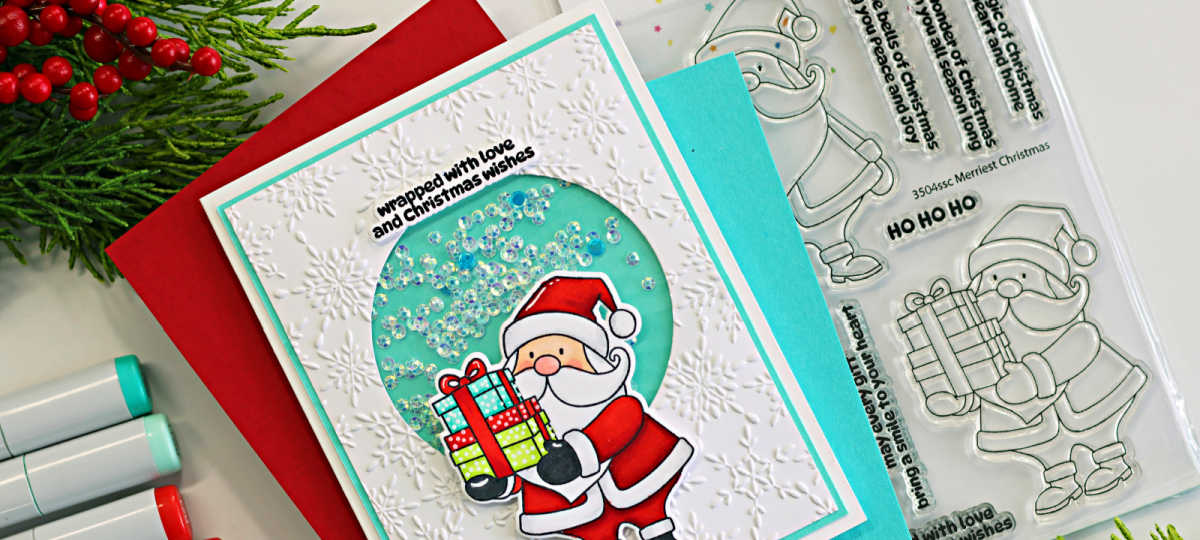
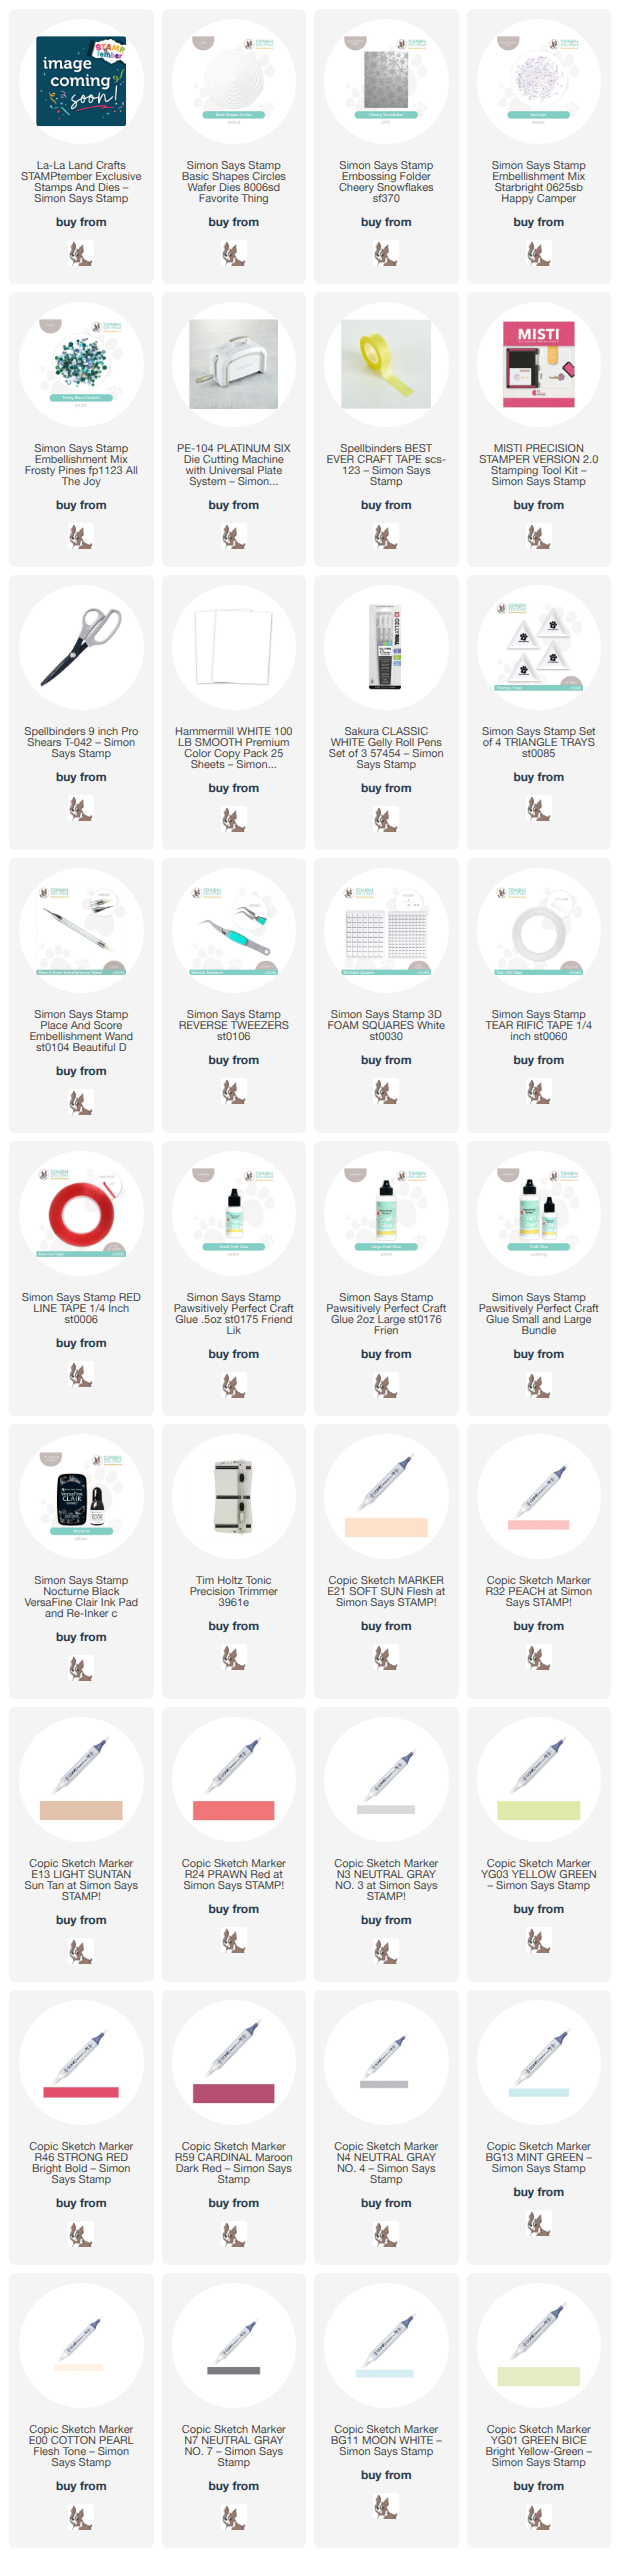
Products used to create the Santa Shaker Card:
- Merriest Christmas Stamp and Die Combo
- Basic Shapes Circles Dies
- Cheery Snowflakes Embossing Folder
- Starbright Embellishment Mix and Frosty Pines Sequins
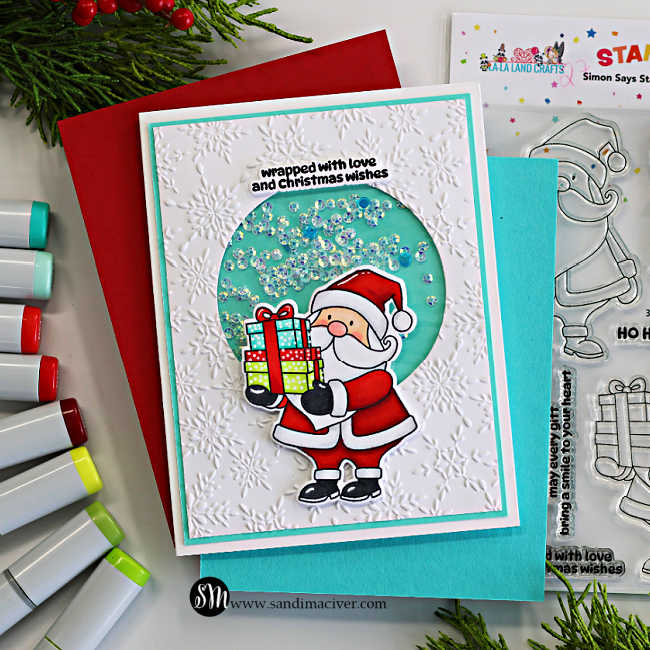
How to create the Santa Shaker Card:
Stamp Santa onto Hammermill white cardstock with Memento ink, then color with Copic Markers:
Copic Colors Used:
- Red: R24, R46, R59
- Greens: YG01, YG03
- Skin: E00, E21, E13, Cheeks R32
- Teal: BG11, BG13,
- Grays: N3, N4, N7
- Uni-POSCO white paint pen
Die-cut Santa with the coordinating die and set aside.
Create the Card Base:
Trim a piece of White cardstock to 3-3/4″ x 5″. Die-cut a circle from the center, then emboss the panel with the Cherry Snowflakes Embossing Folder.
Trim a piece of Waterfall cardstock to 4″ x 5-1/4″.
For the card base, cut white cardstock to 5-1/2″ x 8-1/2″, score and fold at 4-1/4″ to create a side-folding A2 card base.
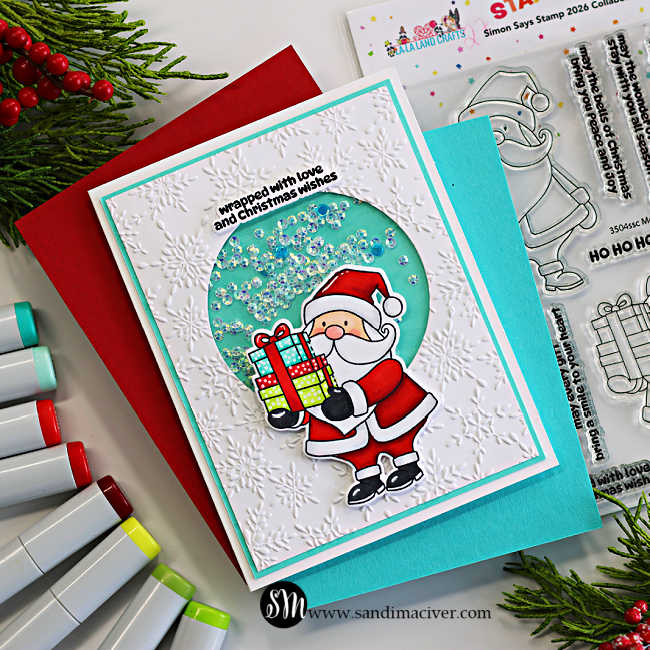
Create the Shaker Window:
Cut a square from a cello bag, keeping one of the folded edges intact. Add Red Line tape around the back of the die-cut circle and attach the cello bag piece to create the shaker pocket.
Add more Red Line tape along the inside of the three open sides of the cello bag. Sprinkle the shaker embellishments in the center, remove the release paper from the tape, and seal the pocket closed.
Adhere the finished shaker panel to the Waterfall mat, then attach it to the card front.
Finally, use foam squares to attach Santa and the stamped sentiment for a little extra depth and dimension.


Never Miss a Cardmaking Tutorial
Subscribe to my blog and get the latest cardmaking ideas, tutorials, and inspiration delivered straight to your inbox — plus access to exclusive content and updates you won’t want to miss!

Visit my YouTube channel for 270+ cardmaking tutorials, techniques, and creative ideas to inspire your next project
Cardmaking Supplies Used:
Here are the supplies I used to create today’s Santa Shaker Card
Many of the links below are compensated affiliate links. This means if you click through and make a purchase, I may receive a small commission at no additional cost to you.
These commissions help support my website and allow me to continue sharing cardmaking tutorials, videos, and inspiration. I truly appreciate your support.
All products were personally purchased unless otherwise noted. Simon Says Stamp products were provided by the company for design purposes.
You can find my full affiliate disclosure on my disclosure page.
Click the icons below each product to shop my favorite stores.
Let’s Connect & Get Inspired
Follow along for more cardmaking ideas, techniques, and tutorials:
- Follow me on Instagram
- Join 38,800+ creatives on Pinterest
- Subscribe to my YouTube Channel
- Follow me on Facebook
- Join my Cardmaking Obsession Facebook Group
FREE Cardmaking Tutorials Library
Looking for more inspiration? Explore my FREE PDF GALLERY with 359+ cardmaking tutorials — packed with ideas, techniques, and step-by-step projects to spark your creativity.

Don’t Miss This Week’s Deals
Lots of great paper crafting sales and new releases happening now — check them out here!

Shop My Favorite Craft Brands
Browse my Go to Brands and supplies using my affiliate links.
So cute. I ordered this set and can hardly wait to get it. Thanks for the inspiration.
This is so cute, with another super stamp and die set!
So cute Sandi! Love the shaker under the Santa! 🙂
Always love a shaker, this is so sweet!
thank you Lisa