Hi cardmaking friends and welcome back. I got a little more adventurous with my one armed stamping the other day and came up with this Mixed Media Birthday card created with the new Mom’s Spring Flowers from the Simon Says Stamp new release. I kind of did it in a monochromatic color scheme with black and white highlights and I absolutely LOVE how this card turned out. This is my second card using this Mom’s Spring Flowers stamp set you check out the other one here
Update on me: I go back to the surgeon this afternoon to hopefully get my stitches out, fingers crossed, yeah!

Today is Day Two of the Simon Says Stamp Hello Gorgeous Blog Hop. I’m not in the hop because I didn’t know if I would be able to stamp yet. You can hook up with the hope over on the Simon Says Stamp BLOG There is a FREE gift Offer with any order. Place an order before March 27 and receive a free Exclusive Birthday Wishes Stamp Set – USE CODE: HBD322. VISIT SIMON SAYS STAMP

The actual stamping and coloring of the flowers was no biggy. I used my Misti and colored with my Copics, it’s the background that was a little interesting, LOL. To stencil with one hand, I had to glue the paper down, then use post it note tape to attach the stencil all the way around. I pulled it real close to me so I could hold the edge of the paper with my hand in the sling, and then used a blending brush to add some color through the stencil. If you are large breasted, I would not recommend this technique, LOL….just saying.

How to create the Multi Media Birthday Card:
Use Intense Black ink to stamp the image onto a 5 x 7 piece of Hammermill card.
Color the image with Copic Markers BG11, BG13, BG49. Leave the leaves and the flower centers uncolored.
Next, fussy cut the image, or there is a coordinating die you can order.

Creating the background:
Lay the Large Chevron Stencil over the card front and use a blending brush to add Peacock Feathers Distress Oxide through it randomly, leaving big sections of white.
Next, once the blue ink is dry, Use the Splodge stamp from AALL & CREATE to add black ink splotches. I use VersaFine Clair Nocturne for this step as it’s a super dark and very juicy ink.
Place the card front back into the Misti to stamp the sentiment.
Mat in Black and then attach to the side folding white 5 x 7 card base.
 Never Miss a Post – Subscribe to my blog posts.
Visit my Card Making PDF Gallery for 350+ more card ideas

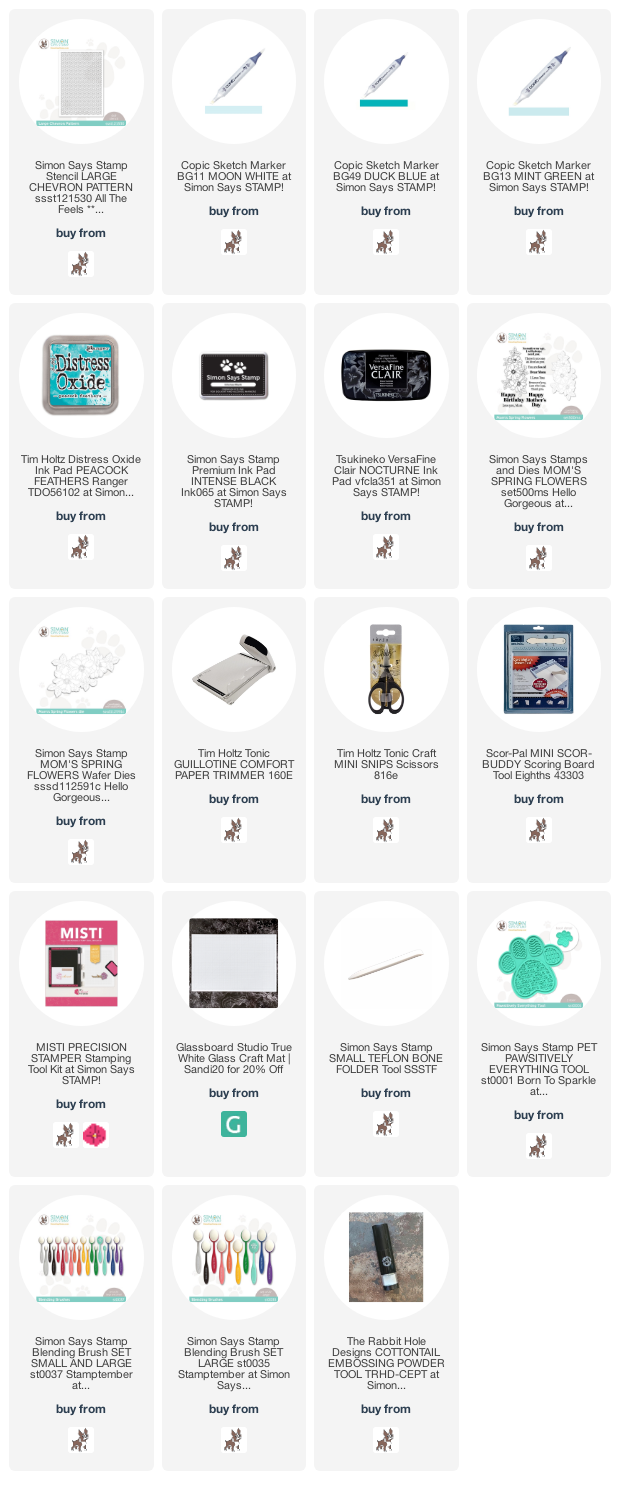
Card Making Supplies used for the Simon Says Stamp Mixed Media Birthday Card:
Here are the products I used today. Compensated affiliate links used where available at no cost to you.
When you click on a thumbnail link and shop you are supporting my website allowing me to continue bringing you new projects and videos. Thank you.


-
- Follow me on INSTAGRAM
- Join 37,700+ following me on PINTEREST
- Subscribe to my YOUTUBE Channel
- Follow me on FACEBOOK
- JOIN our Card Making Stamp and Share Facebook Group
- Check out my FREE PDF Gallery for over 350+ Card Making Tutorials
- How to make a SLIMLINE CARD – Info PAGE

– LOTS of great Paper Crafting Sales and New Releases going on this week – Check them out here
 Shop my Favorite Brands


Gorgeous!!! Good for you! You would never guess in a million years that you were limited to your one hand!
haha, thanks Bonnie, it’s been a test this past three weeks let me tell you. Stitches out this afternoon, just in time for gardening season, yeah!
Cool card, Sandi! I hope you are healing well!!
Lori S in PA
I am thank you Lori, it’s getting itchy and so am I, LOL
Oh boy, Sandi! I haven’t wanted to say anything, because, after all, it’s your arm, but I can’t help but worry a bit. I bet you aren’t just using ONE hand. Betcha there’s an elbow, or a finger or two of the other arm involved. LOL
Great card. Crazy awesome to do all that with such limitations. Love the concept of using just black and blue. Is that the colour of your other arm (the inspiration)?? tee hee.
So glad to hear the stitches are out – means healing is well underway.
Hi Sharon, yes, I can use my other arm from the elbow down to hold things while my right arm does all the work. Sadly all the stitches didn’t come out as the top or middle of the incision is not healing well, so we have another week or two to go. and yes those were two of the colors in my shoulder, add to that red, purple and now a nasty brown – up the upside – the bruising is almost gone and the part where the stitches are out looks great….so I’m getting there.