
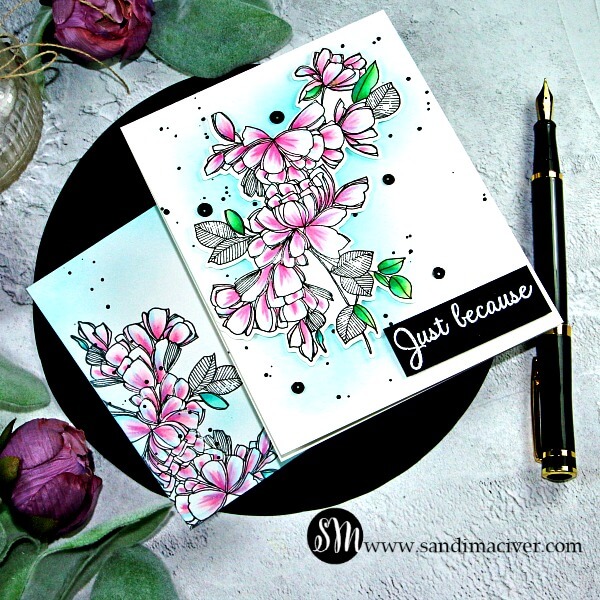
Hey Crafty Friends, Happy Friday. Day 70 something of quarantine (I quit counting), LOL but hope you are all staying happy and healthy. I inked up a new stamp/die set to share with you today, it’s Pinkfresh Studios Blue and Pink Fuchsia. The stamp set is called Just Because and I fell in love with it for the beautiful detailed lines, it’s so artful. (I also love Fuchsias) lol.

I decided to get a little Pop Art culture with my coloring for today’s card, adding just a bit of Pink Copic markers to the flowers, some blues and greens to the open leaves and leaving those beautiful line drawn leaves in black and white because they are just so striking.
I’m also playing along with the Pinkfresh Studio Challenge for this month.


TIP: When coloring the flowers, I used the flicking technique, starting from the bottom of the petal and flicking up. After the three pinks, add just a couple of flicks of B00, a very light blue. When flicking over the pink, it turns a lilac color, and over a white section, it adds a pretty blue highlight.
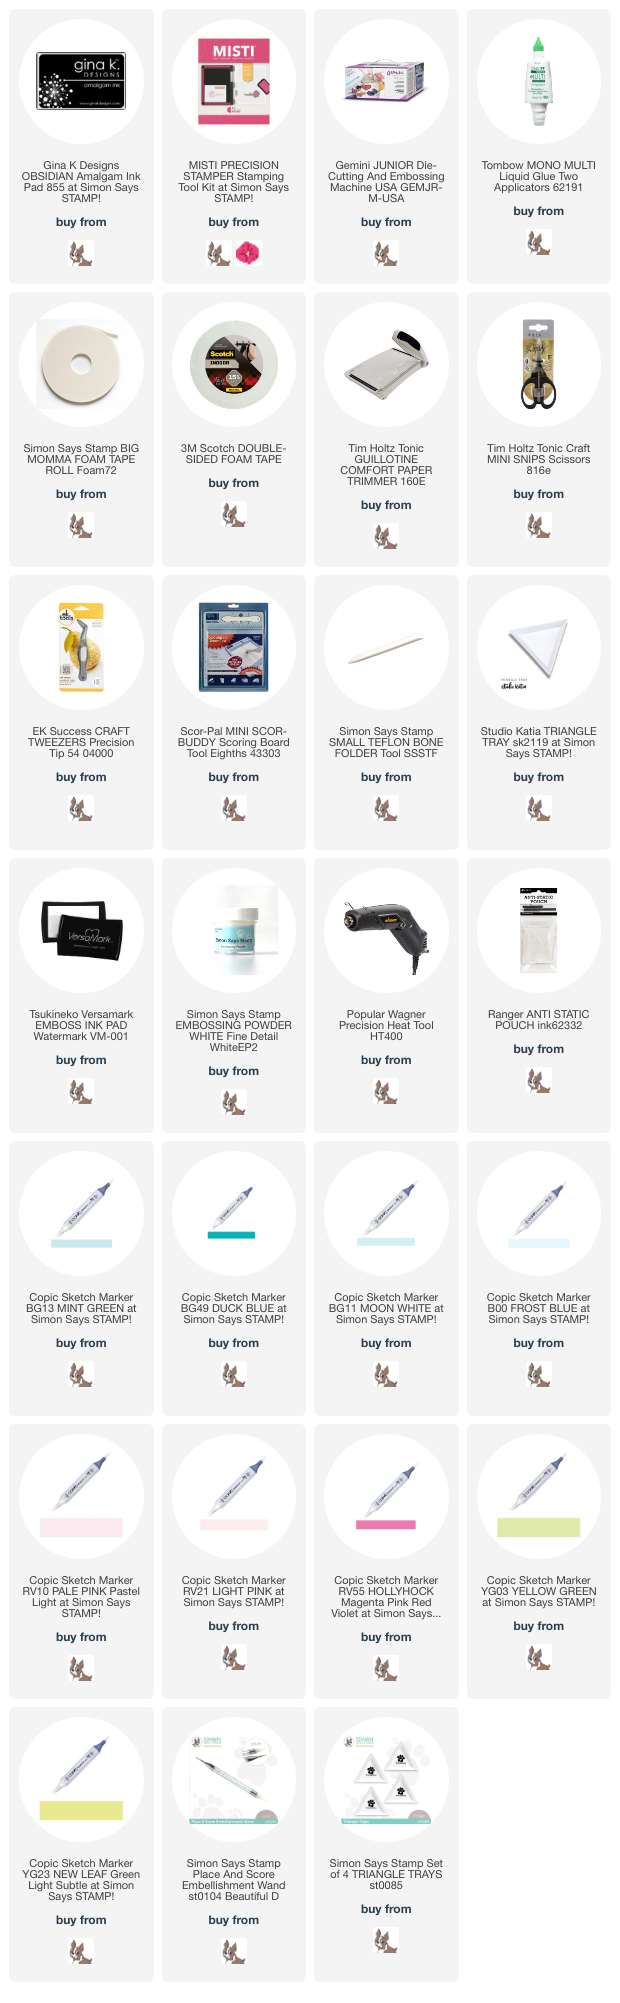
Copic Markers used on the Pinkfresh Studio blue and Pink Fuchsia card:
Flowers: RV10, RV21, Rv55, and a bit of B00,
Leaves: I started them green with YG03 and YG23 but they were too bright, so I went over them with turquoise, BG11, BG13, BG49, on the envelope I just used the turquoise, you can see the difference in the colors.
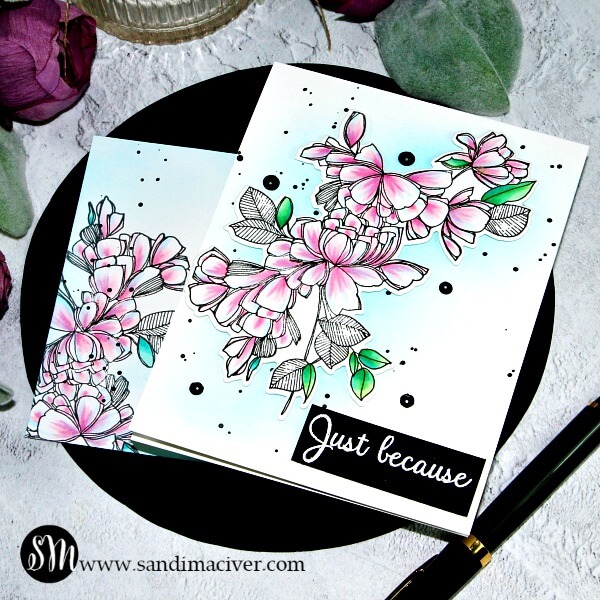
Next, die cut the image using the coordinating die and before attaching it to the card, sponge a bit of Distress Oxide in Tumbled Glass behind where the flowers are going. Then add a bit of black paint splatter.
To anchor the card, white heat emboss the sentiment on a scrap of black and attach it and the floral spray with foam tape some added height and interest. A few black sequins tin the background even out the spacing.
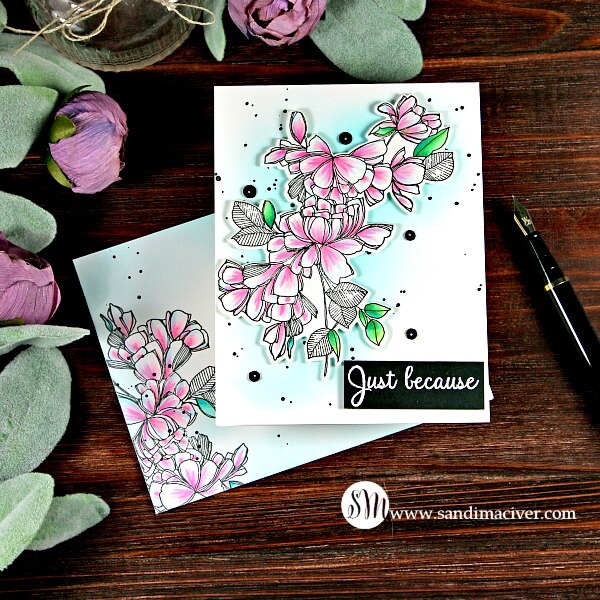
Finally, while the stamp is still in the Misti, pop in a white envelope and stamp it too. Slid a piece of card stock inside the envelope so the ink won’t bleed through to the back. Sponge the edges with the Tumbled Glass Distress Oxide Ink and add some black splatter. I just love matching envelopes don’t you?


used for the Pinkfresh Studio Blue and Pink Fuchsia card:
Want to find the products I used? I have them listed below. Compensated affiliate links used at no cost to you.
Thank you for your support, it helps to cover my blogging and video expenses.


-
- Follow me on INSTAGRAM
- Join 36,000+ following me on PINTEREST
- Subscribe to my YOUTUBE Channel
- Follow me on FACEBOOK
- Check out my FREE PDF Gallery for over 200+ Card Tutorials
 My Newest Video Series – Distress Oxides – Color Combos and Cards
 – I’ll be updating this today and tomorrow as sales are announced – Check them out here
 Click on the cart to visit my ordering page where you will find my favorite brands to place orders through
Beautiful cards Sandi! Love your flowers, perfectly colored! 😀
Thanks Amy, quick and easy one today
This is just beautiful. I have this stamp and have struggled with how to color it. Thank you so much for the inspiration! Your PDFs are so amazingly helpful – thanks so much for them too.
aw, thank you Amy, I’m in love with it too, I have another card being posted on the 19th for you for a bit of a different take on it as well. PS I’m glad you like the PDF’s, just when I think I’ll discontinue them because I think no one wants them, I get a sweet comment like yours.
OMG NOOOOO I print almost every one of them and keep them in a book in my craft room!!!
oh good to know, LOL, I’ll keeping making them then
PS: Sandi I have a question: when I use the Gina K. Amalgam ink with Copics…it smears. Even when I let it sit overnight to dry before coloring. Do you ever have this problem? I now use MFT Extreme Black for Copics and I stick to Versafine or Clair for watercoloring. I’d like to have just 1 black ink but I can’t seem to make it work. Am I doing something wrong with the Gina K.?
Thanks so much!
Hi Amy. I find it takes a bit to dry so I heat set mine first. I like the Amalgam because it works with all the different mediums, so I don’t have to decide if I’m copic coloring or watercoloring, or pencils, it works with everything.
How beautiful, Sandi! Love those soft hues!
thank you Bonnie, I’m not always bright and crazy, haha
So beautiful Sandi and love that you do an envelope as well such a beautiful idea xx
So BEAUTIFUL!!!!!!! Love this so much Sandi!!!!!!
thank you Natasha, quick and easy cards, with a bit of a punch
Beautiful! Thanks for playing along with our May challenge!
Thank you Lea, love your stamps