Hey card making friends and welcome back. Hope you had a great long weekend. It’s the 6th of the month so that means NEW CLUBS from SPELLBINDERS. I’m starting off with the Small Die of the Month Club Layered Poinsettia Tree because I just couldn’t wait to cut out this beautiful die. It’s stunning and you can make it in so many colors and then add a beautiful, embossed background with July’s 3D Embossing Folder of the month Adorning the Trees.
PLEASE NOTE: This post contains affiliate links. See below for my full disclosure.

All of the kits this month have a Christmas Theme, so you (and me) are going to get a great start on our Christmas card stash this month, LOL
Let’s jump in to the creating of today’s card shall we.

How to create the Spellbinders Layered Poinsettia Tree
Start by die cutting all the floral pieces in white and using Pinkfresh Bubble Gum Ink and an ink blending tool to color them. Then glue them together.
TIP – I used the gold cut outs to determine which pieces when where for the flowers. Just line up the outline of the floral image.
Next, cut the tree image from mirror gold cardstock and gently remove the pieces.
Then, cut a white card front 4 x 5-1/4, place inside the Adorning The Trees 3D Embossing Folder and run through your die cutting machine.

Putting it all together:
Start by using the frame cutout from the gold leaves. Place in the center of the card front, add glue to the back of the pieces, and lay them into place. Gently remove the cutout piece.
Next use the circle die to cut out the buds. For this I ink blended a scrap of white before die cutting.
Then, do the same with the JOY banner and attach it with small pieces of foam squares.
Finally, attach the entire thing to a top folding white A2 sized card base.
 Never Miss a Post – Subscribe to my blog posts.
Visit my Card Making PDF Gallery for 350+ more card ideas

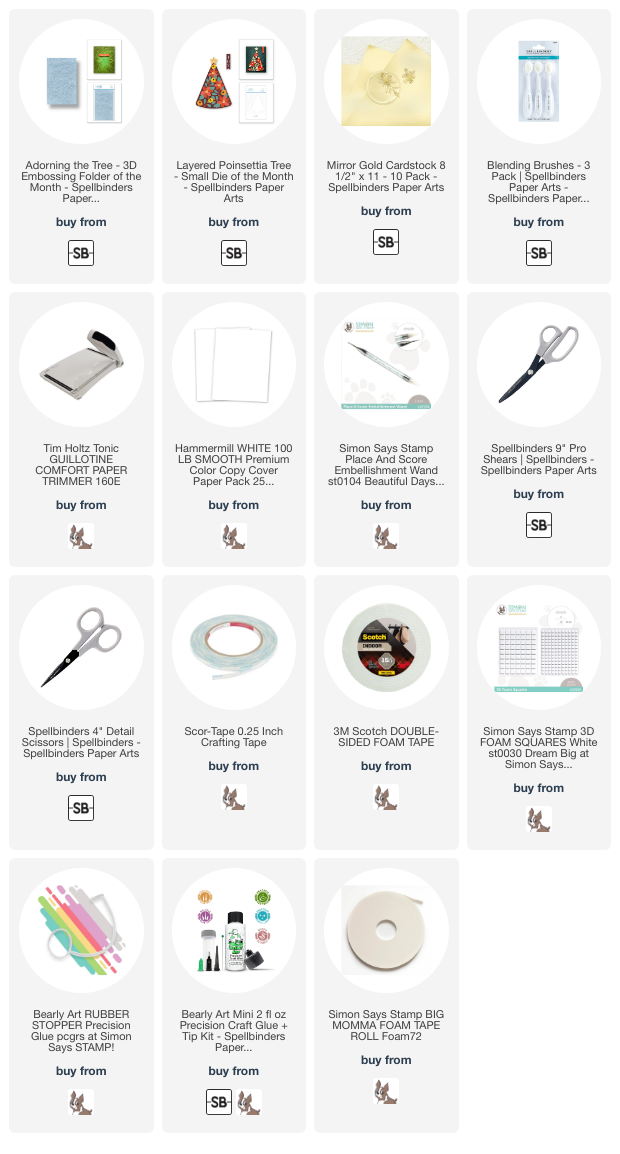
Card Making Supplies used for the Spellbinders Layered Poinsettia Tree Card:
Here are the products I used today. Compensated affiliate links used where available at no cost to you.
Clicking on a thumbnail link and shopping provides me with a small commission which supports my website and allows me to continue bringing you new projects and videos. Thank you for your support. Affiliate and product disclosure are found on my disclosure page. All products were personally purchased except for Spellbinders Small Die of the Month Kit which was provided/sponsored by the company. As always, I was not paid to do this post. I only use and recommend products I love. Click on the icons below each product picture to go to my favorite stores.


– LOTS of great Paper Crafting Sales and New Releases going on this week – Check them out here
 Shop my Favorite Brands


Really pretty! Like it in the non-traditional colors. Will you be doing other color schemes?
Maybe, will have to see if I have time.
Just beautiful, Sandi! Love the background too!
thank you sharon – the background is the new 3D embossing folder for July
Beautiful card Sandi! Love the colors and the layout is perfect! 🙂
thanks so much Amy
Absolutely gorgeous!
thank you my friend
Pink and gold, such a winner! Love this adorable card Sandi.
thanks so much Lisa