Hi there and welcome back to my card making blog. Today I’m sharing a card called Simons Foiled Roses Card and it’s part of the Simon Says Stamp “And Back Again” Release and Blog Hop. Confused about the name? Let me explain. Last Month Simon’s release was called “To The Moon” and because of the holidays, there was no blog hop. So this month, the theme is “And Back Again” (get it, LOL), and the hop covers products released from both.
GIVEAWAY & FREE GIFT
To celebrate the new release there are also prizes at every stop and a free gift with purchase – see below for details on how to enter to win a $25.00 gift certificate.
My card share today uses recent new products from Simon Says Stamp and it’s another Birthday Card to add to my very depleted stash.

Products Used in Today’s Project:
- Simon Says Stamp Happy Birthday sentiment die.
- Simon’s Delicate Leafy Branch Die
- New Foiling Sketched Rose Blossoms & Leaves foiling plate & DIe
- The Sketched Roses Wreath foiling plate
- Simon’s Detailed Tapestry Plate

Steps to create the Simons Foiled Roses Card
Use the Detailed Tapestry Plate to emboss the card front. This adds beautiful interest and detail to the card background without a bunch of color or bulk.
Die cut the Delicate Leafy Branch die twice in white and glue over the embossed card front. Then attach the card front to a top folding white A2 sized card base.
Next, use the ink pads in Sweets, Grapefruit and Sprout with scraps of watercolor card stock and the smooshing technique to create pretty papers to do the foiling on.
Using the Spellbinders Hot Glimmer Foil Machine – and the Foiling Sketched Rose Blossoms and Leaves plate and die set, gold matte foil the flower and leaves.
Finally, repeat with the smaller Sketched Rose wreath plate to create the two smaller flowers.

Creating the Sentiment for the Simons Foiled Roses Card :
Use the Happy Birthday Die set from Simon Says Stamp to die cut the two sections of the sentiment. The front in matte gold, the back in white.
Glue them together and attach them to the bottom right corner with foam squares.
Next, use foam squares to add the flowers and then the leaves.
GIVEAWAY:
Simon is also giving away a $25. gift certificate at every stop along the hop picked from comments left on each site. Be sure to leave a comment below for a chance to win. Simon will announce the winners on their blog on Wed. Jan 26.
SIMON GALLERIES:
What more inspiration? Simon has a galleries dedicated to each of their releases and card kits where the design family adds their cards and you can add yours too.
Visit the Simon Brand Galleries
Visit the Simon Card Kit Galleries.
A Note about PAWSITIVELY SATURATED INKS
Today’s release includes the reinkers for the 30 new ink pads currently available. You can order them individually, or in sets from Release #1 and Release #2.
It’s time to hop and check out what the rest of the design team has to share with you today.
*******************
Simon Says Stamp Blog
Sandi MacIver – You are Here
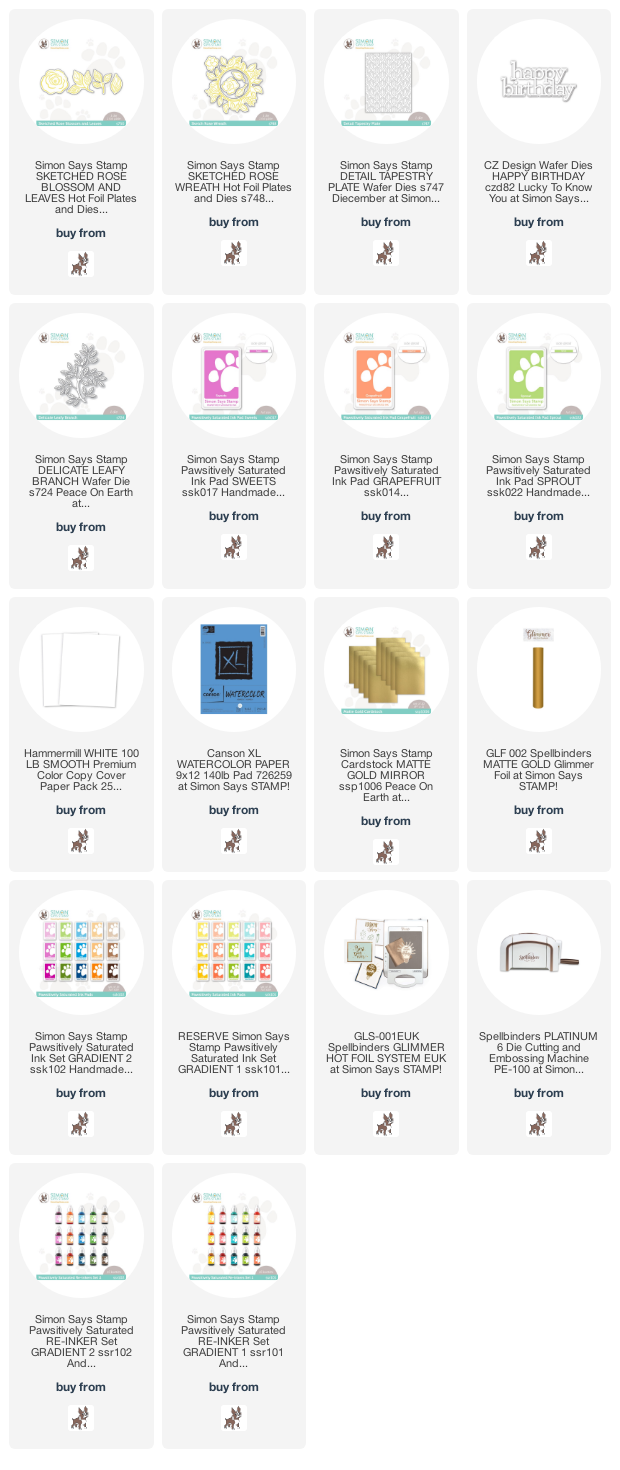
Card Making Supplies used for the Simons Foiled Roses Birthday Card card:
Here are the products I used today. Compensated affiliate links used where available at no cost to you.
When you click on a thumbnail link and shop you are supporting my website allowing me to continue bringing you new projects and videos. Thank you.

-
- Follow me on INSTAGRAM
- Join 37,700+ following me on PINTEREST
- Subscribe to my YOUTUBE Channel
- Follow me on FACEBOOK
- Check out my FREE PDF Gallery for over 350+ Card Making Tutorials
- How to make a SLIMLINE CARD – Info PAGE

– LOTS of great Paper Crafting Sales and New Releases going on this week – Check them out here


What a great card! Thanks for sharing your process.
So gorgeous!
wow, this is stunning!