
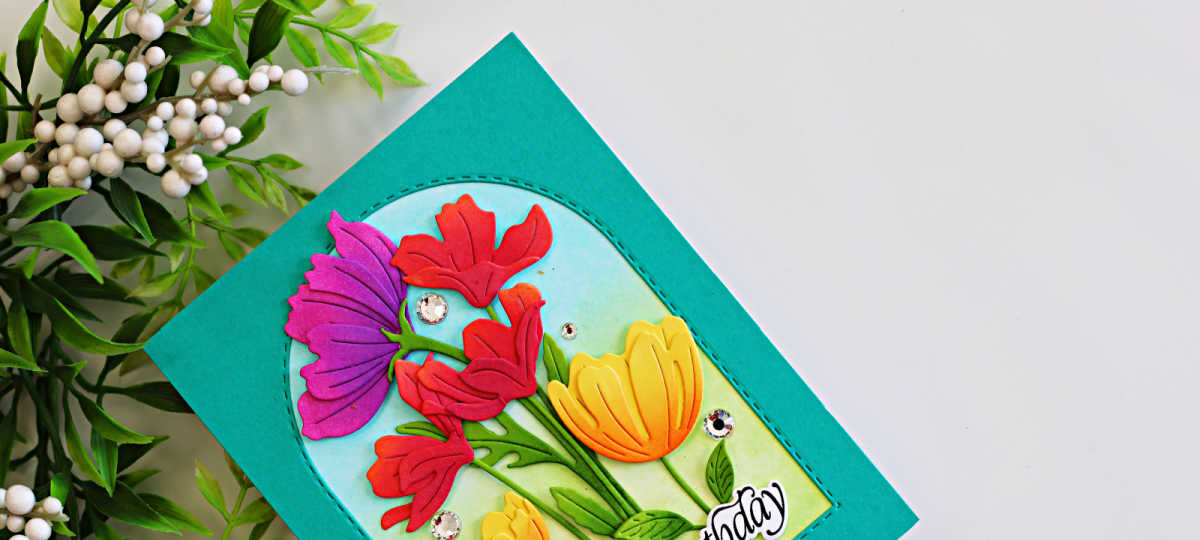
Hi cardmaking friends! Today I’m sharing a fun little experiment that shows just how much the background can change the look of a card.
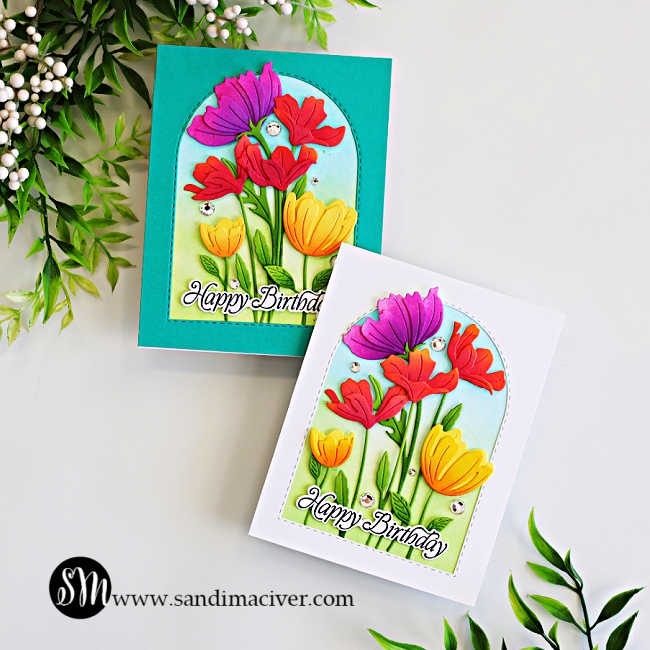
I combined flowers from three beautiful Simon Says Stamp die sets – Tissue Petal Stems, Wishflower Stems, and Butterbloom Flowers – to create one colorful garden design. Then I used essentially the same floral arrangement on two cards, changing up the background to see which look I preferred.
One has a bold colored card front, while the other keeps things crisp and clean with white.
And now I can’t decide which one I like better!
Products used for the One Floral Design, Two Looks Cards:
- Daisy Frame Stamp and Die – sentiment
- A2 Stitched Arches – nesting dies
- Tissue Petal Stems – dies
- Wishflower Stem – dies
- Butterbloom Flowers – dies
- Clear Pawsitively Dazzling Gems
How to create the One Floral Design, Two Looks Cards:
Creating the Colorful Die Cut Flowers:
Start by die-cutting a selection of flowers and stems from the Tissue Petal Stems, Wishflower Stems, and Butterbloom Flowers Die Sets.
Rather than cutting all the flower layers in different colors of cardstock, I ink-blended the die-cut flowers to create bright, dimensional colors. Adding deeper shades of ink toward the bases and centers of the petals really helps bring out all those beautiful details in the die cuts.
- ButterBloom Flowers: Inked in Zest, Honey and Sherbet
- Tissue Petal Stems: Inked in Zest, Pucker and Taffy
- Wishflower Stem: Inked in Taffy and Amethyst
Next, I cut all the stems from Rainforest Cardstock and added some shading by ink-blending parts of the leaves and stems with Field Ink.
Combining flowers from several different die sets is also a great way to create a fuller arrangement. The variety of flower shapes, sizes, and heights makes the finished garden look much more interesting.
Creating the Stitched Arch Garden:
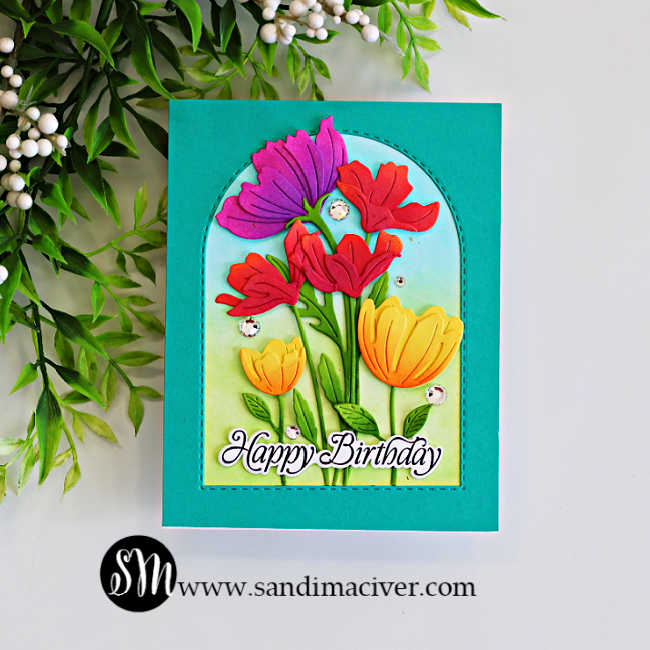
I used the new A2 Stitched Arches Dies to create the backdrop for the flowers by cutting the stitched arch from a 4-1/4″ x 5-1/2″ card front in Teal Topaz and white.
Behind that, I added a 4″ x 5-1/4″ panel of white cardstock that I ink blended with Sprout and Surf Ink, giving the flowers a little sky and grass behind them. I attached both of these to a top-folding A2-sized white card base.
Then I arranged the flowers inside the arch, mixing the three different die sets together until I had a nice balance of color, height, and shape.
I love how the arch frames everything and turns all those individual flowers into one little garden scene.
Finishing the Birthday Cards:
To finish both cards, I added the pretty Happy Birthday sentiment from the Daisy Frame Stamp and Die Set. Then, I scattered Clear Pawsitively Dazzling Gems for just a little extra shine without competing with all that gorgeous color.
I love finding ways to mix and match products from different sets, and these three floral die sets work beautifully together.
One Design – Two Different Backgrounds:
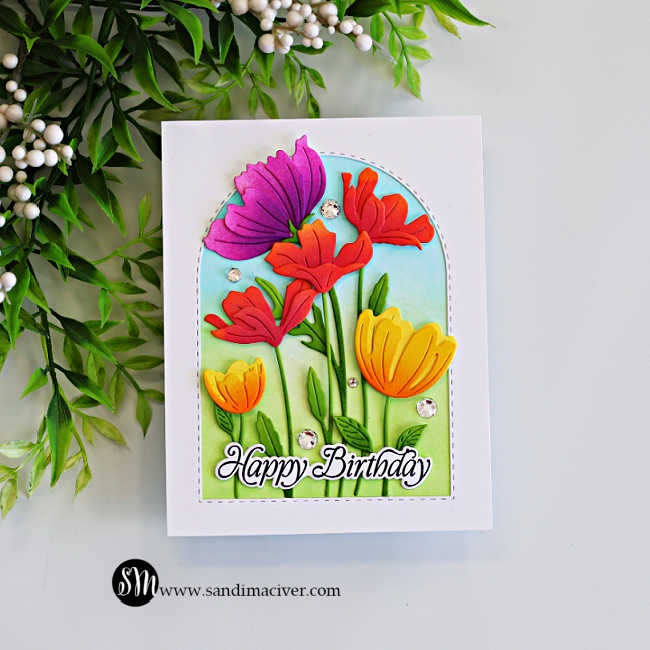
For the first card, I layered the finished arch over a colored card front. The deep Teal Topaz color surrounding the arch makes the bright flowers really pop and gives the card a bold, saturated look.
The white gives the design a lighter, cleaner look and puts even more attention on the colorful flowers, while the colored background feels richer and frames the entire garden.
It’s such a simple change, but I love how it demonstrates the impact your card base can have on the finished design.
Which do you prefer – the colored background or the white?


Never Miss a Cardmaking Tutorial
Subscribe to my blog and get the latest cardmaking ideas, tutorials, and inspiration delivered straight to your inbox — plus access to exclusive content and updates you won’t want to miss!

Visit my YouTube channel for 270+ cardmaking tutorials, techniques, and creative ideas to inspire your next project
Cardmaking Supplies Used:
Here are the supplies I used to create today’s One Floral Design, Two Looks Cards.
Many of the links below are compensated affiliate links. This means if you click through and make a purchase, I may receive a small commission at no additional cost to you.
These commissions help support my website and allow me to continue sharing cardmaking tutorials, videos, and inspiration. I truly appreciate your support.
All products were personally purchased unless otherwise noted. Simon Says Stamp Every Happiness products were provided by the company for design purposes.
You can find my full affiliate disclosure on my disclosure page.
Click the icons below each product to shop my favorite stores.
Let’s Connect & Get Inspired
Follow along for more cardmaking ideas, techniques, and tutorials:
- Follow me on Instagram
- Join 38,800+ creatives on Pinterest
- Subscribe to my YouTube Channel
- Follow me on Facebook
- Join my Cardmaking Obsession Facebook Group
FREE Cardmaking Tutorials Library
Looking for more inspiration? Explore my FREE PDF GALLERY with 359+ cardmaking tutorials — packed with ideas, techniques, and step-by-step projects to spark your creativity.

Don’t Miss This Week’s Deals
Lot’s of great paper crafting sales and new releases happening now — check them out here!

Shop My Favorite Craft Brands
Browse my Go to Brands and supplies using my affiliate links.
Your cards are stunning Sandi! Love them both, the ink blended backgrounds are so pretty with the floral images!
thanks so much Amy
My vote goes with the colored background; although, I must confess it was a tight race! What a great idea to combine die set flowers. I pull out one die set and limit my possibilities of thinking further than that. Have a see what I have that I can combine!
Thanks Gayle. It’s great fun to go through your dies and see which ones would go together
I really love all of your cards. Both of these are lovely, but I love the one that is more white. It allows the beautiful images to pop. Thank you for the inspiration; however, you tend to make me buy things. LOL. I need these flowers now.
haha, thanks Carole, LOL, I appreciate you following me, and sorry about the shopping, LOL It’s my job
Super cards. love them both! The white background seems a tiny bit brighter!!!
Thanks Sharon, I agree, but I love the deep jewel tones on the other one too
the coloured frame completely changes the look. they are so pretty!
Thanks Lisa, it’s amazing how much it changes it, LOL