
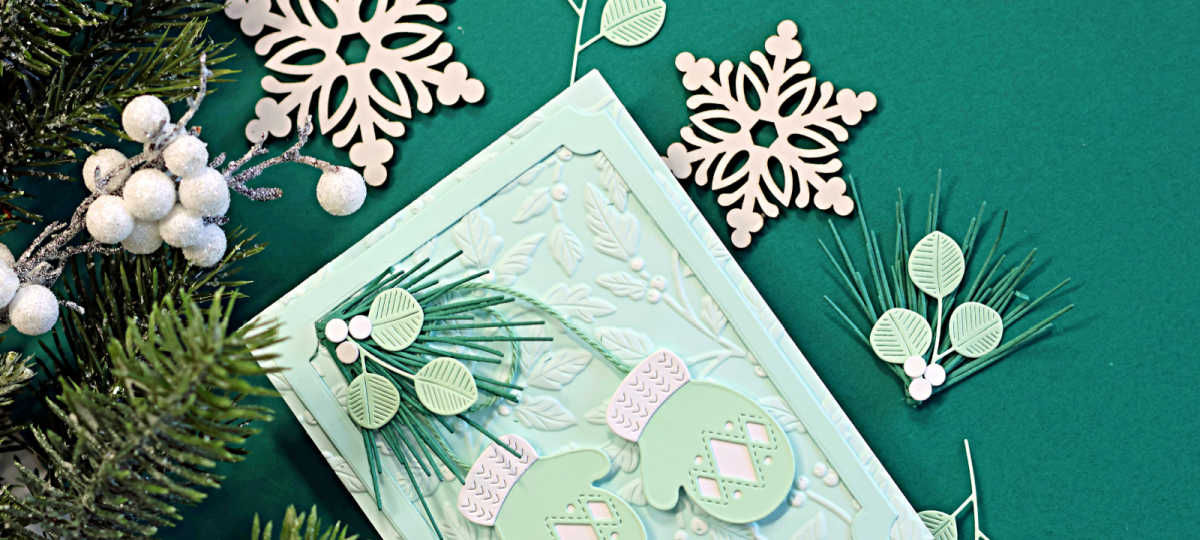
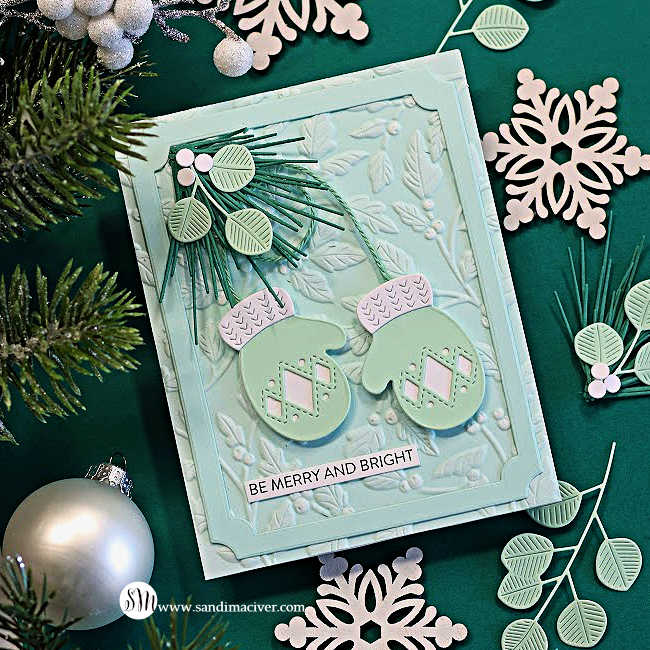
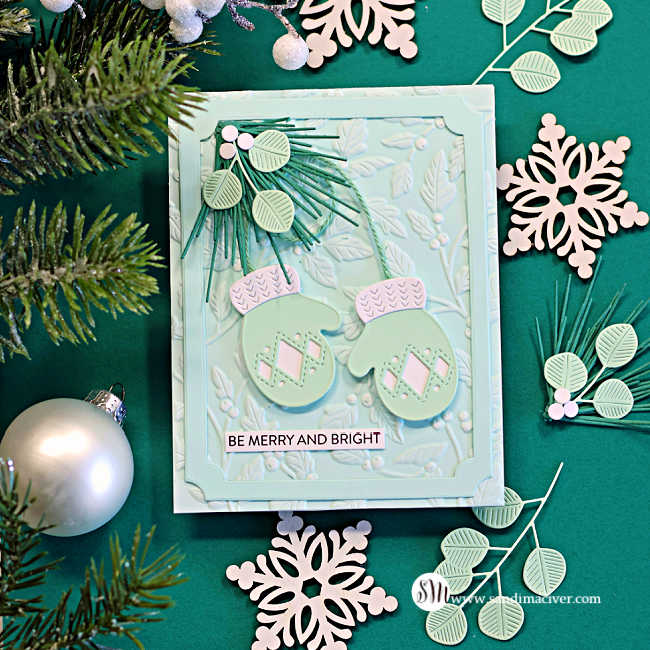
Today we are toning it down– way down– with this Merry in Mint Stitched Mittens Christmas Card. It’s another addition to my Christmas Card Magic Series, but this one is so easy to put together that I skipped the video!
Simon Says Stamp sent me a package of Blue Spruce cardstock in my latest work bundle, and I LOVE this color. I already had a set of Stitched Mittens cut out in mint, and the two colors were lovely together. For the background and frame, I chose Seafoam, a slightly lighter shade that helps the mittens and greenery pop. Then I dug into my die stash for a few older favorites to create the greenery.
You’ll find the easy steps below!
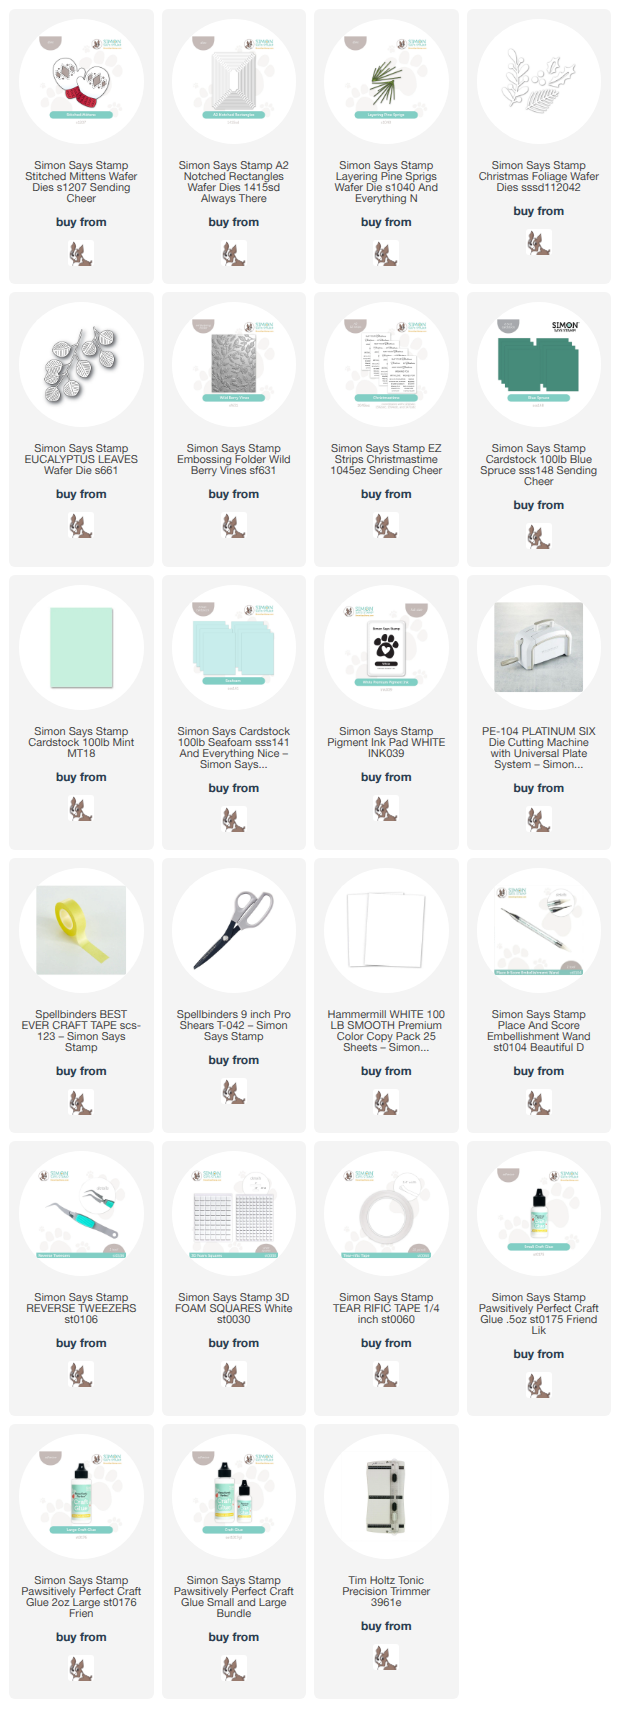
Products used for the Stitched Mittens Christmas Card:
- Stitched Mittens Die Set S1207
- Wild Berry Vines Embossing Folder
- Christmastime EZ Strips – sentiment
- Notched Rectangles 1415sd
- Layered Pine Springs S1040
- Christmas Foliage sssd112042 (berries)
- Eucalyptus Leaves S661
How to create the Stitched Mittens Christmas Card:
- Trim a panel of Seafoam cardstock to 4-1/4″ x 5-1/2″, and emboss it with the Wild Berry Vines Embossing Folder. Attach it to the front of an A2-sized, top-folding, white card base. Lightly drag a white pigment ink pad over the raised design to highlight the texture.
- Use the Notched Rectangles dies to cut a frame from Seafoam cardstock, then glue it to the front of the card to frame the design.
- Next, die-cut the Stitched Mittens from Mint and white cardstock and glue the layers together. Attach one end of a piece of light green twine to each mitten. Attach the mittens to the card using foam squares.
- Die-cut two sets of Layered Pin Sprigs and layer them.
- TIP: Stagger the sprigs as you glue them down to spread out the layers and avoid a bulky spot on your card. Attach to the top left corner of the card, just inside the frame.
- Layer the small Eucalyptus leaves cut from Mint cardstock over the pine sprigs, then add three white berries cut with the Christmas Foliage Die Set.
- Finish with a sentiment from the Christmastime EZ strips and attach it at the bottom of the card.


Never Miss a Cardmaking Tutorial
Subscribe to my blog and get the latest cardmaking ideas, tutorials, and inspiration delivered straight to your inbox — plus access to exclusive content and updates you won’t want to miss!

Visit my YouTube channel for 270+ cardmaking tutorials, techniques, and creative ideas to inspire your next project
Cardmaking Supplies Used:
Here are the supplies I used to create today’s Stitched Mittens Christmas Card
Many of the links below are compensated affiliate links. This means if you click through and make a purchase, I may receive a small commission at no additional cost to you.
These commissions help support my website and allow me to continue sharing cardmaking tutorials, videos, and inspiration. I truly appreciate your support.
Products provided by manufacturers for design purposes are marked with an asterisk (*) in the supply list.
You can find my full affiliate disclosure on my disclosure page.
Click the icons below each product to shop my favorite stores.
Let’s Connect & Get Inspired
Follow along for more cardmaking ideas, techniques, and tutorials:
- Follow me on Instagram
- Join 38,800+ creatives on Pinterest
- Subscribe to my YouTube Channel
- Follow me on Facebook
- Join my Cardmaking Obsession Facebook Group
FREE Cardmaking Tutorials Library
Looking for more inspiration? Explore my FREE PDF GALLERY with 359+ cardmaking tutorials — packed with ideas, techniques, and step-by-step projects to spark your creativity.

Don’t Miss This Week’s Deals
Lots of great paper crafting sales and new releases happening now — check them out here!

Shop My Favorite Craft Brands
Browse my Go to Brands and supplies using my affiliate links.

beautiful Ssndi, love all that soft pastel mint.
thank you Lisa
I love your card Sandi! The sweet little mittens are so cute, love the background too! 🙂
aw thanks Amy,