
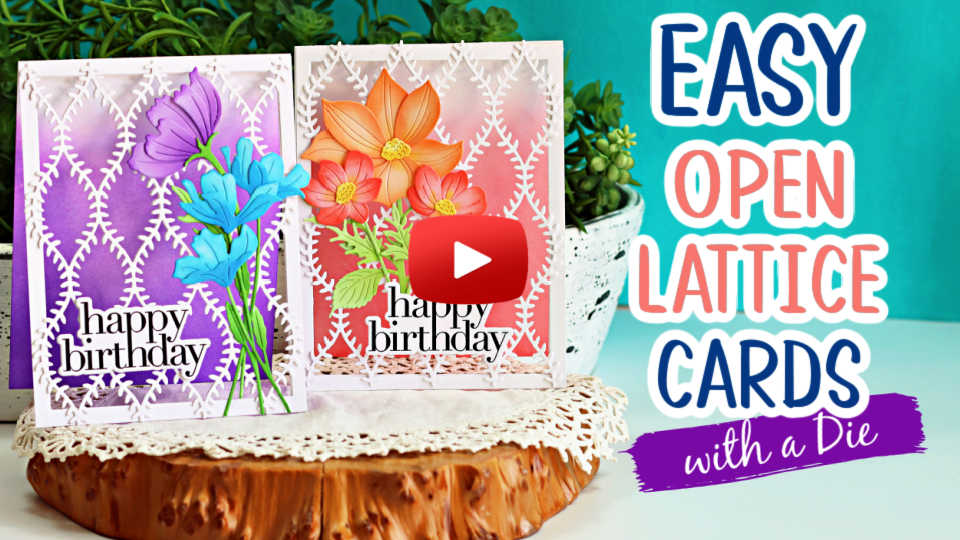
I have a fun new video to share with you today – Easy Open Lattice Card with a Die!
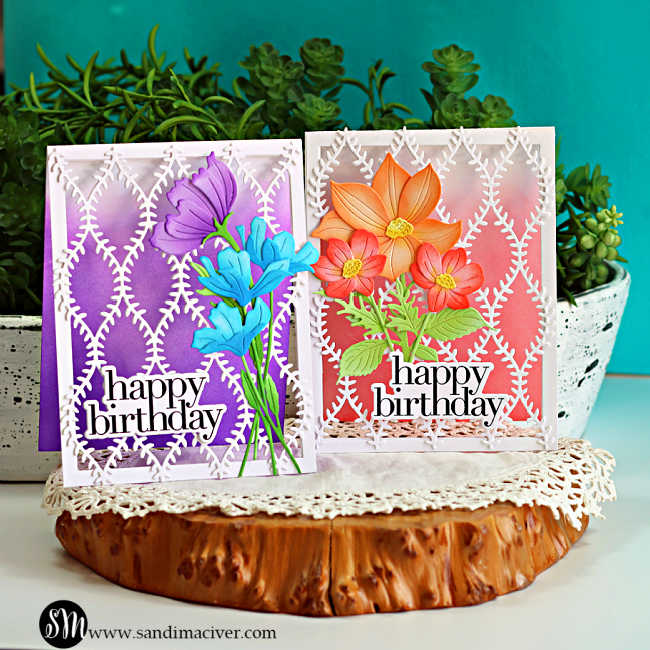
I originally shared the peach and coral card back in June, and since then, quite a few readers have asked for a video tutorial. The best part? Unlike traditional open lattice cards, there’s no cutting dozens of cardstock strips or weaving them together. Instead, I used the beautiful new Willowweave Plate Die from Simon Says Stamp to create the intricate lattice design in one easy step.
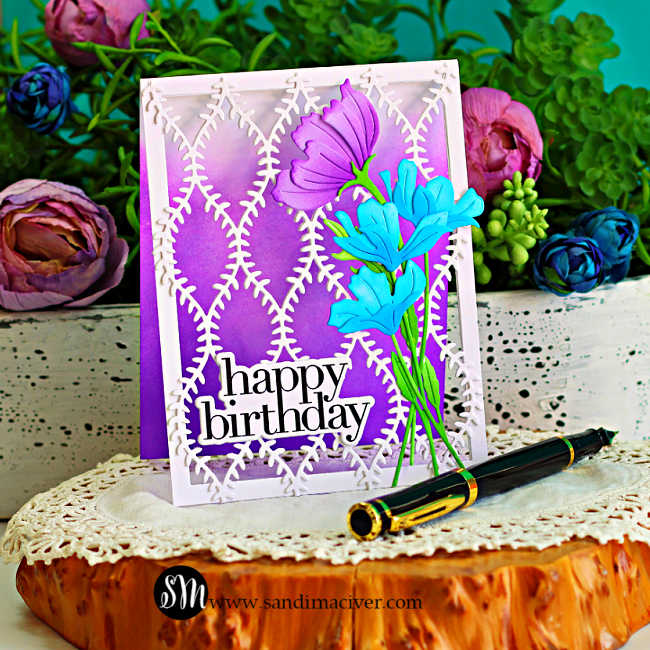
So sit back, relax and enjoy this quick tutorial! This time I changed things up by using different flower dies and a cool purple and blue color palette for the second card to show you just how versatile this design can be.
Now I’d love to hear from you! Which color combination is your favorite–the cool purple and blue blooms, or the warm peach and coral florals? Leave me a comment below!
Products used to create today’s Easy Open Lattice Card with a Die:
Peach and Coral Card:
- Luna Flower
- Sunblush Flowers
- Willowweave Plate
- Good Greetings 1 – Stamp and Die Set
- A2 Rectangles
- Inks: Lemonade, Zest, Melon, Cantaloupe, Sherbert, Blush, Cheeky, Pucker, Celery, Sprout and Pearfection
Purple and Blue Card:
- Tissue Petal Stems
- Wishflower Stem
- Willowweave Plate Die
- Good Greetings 1 – Stamp and Die Set
- A2 Rectangles
- Inks: Marine, Cadette, Royal, Lilac, Orchid, Amethyst, Fairway, Field.
How to create the Easy Open Lattice Card with a Die:
Create the Lattice Panel:
Trim two pieces of white cardstock 4-1/4″ x 5-1/2″ and die cut both with the Willowweave Plate Die. Glue the two die cuts together to create a sturdy lattice panel and set it aside.
Next, trim two more pieces of white cardstock to 4-1/4″ x 5-1/2″. Use the third from largest of the A2 Rectangle dies to die cut them both creating two 1/4″ frames. Glue them together to create a sturdy frame.
Use white glue to attach the Willowweave lattice panel to the front of the layered frame.
Create the card base:
Cut a strip of white cardstock to 4-1/4″ x 11″, score and fold at 5-1/2″ to create a A-2 top-folding card.
Place the unfolded card back into your paper trimmer and trim away all but 1/4″ of the front panel, leaving a narrow tab along the folded edge.
Apply a strip of 1/8″ red line tape to that tab. Place the card base inside your Scor-Buddy, using the top and left edges as guides to keep everything perfectly square, then adhere the lattice panel to the front of the card.
Open the card and ink blend the inside of the panel with two colors you used on the florals.
Die cut the Florals:
Die cut the florals from a 1/4″ sheet of white cardstock. Arrange the die cuts on a sticky mat and ink blend each piece before assembling the flowers.
Assemble the Card:
With the card open and resting on a protected work surface, use white liquid glue to adhere the floral arrangement to the front of the lattice.
Stamp and die cut the sentiment, and two additional white layers. Stack them together and adhere them to the bottom left side of the card.
PRO-TIP:
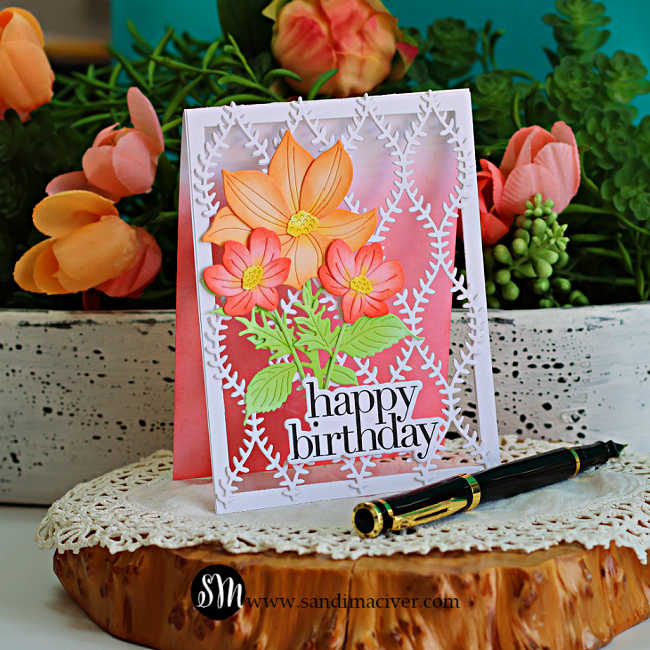
You could also ink blend the front of a A2 white card base, then glue the completed lattice panel directly to the front. I prefer having the lattice as a separate front panel because, when the card stands up, it creates a beautiful open Peek-a-Boo lattice effect with the ink-blended background showing through.
HERE’S TODAY’S CARDMAKING VIDEO:
I hope you enjoy it! If you do, I’d greatly appreciate a thumbs up and would love for you to share it with your crafty friends. Leaving a kind comment and shopping through my affiliate links are wonderful ways to support my channel and help me continue creating free cardmaking tutorials like this one.
VISIT MY YOUTUBE CHANNEL AND SUBSCRIBE


Never Miss a Cardmaking Tutorial
Subscribe to my blog and get the latest cardmaking ideas, tutorials, and inspiration delivered straight to your inbox — plus access to exclusive content and updates you won’t want to miss!

Visit my YouTube channel for 270+ cardmaking tutorials, techniques, and creative ideas to inspire your next project
Cardmaking Supplies Used:
Here are the supplies I used to create today’s Easy Open Lattice Card with a Die.
Many of the links below are compensated affiliate links. This means if you click through and make a purchase, I may receive a small commission at no additional cost to you.
These commissions help support my website and allow me to continue sharing cardmaking tutorials, videos, and inspiration. I truly appreciate your support.
All products were personally purchased unless otherwise noted. Simon Says Stamp Every Happiness products were provided by the company for design purposes.
You can find my full affiliate disclosure on my disclosure page.
Click the icons below each product to shop my favorite stores.

Let’s Connect & Get Inspired
Follow along for more cardmaking ideas, techniques, and tutorials:
- Follow me on Instagram
- Join 38,800+ creatives on Pinterest
- Subscribe to my YouTube Channel
- Follow me on Facebook
- Join my Cardmaking Obsession Facebook Group
FREE Cardmaking Tutorials Library
Looking for more inspiration? Explore my FREE PDF GALLERY with 359+ cardmaking tutorials — packed with ideas, techniques, and step-by-step projects to spark your creativity.

Don’t Miss This Week’s Deals
Lot’s of great paper crafting sales and new releases happening now — check them out here!

Shop My Favorite Craft Brands
Browse my Go to Brands and supplies using my affiliate links.
Such pretty cards Sandi! The delicate overlay is perfect with the floral images! 🙂
thanks so much Amy
Terrific, Sandi! This is a great die, very versatile
and good for different designs!
Thanks Sharon, it is a great die, I already have another card designed with it
Beautiful cards, Sandi. Thanks so much for the great tutorial. Very helpful. The lavender/teal card is my favorite. I love how you created the “Peek-a-Boo” effect and I agree it makes the card stand out from the crowd!
Thank you Gayle, I really love that die, it’s perfect for this technique.
Gorgeous cards! I especially love the warm peach and coral version. Thank you for the beautiful inspiration!
thank you for your kind words Carmen
Such beautiful cards! That lattice is so gorgeous!
thank you Lisa, fun to make too