
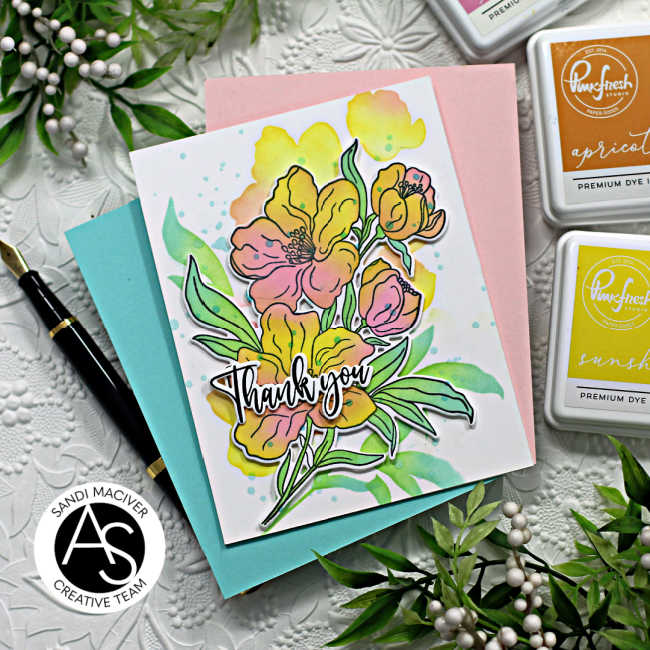
Hi card-making friends; today is the Alex Syberia Designs NEW RELEASE BLOG HOP and GIVE AWAY. I’m sharing a Grateful For You Stenciled Card created with three new Grateful For You products from this release. The 6 x 8 stamp set, the coordinating dies and the stencil.
These are beautifully designed, and the stencils fit perfectly over the stamp image, making creating beautiful cards easy without spending hours coloring. I have really come to love these stencils, and it’s fun to use blending brushes to add multiple layers of ink for some beautiful effects.
PLEASE NOTE: This post contains affiliate links. I’ve included my full disclosure below.

View the Entire New Collection HERE
Give Away:
Alex Syberia Designs is giving away a $50. Gift Certificate to 1 winner and a $15. gift card to 3 lucky winners.
Open internationally. All 4 winners will be drawn from comments made at each stop along the hop by Oct 31/24. Winners will be announced on the Alex Syberia Designs blog “Giveaway Winners” page on Nov 1/24
Products Used:
Grateful For You Stamp Set and Coordinating Dies
Pinkfresh Inks: Sparkling Rose, Sunshine, Apricot, Ocean Breeze, Grassy Knoll
How to create the Grateful for You Stenciled Card:
Start with a 4-1/4″ x 5-1/2″ piece of Hammermill White cardstock. Using the Misti, stamp the image in Memento Black Ink.
Next, place the cardstock into the center of the Waffle Flower Grip Mat and lay the stencil over. Secure the stencil and start adding ink with medium sized blending brushes.
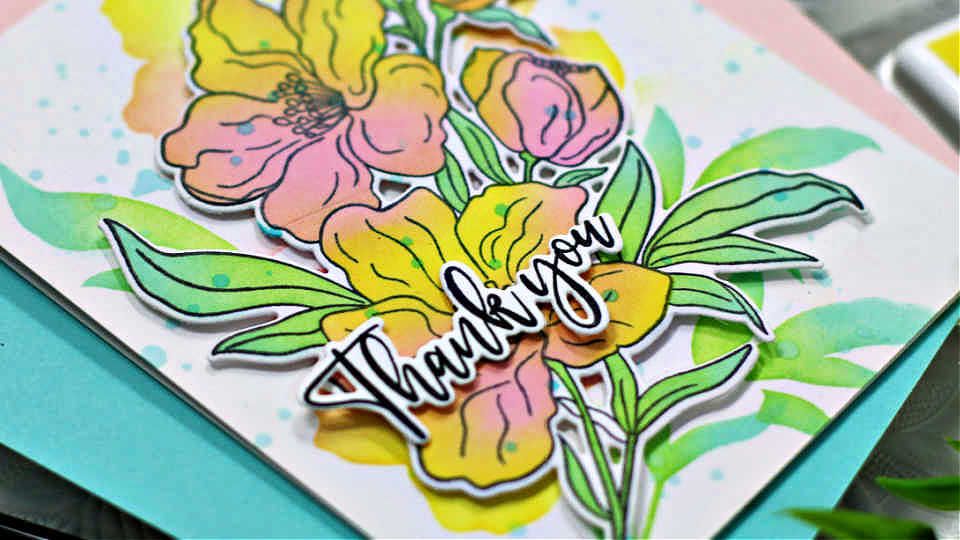
I started with the yellow, then added the pink and where they overlapped it turned light orange. I used the Apricot ink to brighten the orange slightly.
Then, use Ocean Breeze and Grassy Knoll for the leaves. Die cut the piece out with the coordinating die.
Creating the Background:
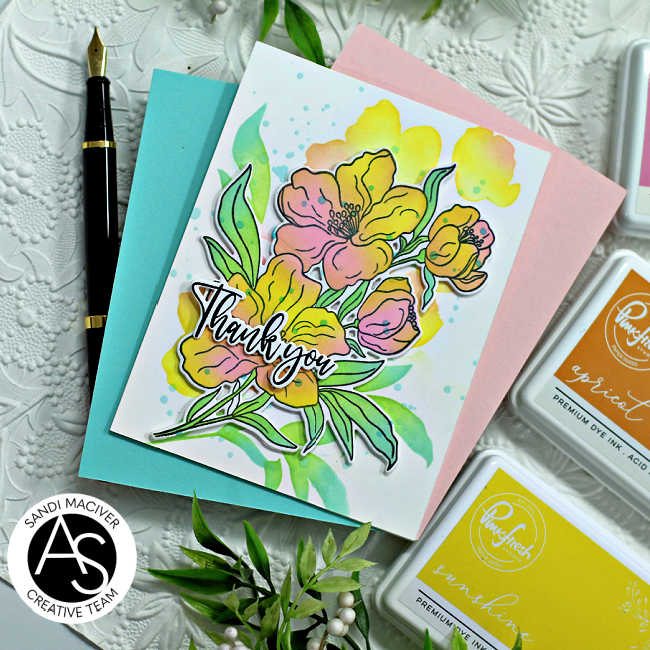
Place the die cut piece onto the card front and lightly mark some points with a pencil.
Use the stencil, and position it about 1/2 inch above where the top flower mark is and stencil the image, slightly lighter than the original piece.
Next, do the same thing with the leaves on the left and right, and the stems at the bottom. This will give you “background noise”, behind your art piece.
Then, use foam squares to attach the art piece to the card front. Splatter with watered down Ocean Breeze Ink.
Finally, stamp a sentiment in black ink on a scrap of white, die cut and attach to the bottom left of the card.
Now it’s time to hop and check out the rest of the inspiration created by the design team: If you get lost along the way, here is the complete list of hoppers. Enjoy!
- Alex Syberia Designs
- Samantha
- Rachel
- Hannelie
- Emelie
- Hanh
- Allison
- Erin
- Colleen
- Sylvie
- Carly
- Bonnie
- Amanda
- Bobbi
- Brenda
- Nicky
- Lien
- Sandi – you are here
- Nicoletta
Visit my Card Making PDF Gallery for 350+ more card ideas.

Card Making Supplies used for the Alex Syberia Designs Grateful For You Stenciled Card:
Here are the products I used today. Compensated affiliate links used were available at no cost to you.
Clicking on a thumbnail link and shopping provides me with a small commission (at no additional cost to you), which supports my website and allows me to continue bringing you new projects and videos. Thank you for your support. Affiliate and product disclosures are found on my disclosure page. All products were personally purchased except for Alex Syberia Designs Grateful For You new release products which were provided/sponsored by the company. As always, I was not paid to do this post. I only use and recommend products I love. Click on the icons below each product picture to go to my favorite stores.


-
-
- Follow me on INSTAGRAM
- Join 38,000+ following me on PINTEREST
- Subscribe to my YOUTUBE Channel
- Follow me on FACEBOOK
- JOIN my STAMP OBSESSION Facebook Group
- Check out my FREE PDF Gallery for over 350+ Card Making Tutorials
- How to make a SLIMLINE CARD – Info PAGE
- Do you like to stitch on cards? Then join our NEW FACEBOOK GROUP
-

– LOTS of great Paper Crafting Sales and New Releases going on this week – Check them out here
 Shop my Favorite Brands with my affiliate links
If you do place an order using my affiliate links (and thank you if you do) – please email me with the $$ amount before tax and shipping, and which company it was placed through, along with your mailing address and I’ll send you a hand made card as my thank you. [email protected]
The reason I ask for that specific info is the system that tracks the sales only gives us a dollar amount and company name, we do not know who made the sale.
Lovely! ASD images are always amazing.
Thank you Lori, and yes they are, so fun to color
Such a pretty card Sandi! Love the colors and your layering is perfect! 🙂
Thanks so much Amy
This is super and such gorgeous bright colours!
thank you Sharon, I’m not fond of the usual fall colors, so here we are, haha
Beautiful as usual, great colours
This is so gorgeous, Sandi! I love the stenciling behind the lined images! ♥
thanks Enna, I wanted to try something a bit different for a background, LOL
The way you added the colors is very cool. Sort of tie dyed? Very pretty
I love this pretty design!
I LOVE the flowers, colors and design! AWESOME!
ABSOLUTELY gorgeous
thank you my friend
Your floral art piece is lovely – and what a fabulous special touch with the ‘background noise’. Wonderful showcase of new ASD products.
~carol
Lovely card!
Beautiful card! I love the stenciled background!
so pretty Sandi! love all the different layers of colours.
thanks so much Lisa
Gorgeous card, Sandi 😍
thank you my friend
Beautiful floral design and color combo! Gorgeous card!
Beautiful floral design and color combo! Such a gorgeous card!
I like the idea to create depth.