Hi cardmaking friends and welcome back. Today I have three Hero Arts Christmas Cards to share with you. Hero Arts just had a new Holiday Catalogue release and I fell hard for this Hero Arts Looking Glass Winter Forest Die set.
Christmas Card Count: I have been keeping track of my Christmas Card Count over on my Instagram Page, These are 18, 19 and 20. I’m getting there, how about you guys?
Why did I fall for this Looking Glass Winter Forest Die Set?
The laying dies are so versatile and you can layer just a few or all of them.
I can get right into some card detail or I can make a quick and easy card.
The small square art piece really speaks to me. I love it on white, but I also love it on a detailed background.
You can change the entire look of the card just by changing the colors you use for the dies.

Hero Arts Christmas Cards #1
This is my over the top card as you can probably tell, haha.
Use the Stormy Night Stencil with VersaMark Ink to stencil the card front.
You could also use some of the new background stamps just released (mine have not arrived yet).
Next, cut all three dies out of watercolor paper and paint them.
When the paint is dry, add white glitter to the tops of the mountains.
Stack the pieces together and attach them to the card front.
White heat emboss the sentiment from another new set, Christmas Robins and attach under the art piece.
Finally, add white dots on the deer’s behind with a Gello Roll #10 white pen

A little Less Work:
For this card I cut out two dies, the deer and the trees.
Use Copic Markers to color the deer: E51, E31, E33, E25. Add the white dots to his behind too.
Behind that, add a panel blended with Lemon Yellow and Bubble Gum ink and splattered with white paint
Finally, use a Misti to stamp the sentiment in the pink ink.

The Final Card:
Ok, you knew there would be a blue card in here somewhere right, haha.
Same two dies as above.
Add a piece of blue card behind the art piece before attaching it to a white card base.
You could also use a blue card base for this one.
Finally, stamp the sentiment in blue.
Admittedly, the first card took a bit to create and I really enjoyed the process. The second and third cards took a lot less time and would be great for mass producing.
You could also use a lot of scrap from your bin to create them, as the pieces are about 2.5 inches square, so quite small.
Check out the New Hero Arts Holiday Catalog HERE
And click the links below to order your cardmaking supplies.
Visit my PDF Gallery for 300+ more card ideas

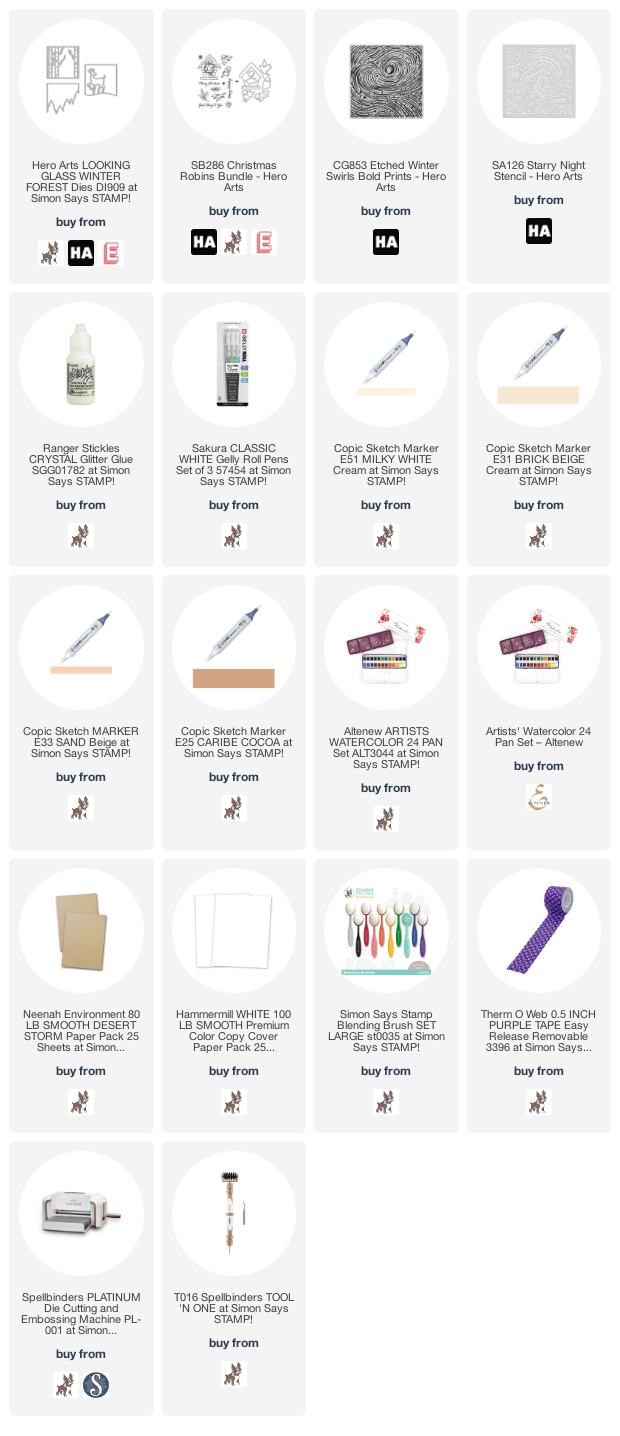
used for the Hero Arts Christmas Cards:
Here are the products I used today. Compensated affiliate links used where available at no cost to you.
When you click the images below and shop you are supporting my website allowing me to continue bringing you new projects and videos. Thank you.
****************************

-
- Follow me on INSTAGRAM
- Join 37,700+ following me on PINTEREST
- Subscribe to my YOUTUBE Channel
- Follow me on FACEBOOK
- Check out my FREE PDF Gallery for over 300+ Card Tutorials
- How to make a SLIMLINE CARD – Info PAGE
**************************************************
 – LOTS of great sales and New Releases going on this week – Check them out here
 <<<<Click to shop through me at my favorite brands


Love these designs! Such great die cuts, fun colors too! 🙂
thanks Amy
Love those little dots on the deer. Not only do you write a very instructive narrative (with touches of humor) but the detail in your work is awe-inspiring!
aw thank you Mary, I wanted to give enough instruction so readers could duplicate the cards