For today’s card-making post, I thought I would create his and hers Birthday Cake Cards from the same products. I’m working with more of the Spellbinders November Club Kits, this time the Party Time Cake Die Set that you get as a bonus this month with your Deluxe Caboodle membership. It’s adorable; and so much fun, and these cards are both quick and easy to create.
PLEASE NOTE: This post contains affiliate links. I’ve included my full disclosure below.

Creating these two cards was super easy. Basically, the die-cut pieces are all the same, just different colors. By picking masculine and feminine colors for each, you differentiate them. I decided to add embossed backgrounds to both cards because I love the texture it provides without adding a pile of bulk to my cards. There are two new Embossing Folders in the Spellbinders Club Kits this month, and I’m introducing them here today.

Products Used:
Deluxe Caboodle Bonus Item for November 2024 – Party Time Cake Die Set
Cascading Streamers Embossing Folder
Rosette Burst 3D embossing Folder
Cross Stitch Nested Card Front and Tags Die Set – Stitched Die of the Month Club – Nov/24

His and Hers Birthday Cake Cards – Masculine Card
Start by die-cutting the Party Time Cake Die Set to create the cake in blues and purples, with a green top and a silver tray underneath. Cut the candles in white and color the tips with Copic Marker Y08
Next, Using the Cross Stitch Nested Card Front and Tags Dies from this month’s Stitching Club, cut two backgrounds, 1 in light gray and the other in teal.
Then, Use the Cascading Streamers Embossing Folder to emboss the gray background piece. Before layering both pieces to a top folding A2 sized white card base 4-1/4′ x 11″, score and fold at 5-1/2″.
Finally, Add the cake to the center of the teal background with foam squares to add dimension; Die cut the “party time” words from white and add below. Embellish with Color Essentials Sequins in Silver.

His and Hers Birthday Cake Cards – Feminine Card
Start by die cutting the birthday cake in pinks, with a green top and a matte gold cake tray. Cut the candles in white and color the flame with a Y-08 Copic Marker.
Next, cut a white card front 4-1/4″ x 5-1/2″, place inside the Rosette Burst embossing folder and run it through a die cut machine. Attach it to the front of a top folding A2 sized white card base. 4-1/4″ x 11″, score and fold at 5-1/2″
Then, die cut the “party time” words in white and shadow in matte gold. Layer them together.
Finally, attach the birthday cake with foam squares to the center of the card. Add the sentiments underneath, also with foam squares to add dimension. Embellish with Color Essentials Gold Sequins.
Visit my Card Making PDF Gallery for 350+ more card ideas.

Card Making Supplies used for the His and Hers Birthday Cake Cards:
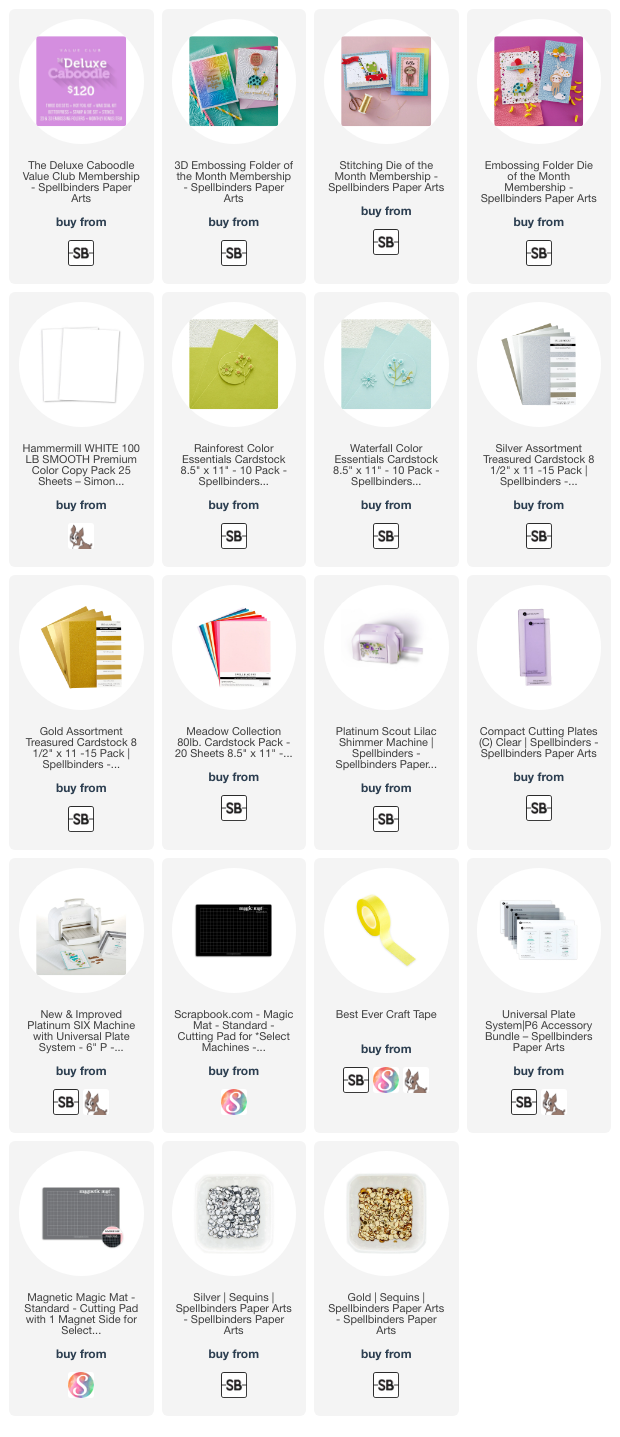
Here are the products I used today. Compensated affiliate links used were available at no cost to you.
Clicking on a thumbnail link and shopping provides me with a small commission (at no additional cost to you), which supports my website and allows me to continue bringing you new projects and videos. Thank you for your support. Affiliate and product disclosures are found on my disclosure page. All products were personally purchased except for Spellbinders Monthly Club kits which were provided/sponsored by the company. As always, I was not paid to do this post. I only use and recommend products I love. Click on the icons below each product picture to go to my favorite stores.


-
-
- Follow me on INSTAGRAM
- Join 38,000+ following me on PINTEREST
- Subscribe to my YOUTUBE Channel
- Follow me on FACEBOOK
- JOIN my STAMP OBSESSION Facebook Group
- Check out my FREE PDF Gallery for over 350+ Card Making Tutorials
- How to make a SLIMLINE CARD – Info PAGE
- Do you like to stitch on cards? Then join our NEW FACEBOOK GROUP
-
– LOTS of great Paper Crafting Sales and New Releases going on this week – Check them out here
 Shop my Favorite Brands with my affiliate links
If you do place an order using my affiliate links (and thank you if you do) – please email me with the $$ amount before tax and shipping, and which company it was placed through, along with your mailing address and I’ll send you a hand made card as my thank you. [email protected]
The reason I ask for that specific info is the system that tracks the sales only gives us a dollar amount and company name, we do not know who made the sale.


Such cute cards Sandi! Love the fun cake die cut and the colors are perfect! 🙂
Thanks so much Amy, they were quick and fun to make
These are fabulous!! Love the embossed panels, they add more dimension!
And you chose super colours for the cake layers!
Thank you Sharon, aren’t the embossing folders this month beautiful, and both are very versatile, can be used all year long
Adorable cards!!! I love the embossing folders.
It might just be me but, you link to Spellbinders didn’t work.
Thanks so much karen, and thank you for letting me know about the link, I’ll check it out
Love these!
thank you my friend
fun idea to do his and hers! they came out great Sandi. the embossing folders add such beautiful texture
Thanks so much Lisa