
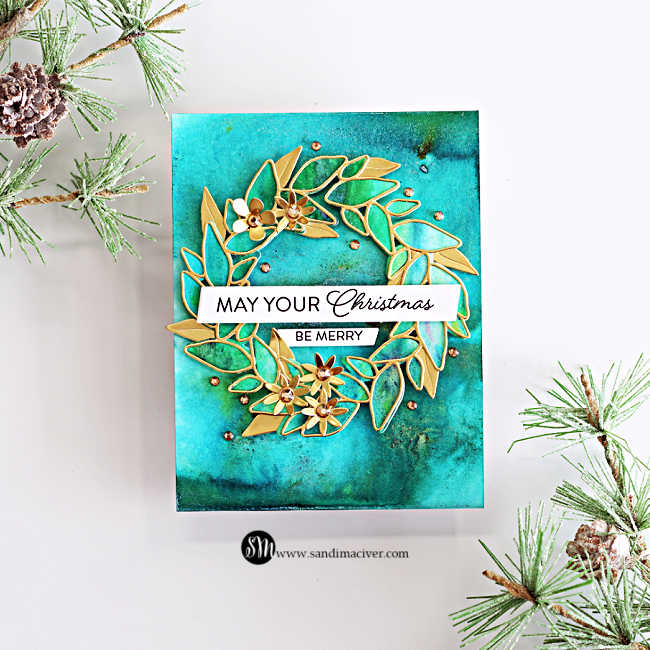
This Leafy Wreath Bundle is so fun. It creates a beautiful 3D die-cut wreath, with an overlay that you can even stencil if you wish. I decided to use some of my Lindy’s Magicals paper I made a few months ago. This bundle includes three items: the Leafy wreath with the leaves, flowers, and berries die; the Detailed Leafy Wreath die, which cuts the outline; and the Leafy Wreath Stencil, if you prefer to stencil your images. Either way, they work beautifully together, and this card came together in literally minutes.
Keep scrolling for the details.

Products Used to Create the Leafy Wreath Christmas Card:
- Lindy’s Magicals:
Loonie Toonie Teal - Lucky Shamrock Green
- Leafy Wreath Bundle
- Christmastime EZ Strips and Wafer Die
- Gold Dazzling Gems
How to create the Leafy Wreath Christmas Card | Lindy’s Magicals Magic:
Start by creating your colorful paper. Generously spritz watercolor paper with water, then sprinkle on the three Lindy’s Magical powders. Spritz again, to activate the powders, then tilt the paper to move the colors around and cover any white areas. Once dry, trim two panels to 4-1/4″ x 5-1/2″. Use one as the A2 card front and die-cut the Leafy wreath from the other.
Next, use the Detail Leafy Wreath die to cut an outline from matte gold cardstock. Adhere it over the colorful wreath, carefully lining up the leaves. Tuck some of the gold leaves in and around the wreath to add contrast. Die-cut five additional flowers from matte gold cardstock and arrange them at the top and bottom of the wreath. Adhere the wreath to the center of the card.
Die-cut the Christmastime EZ strips and choose two sentiments to place across the center of the wreath.
Finish by adding Gold Pawsitively Dazzling Gems to the flower centers and around the wreath.
This card is even prettier in Person! The mica in Lindy’s Magicals creates a beautiful shimmer. Paired with the matte gold details and sparkling gems, it makes one fabulous Christmas Card.
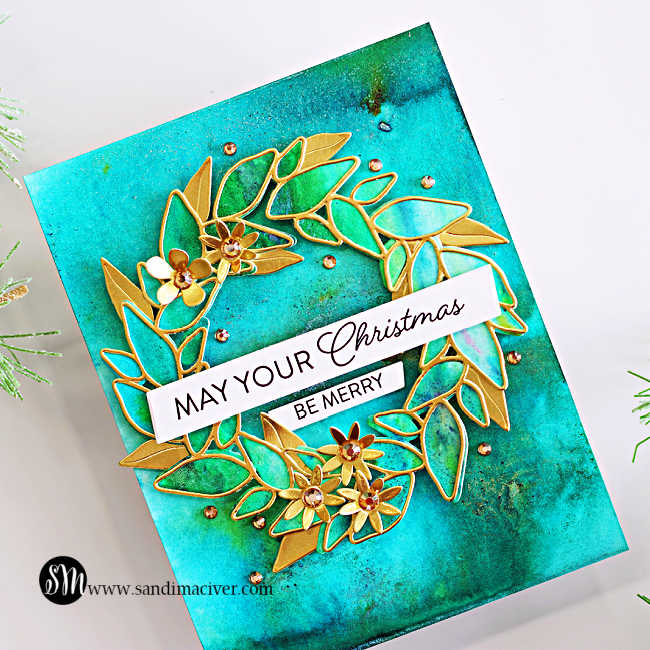
Note: When making these cards in bulk, I spend the morning creating all my Lindy’s Magicals Paper, then let them dry while I have lunch. In the afternoon, I die-cut all the pieces and set up an assembly line. It’s a great way to make 15 – 20 cards in one day!


Never Miss a Cardmaking Tutorial
Subscribe to my blog and get the latest cardmaking ideas, tutorials, and inspiration delivered straight to your inbox — plus access to exclusive content and updates you won’t want to miss!

Visit my YouTube channel for 270+ cardmaking tutorials, techniques, and creative ideas to inspire your next project
Cardmaking Supplies Used:
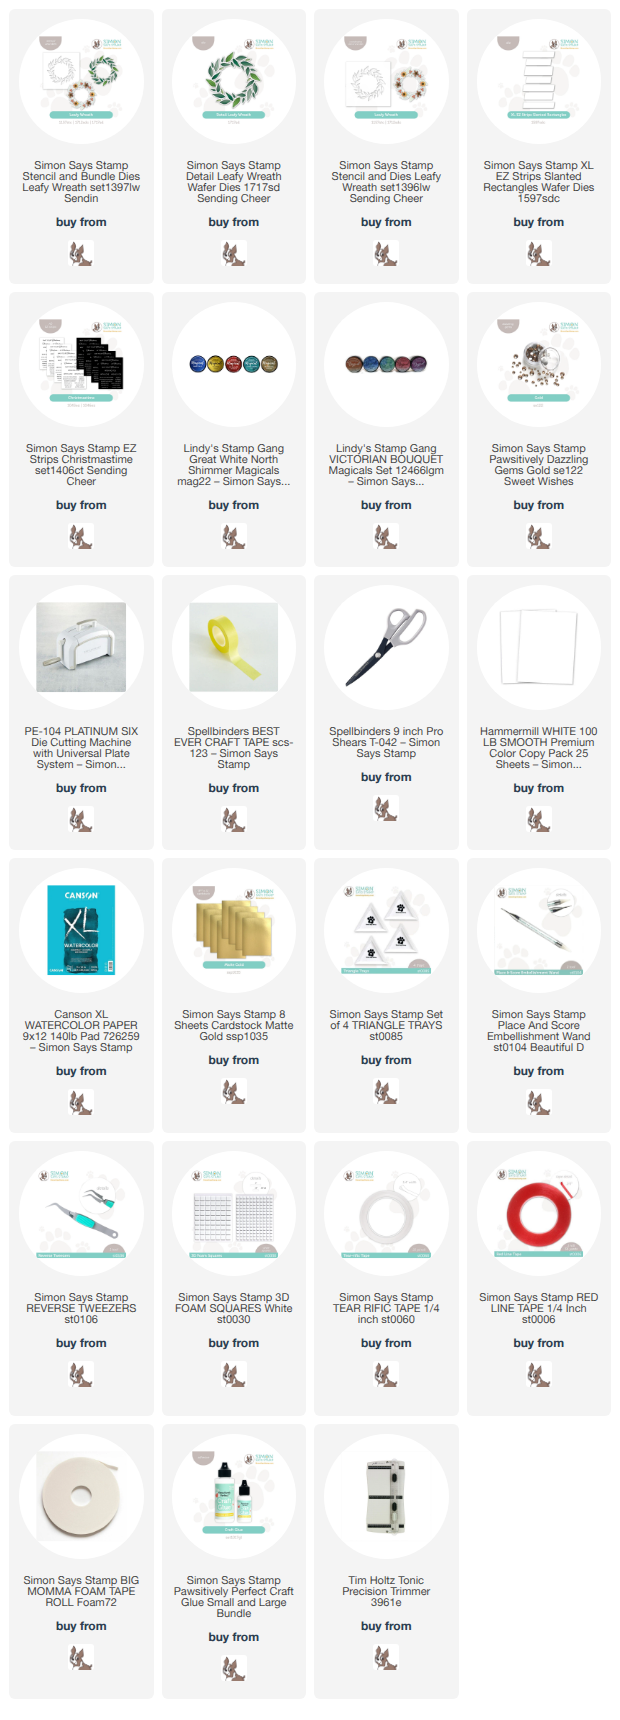
Here are the supplies I used to create today’s die cut quilt card with Altenew Patchwork Pathways.
Many of the links below are compensated affiliate links. This means if you click through and make a purchase, I may receive a small commission at no additional cost to you.
These commissions help support my website and allow me to continue sharing cardmaking tutorials, videos, and inspiration. I truly appreciate your support.
Products provided by manufacturers for design purposes are marked with an asterisk (*) in the supply list.
You can find my full affiliate disclosure on my disclosure page.
Click the icons below each product to shop my favorite stores.
Let’s Connect & Get Inspired
Follow along for more cardmaking ideas, techniques, and tutorials:
- Follow me on Instagram
- Join 38,800+ creatives on Pinterest
- Subscribe to my YouTube Channel
- Follow me on Facebook
- Join my Cardmaking Obsession Facebook Group
FREE Cardmaking Tutorials Library
Looking for more inspiration? Explore my FREE PDF GALLERY with 359+ cardmaking tutorials — packed with ideas, techniques, and step-by-step projects to spark your creativity.

Don’t Miss This Week’s Deals
Lots of great paper crafting sales and new releases happening now — check them out here!

Shop My Favorite Craft Brands
Browse my Go to Brands and supplies using my affiliate links.
Just beautiful Sandi! Your wreath is stunning! Love the gold touches! 🙂
thank you Amy