Hey card making friends welcome back. Today I have a New Video Spellbinders Stained Glass Cards and three samples to share with you.
Becca Feeken recently released her Stained Glass Bouquet collection and I was so excited to create with them. The cards were so fun to create I can’t wait to share them with you.
I had a stained glass business for over 10 years when I lived in Washington State and I loved doing stained glass…although I did notice that doing paper stained glass is much faster than the real stuff haha.
That said, the process is similar, and the Spellbinders dies make it super easy.

I won’t go into great detail for the cards, as I have that covered in the video below. I will however, share a bit about each die set and the different ways I applying the Stained Glass color to each card.
Spellbinders Stained Glass Cards – Card #1

This card is built in the video.
For the stained glass pieces, I sprayed and painted watercolor paper and die cut it.
Pieces were inlaid into the images (show in the video)
Next, the piece was laid over a Glimmer Foiled Scalloped Rectangle on a A2 White card base.
Finally, the sentiment was cut with the Simply Perfect Mix and Match Sentiments die set. Twice from white and once from pink watercolor paper and stacked.

Spellbinders Stained Glass Cards – Card #2

This is a 4-3/4″ square card.
Cut the tulips and leaves from water colored paper and inlay into the base. Cut the circle again from Hero Arts Mist and inlay the background.
Next, cut the background outline from white cardstock. Use the outline die to cut the same size piece from Hero Arts Mist cardstock.
Glue the white outline piece to the mist cardstock, therefore, creating the appearance of stained glass, without having to inlay all the pieces.
Finally, glimmer for the sentiment using the Elegant Twist Glimmer Border and Sentiments set.
Spellbinders Stained Glass Cards – Card #3

This is a 5 x 7 finished card.
Start by using Shaded Lilac, Tumbled Glass and Broken china Distress Oxide Inks to blend a sky.
Next, use the oval die to cut the sunburst base from the color blended card stock.
Die cut the stained glass piece and pull out the outline piece to glue over the oval.
As a result, this saves having to inlay each piece.
Repeat the process for the very back panel. The die for this panel is called Swirl Background. Cut it in white and back it with a piece of the Hero Hues Mist.
Cut the roses and leaves from the watercolor paper as shown in the video for card #1
Finally, once the card is complete, embellish each side with the new Spellbinders Essentials gems – Silver mix.
Here’s the video walking you through creating one of the Spellbinders Stained Glass Cards

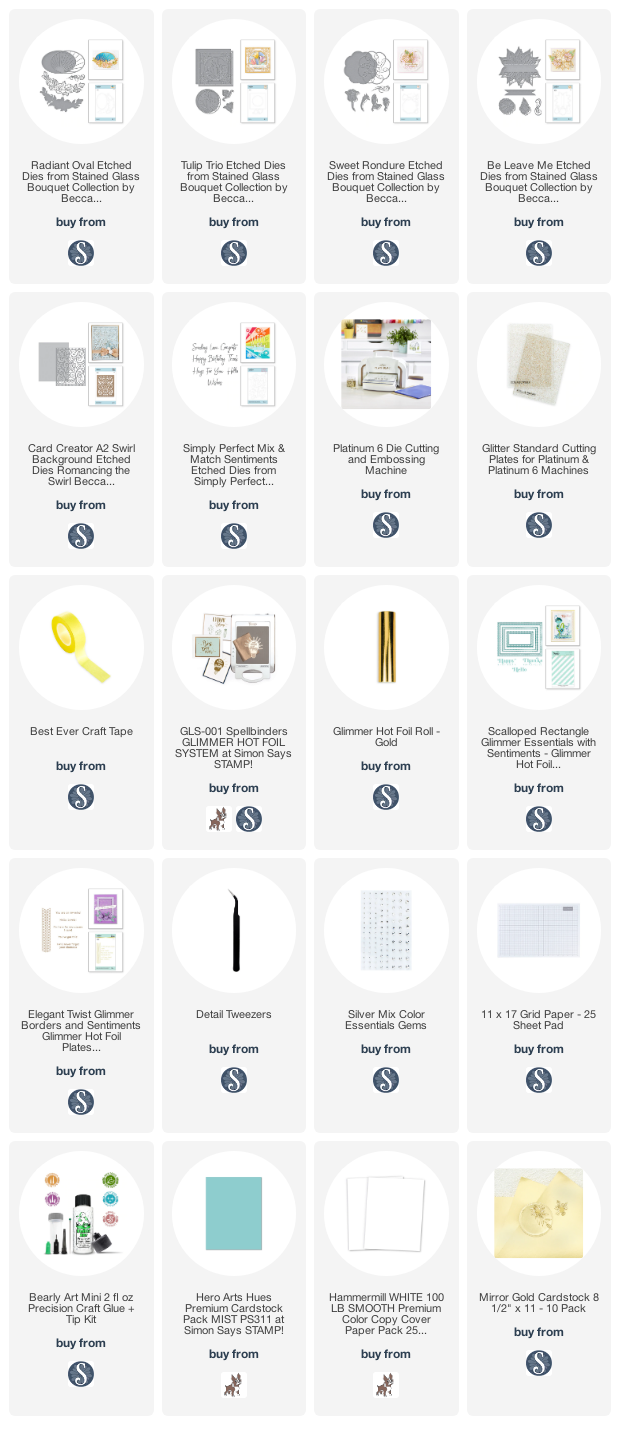
used for the Spellbinders Stained Glass Cards:
Want to find the products I used? I have them listed below. Compensated affiliate links used at no cost to you.
Thank you for your support, it helps to cover my blogging and video expenses.

-
- Follow me on INSTAGRAM
- Join 37,500+ following me on PINTEREST
- Subscribe to my YOUTUBE Channel
- Follow me on FACEBOOK
- Check out my FREE PDF Gallery for over 250+ Card Tutorials
- How to make a SLIMLINE CARD – Info PAGE


These are awesome cards Sandi! You did the stained glass proud! I like you work so much
thanks Anne, I had fun, just wish I didn’t have so many deadlines right now, LOL
So pretty Sandi! Love your designs, those die cuts are amazing! 🙂
These are BEAUTIFUL!!!!!! Love!
thanks Natasha, they were so very fun to create