Hey crafty friends, welcome back. Today I’m sharing Simon Says Stamp Bee Yourself Thank you. I combined two Simon Stamp Sets to create today’s card, the Bee Yourself and Even More Spring Flowers. I also have a Craft Sales Update for the weekend too.

I’m also entering this card into the Simon Says Stamp Wednesday Blog Challenge – this week it’s RECYCLE.
Come on over and join in. Use some Simon Says Stamp Products and something you are recycling in your project. The lovely folks at Simon have a $25.00 gift certificate up for grabs too. Just visit the Simon Says Stamp BLOG and upload your card to the Inlinkz list before Wed.

What did I recycle for my card?
An Amazon shipping box. I cut a piece down to 4 x 5-1/4, peeled off some of the surface so the corrugated center showed. Next I painted it white and then I sprayed it with Distress Oxide Sprays in Cracked Pistachio and Mermaid Lagoon.
Once that was dry, I splatted some white and yellow paint.
Of course, if you don’t wish to do this, you could simply use a piece of patterned paper, but, this was inky fun goodness at it’s best, LOL

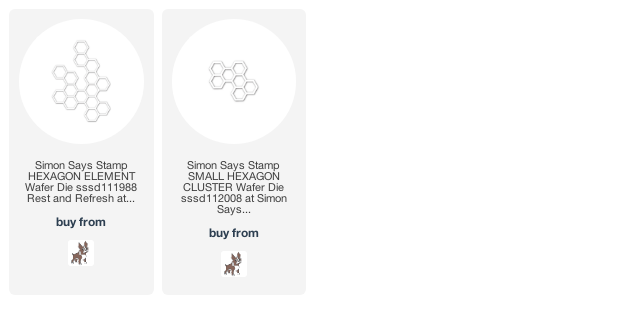
The Bee Yourself stamp set was part of a Simon Says Stamp card Kit in July last year and it came with a small hexagon cluster die which I used to create the honeycomb in the background. I die cut it 4 times from watercolor paper and sprayed it with Dylusion Sprays in Lemon Yellow and Orange. I noticed this was sold out, and there is another larger die you could use and only cut once.
The Misti stamping platform came in handy for stamping the “Even More Spring Flowers” stamp set onto watercolor paper. As the paper is slightly lumpy, the Misti allows me to stamp it numerous times to get a nice dark outline. I also leave my stamps in the Misti and stamp again once I finish watercoloring.
I used my Zig Clean Color Real brush markers to color the flowers and leaves before fussy cutting them out. There is a coordinating die set, but I didn’t want the white around the images.
Zig Clean Color Real Brush Markers Used:
- Purple: 083, 081, 081
- Yellow: 051, 050
- Green: 042, 041
Finally, I added the three little bees colored with Copics and the white on black heat embossed sentiment.
I decided I didn’t need further embellishments as I already had lots going on, but I did add some Yellow Stickles to the flower centers for a touch of bling.
I did a 4 card video last year with these adorable little fellows, and at the 2:50 mark on the video, I do a quick copic coloring of the bees if you are interested and you can find the blog post with all 4 cards here
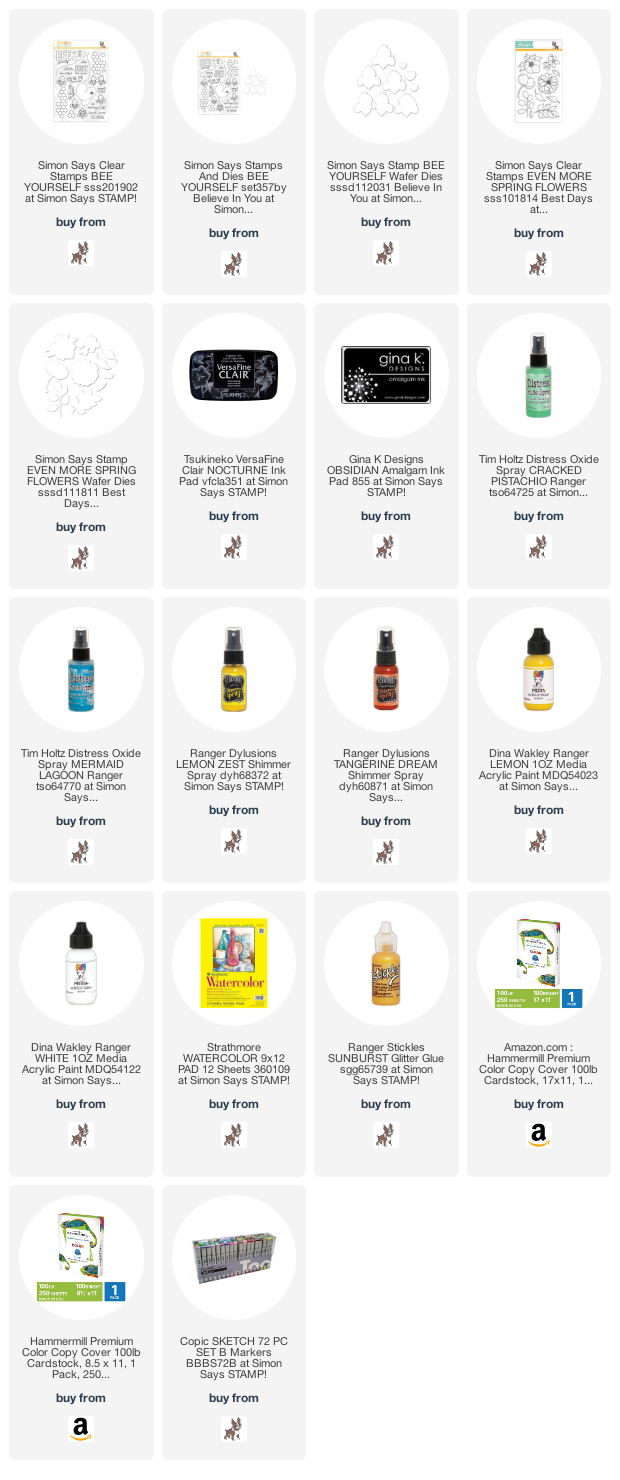
All the products used on today’s Simon Says Stamp Bee Yourself Thank you card are listed below, and you can get them on sale this weekend:
If you read yesterday’s blog post, you know that Simon Says Stamp is have a 15% OFF Sitewide sale this weekend so you can grab all of the products I used today on sale:
My CRAFTY SALES PAGE is being updated all weekend long as new sales are listed, and a new one popped up this morning, HONEY BEE STAMPS has 15% off sale for the weekend. You can grab some sweetness there too. 100 New Products as well, and a clearance sale with up to 70% off.
used for the Simon Says Stamp Bee Yourself Thank you card :
Want to find the products I used? I have them listed below. Compensated affiliate links used at no cost to you.
Thank you for your support, it helps to cover my blogging and video expenses.
PS, if you place an order through my links, please let me know, I would LOVE to send you a thank you card.

-
- Follow me on INSTAGRAM
- Join 36,000+ following me on PINTEREST
- Subscribe to my YOUTUBE Channel
- Follow me on FACEBOOK
- Check out my FREE PDF Gallery for over 200+ Card Tutorials
 – LOTS of great sales and New Releases going on this weekend – Check them out here


That is so cute Sandi! Love the colors and your embossed background is perfect under your images. 🙂
thanks amy, that background was so fun to make
Wow – this is amazing!!!!!! i LOVE that recycled background so much!!!!!!!!
Wow – this is amazing!!!!!! i LOVE that recycled background so much!!!!!!!! Have an awesome weekend!
thank you Natasha, it was a fun challenge to participate in