
I’m working my way through the kits this month and I have to say, this Spellbinders Glimmering Christmas Flora Card is my FAVORITE so far. WOW, what a great glimmer plate. It would look great in many different colors but I decided to get really bold and gold foil it in black. Actually, I used Polished Brass Foil as it shows up better as gold in my photos. I’m thinking Dark Green, Burgundy, dark blue would also be beautiful combos too. If you look closely at the background you will also see I used the July Embossing Folder, Christmas Wrap Pattern for a little background noise inside my cut out.
PLEASE NOTE: This post contains affiliate links. See below for my full disclosure.

I’m also continuing with my pink theme. Sorry, but I really hate red and green Christmas cards so you won’t find many around here. You can use your imagination and change out the colors if that’s what you like.

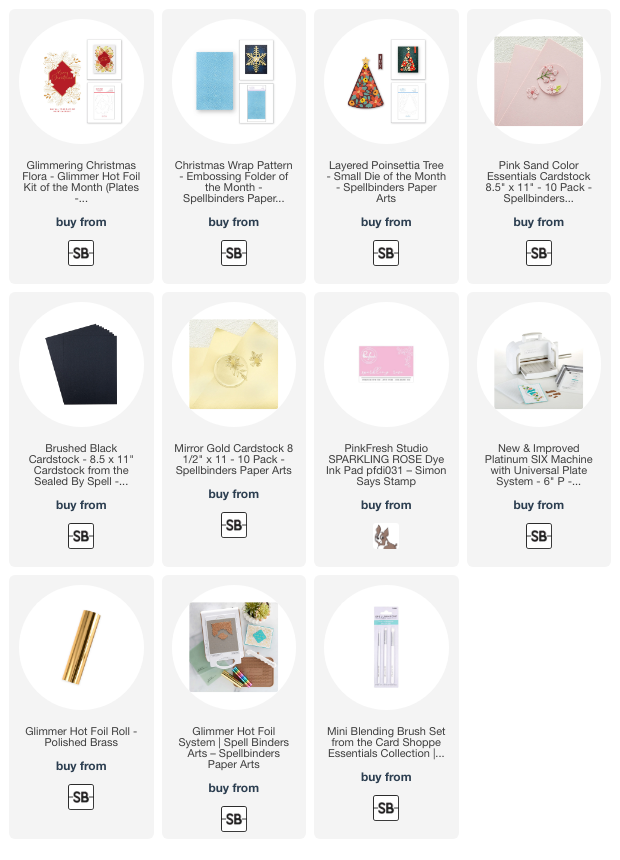
Products Used for Today’s Spellbinders Glimmering Christmas Flora Card:
- Glimmer Christmas Flora Foiling Plate
- Christmas Wrap Pattern
- Layered Poinsettia Tree
- Polished Brass Glimmer Hot Foil
- Black Card Stock
- Pink Sand Card Stock
- Mirror Gold Card Stock
- Glimmer Hot Foil System
- Platinum 6 Die Cutting Machine
How to create the Spellbinders Glimmering Christmas Flora Card:
Start by using Polished Brass Glimmer Foil to foil the plate into a piece of 4-1/4″ x 5-1/2″ black card stock, then cut it down to 4 x 5-1/4″.
Glimmer foil the sentiment onto a scrap of black as well and die cut it out with the coordinating die.
Next, cut a Pink Sand card front 4-14″ x 5-1/2″. Place it inside this months Embossing Folder Club Christmas Wrap Pattern and run it through the Platinum 6.
Then, attach the card front to a side folding A2 sized white card base. Add strips of foam tape around the back of the black panel before attaching it to the center of the card front.

ADDING THE FLORALS:
Use the poinsettia dies from the Small Die of the Month Club, cutting them out of Pink Sand cardstock.
Next, use a small blending brush and add Pinkfresh Sparkling Rose ink to the centers of the flowers.
Layer the flowers and glue them into place.
Finally, die cut the flower centers in mirror gold and glue them on.
Then, add the sentiment to the center with foam squares.

Visit my Card Making PDF Gallery for 350+ more card ideas

Card Making Supplies used for the Spellbinders Glimmering Christmas Flora card:
Here are the products I used today. Compensated affiliate links used where available at no cost to you.
Clicking on a thumbnail link and shopping provides me with a small commission which supports my website and allows me to continue bringing you new projects and videos. Thank you for your support. Affiliate and product disclosure are found on my disclosure page. All products were personally purchased except for Spellbinders Small Die of the Month Club Kit, Embossing Folder Club and Glimmer Club which were provided/sponsored by the company. As always, I was not paid to do this post. I only use and recommend products I love. Click on the icons below each product picture to go to my favorite stores.


– LOTS of great Paper Crafting Sales and New Releases going on this week – Check them out here
 Shop my Favorite Brands
Oh my goodness, that’s stunning Sandi! The colors are beautiful and the die cuts are amazing! 🙂
Thanks so much Amy
Beautiful card, love the colors. Thank you for sharing.
Thanks so much Margaret
Awesome!
thank you Sharon
Gorgeous, Sandi!
Love the pink and black combo!
tHANK YOU cONNIE, I love how dramatic it is
This is ABSOLUTELY gorgeous! Wow!!!!!
aw, thank you Natasha
Lovely as always!
thank you Dia – how are you, haven’t chatted with you in forever
Absolutely stunning Sandi – the gold looks amazing with the pink and black! Fabulous!
Thanks Lisa
Sandi, you are so good with color and making those colors work on cards. I just don’t have that, my brain doesn’t work like that so I am glad you and many other card makers here (on YouTube) does.
Thank you for taking the time to make these videos and attaching PDFs to help me print and keep them for reference as it is easier for me to have it on the printed page.
Many Hugs,
Pam Sertich
Hi Pam, you are so welcome