Hey card making friends, welcome back. Today I have a Watercolor Orchid hand made card to share with you. This die and embossing folder set are from Spellbinders and Susan Tierney Cockburn and are part of the Winter’s Grace release. If you like making 3 dimensional flowers, you are going to love this release.
PLEASE NOTE: This post contains affiliate links. See below for my full disclosure

I decided to watercolor these as I like the blending of the colors. Plus, the watercolor paper is thicker than regular cardstock and a lot easier to manipulate. If there is one tip I feel is super important, it’s to paint both sides because as you start bending and creating the 3d flower, the white from the back is going to show.

How to create the Watercolor Orchid hand made card
Start by die cutting the pieces 3 times from watercolor paper and laying them on top of paper towel.
Use Gansai Tambi watercolors Pink #56, Yellow #40, Greens #53 and 56 and the Lady Bug is done in Red #35. Mix some paint to thin it, and wet the paper before starting so you don’t get blobs of color. Working from the center out to add the color. Let dry, and turn over and repeat on the back. Admittedly, this is a bit time consuming, but it’s worth it in the long run. For the throats, once dry, take a fine tip marker and add the dots.
Next, paint the leaves. I flooded the leaves with the light green and then added the darker green and let it run.
PRO-TIP – don’t forget to paint the edges as they really show up white if you don’t.

Watercolor Orchid hand made card – shaping the flowers.
Use a soft foam pad and a burnishing tool to shape the flowers. The large petals I have bending forward. For the center piece, I rubbed the center with the ball tool, so the bottom throat bent forward, then I bent the top yellow pieces backwards
Next, emboss a 4-1/4″ x 5-1/2″ black card front with the Norwegian Rosemaling folder and attach to a top folding A2 sized white card base.
Then, glue on the flowers and leaves.
Finally, add white splatter, mostly to the background, but a bit on the flowers. Then attach the ladybug.
Visit my Card Making PDF Gallery for 350+ more card ideas

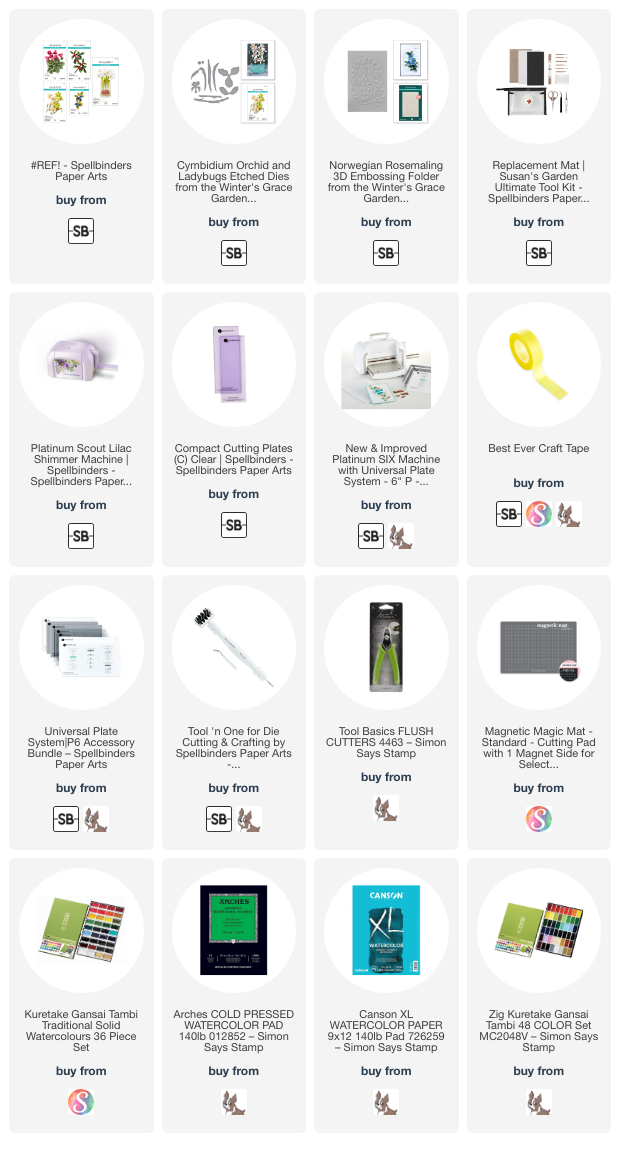
Card Making Supplies used for the Spellbinders Watercolor Orchid hand made Card:
Here are the products I used today. Compensated affiliate links used where available at no cost to you.
Clicking on a thumbnail link and shopping provides me with a small commission (at no additional cost to you), which supports my website and allows me to continue bringing you new projects and videos. Thank you for your support. Affiliate and product disclosure are found on my disclosure page. All products were personally purchased except for Spellbinders Winter’s Grace products which were provided/sponsored by the company. As always, I was not paid to do this post. I only use and recommend products I love. Click on the icons below each product picture to go to my favorite stores.

-
-
- Follow me on INSTAGRAM
- Join 38,000+ following me on PINTEREST
- Subscribe to my YOUTUBE Channel
- Follow me on FACEBOOK
- JOIN my STAMP OBSESSION Facebook Group
- Check out my FREE PDF Gallery for over 350+ Card Making Tutorials
- How to make a SLIMLINE CARD – Info PAGE
- Do you like to stitch on cards? Then join our NEW FACEBOOK GROUP
-
– LOTS of great Paper Crafting Sales and New Releases going on this week – Check them out here
 Shop my Favorite Brands with my affiliate links
If you do place an order using my affiliate links (and thank you if you do) – please email me with the $$ amount before tax and shipping, and which company it was placed through, along with your mailing address and I’ll send you a hand made card as my thank you. [email protected]
The reason I ask for that specific info is the system that tracks the sales only gives us a dollar amount and company name, we do not know who made the sale.


Just beautiful Sandi! Love the colors and the design is perfect! 🙂
Thanks so much amy
This is super-pretty! I would not want to send this if I managed to make something so lovely!
Lori S in PA
Thank you Lori, it’s kind of a “hand it to the person” kind of card because it won’t fit in a regular envelope, LOL, you would have to make a special box for it
So striking against the black – stunning!
thank you, I really struggled with which background to use, haha
Absolutely gorgeous, on black too!!!
A master of all techniques!
thank you Sharon, I’m not sure I’m a master, but I love to play, haha
Wow!!!!!!!! ABSOLUTELY gorgeous
thank you friend