Hi card making friends and welcome back. Today I have another clean and simple Christmas Card to share with you. Christmas Foliage Strip and Borders is the name of the November Large die of the Month kit from Spellbinders. The dies in the kit are long enough to create beautiful slimline cards with, but today, I’m using one of them for an A2 sized card.

Today’s card is very clean and simple. I decided on a basic white card with highlights of pink and gold. One of my favorite combinations for the holidays. To add a bit more interest, I dry embossed the bottom section of the card with the Slimline Flora embossing folder. I think this added depth and interest without taking away from the design.
How to create the Christmas Foliage Strip and Borders Card
Die cut the strip twice, once in white and once in mirror gold. Use a 4-1/4 x 5-1/2 piece of white card stock and die cut half way down to create the top portion of the card front.
Using the white die cut as the base, Gold heat emboss the sentiment using the November Clear Stamp Set of the Month “Around the Holidays”.
Dry heat emboss the bottom section of a 4-1/4 x 5-1/2 piece of white card stock to create the bottom section of the card front. Attach this to a top folding A2 sized card base.

Adding Extra Die Cut pieces:
Next, trim the gold die cut. I found it easier to trim off the slim wave piece, and then cut off the branches.
Use the Bearly glue to attach these to the white base on the card.
Die cut another small piece in white to get the berries
Use the floral dies that come in the kit to die cut two sizes of poinsettias and extras of the 5 petal daisy flowers all from white scrap
Use Copic Markers to color these pieces.
Copic Markers Used:
- Pinks: R81, R83, R85
- Browns: E31, E34, E35

Putting the card together:
Use Bearly Art Glue to attach the die cut piece over the top portion of the card and do any trimming required.
Next, place the large poinsettia over the one on the border on the left and the smaller one over the border on the right.
Attach the berries and brown florals across the border.
Finally, Embellish with Color Essentials Gems – Gold Mix.
Visit my PDF Gallery for 350+ more card ideas

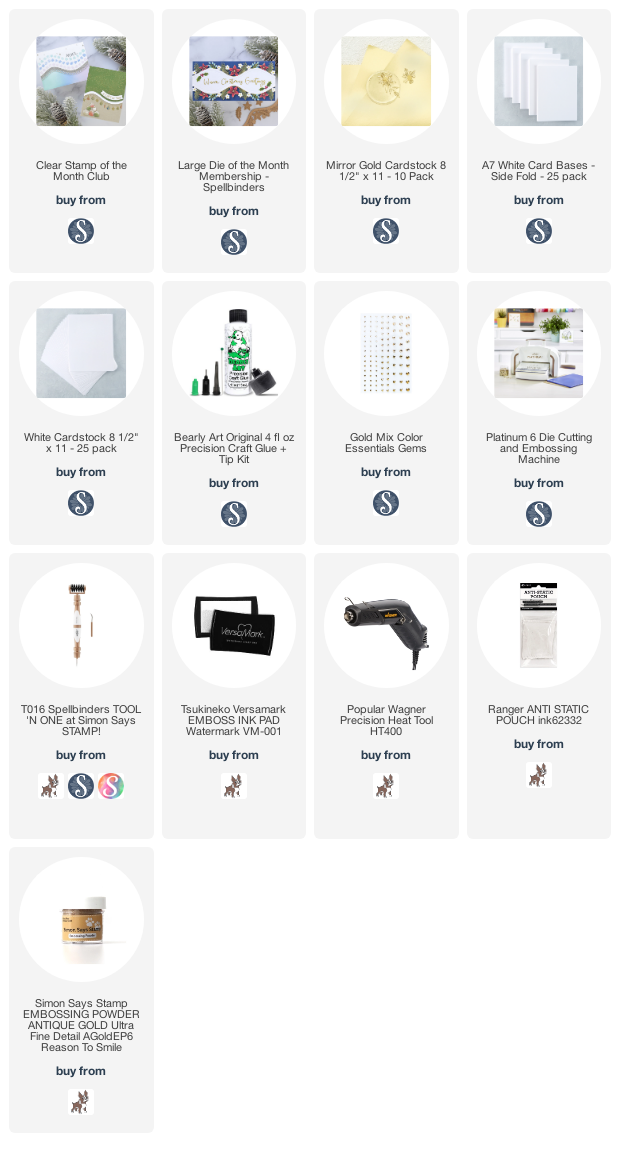
used for the Christmas Foliage Strip and Borders Card:
Here are the products I used today. Compensated affiliate links used where available at no cost to you.
When you click on a thumbnail link and shop you are supporting my website allowing me to continue bringing you new projects and videos. Thank you.


-
- Follow me on INSTAGRAM
- Join 37,700+ following me on PINTEREST
- Subscribe to my YOUTUBE Channel
- Follow me on FACEBOOK
- Check out my FREE PDF Gallery for over 300+ Card Tutorials
- How to make a SLIMLINE CARD – Info PAGE
 – LOTS of great sales and New Releases going on this week – Check them out here
 <<<<Click to shop through me at my favorite brands

I love your card Sandi! I think I am sold on this month’s wonderful stamps and die sets from Spellbinders. Your work is beautiful as always!
Thank you Deborah, I have to agree, this months clubs are exceptional, I’m having so much fun with them
Your card is beautiful!! Would not have guessed that you could do that with the large set. tifs
thanks so much Robin. It’s a fabulous die set with so many possibilities
That’s beautiful Sandi! The colors are perfect, love those die cuts! 🙂
Thanks Amy, I had a blast with this die set
Gorgeous card!!!
Thanks so much BOnnie
Love this card, Sandi!
The pink poinsettias are wonderful.
I too love this color combination.
Thank you Connie, so glad you like it. Since making that card all I want to do is put up my pink christmas tree, haha
Geez Louise, these are gorgeous, Sandi! So elegant and beautiful. You hit it out of the ballpark, my friend. Absolutely gorgeous. 💜💜💜
thank you Marisela. I really enjoyed creating with this one, LOL, you may see it again soon