Hi cardies and welcome back. I have 3 cards to share with you today created with the SSS Hoppy Days Ahead Card Kit for March. There is such an adorable stamp set in this kit and I really enjoyed coloring the little images. Normally I try and use just what’s in the box, but I was feeling restless today and I needed to venture outside the box (literally) and bring in some additional products to finish off my cards. See a list of kit contents at the end of this post.

I seem to have been on an embossing folder kick of late, so I added a few to these cards.

Hoppy Days Ahead Card #1
Start by using the Misti to stamp the bunny images a couple of times.
All of the bunnies are colored with Copic markers
Gray/brown W1, W3, W5 – Brown: E40, E43, E44 – Gray: T1, T2, T3, T5 – Pinks: R23, R30
Next, fussy cut out the bunnies.
Place a 3-3/4 x 5 piece if Hammermill white card inside the Magnolia Branches Embossing Folder and run it through the die cutting machine.
Attach it to a white A2 top folding card base.
Use the Nested Eggs Dies (2nd largest) to cut an egg out of Lavender card stock and then emboss it with the Geometric Lattice embossing folder
Attach the egg to the front of the card, then the bunnies and a sentiment.

Hoppy Days Ahead Card #2
This is my favorite of the three.
Emboss a piece of 3-3/4 x 5 Neenah Desert Storm card stock with the Splendid Leaves Circle Frame Embossing Folder. Then attach it to a top folding A2 card base in white.
Die cut the heart from the pattern paper in the kit and center it on the card .
Next, Use foam squares to attach the bunnies and then glue on their pop pop tails
Finally, add a sentiment.

Card #3
I changed it up with the Tumbling Hearts Stencil and ink blended the background with Picked Raspberry Distress Oxide Ink
Next, add the bunnies with foam squares to add a bit of dimension.
Finally, add the sentiments and some colored hearts.

What’s In the Hoppy Days Ahead Card Kit?
New Simon Says Stamp Hoppy Days Ahead 6 x 8 stamp set
Simon Says Stamp Small Clouds 3 x 3 stencil
Lucky Mesh Bag
6 sheets of Paper Rose Wildflower Field 6 x 6 double sided paper
Teal Blending Brush
Pawsitively Saturated Ink Pad in blue
Simon Says Stamp Craft Tacky Glue
Easter Sentiment Strips
2 Suzy’s Watercolor Cards
3 white pop-poms and a white button
Simon’s cardstock in Lavender, Smoke, Cornflower and White
2 A2 Envelopes
1 Slimline Envelope

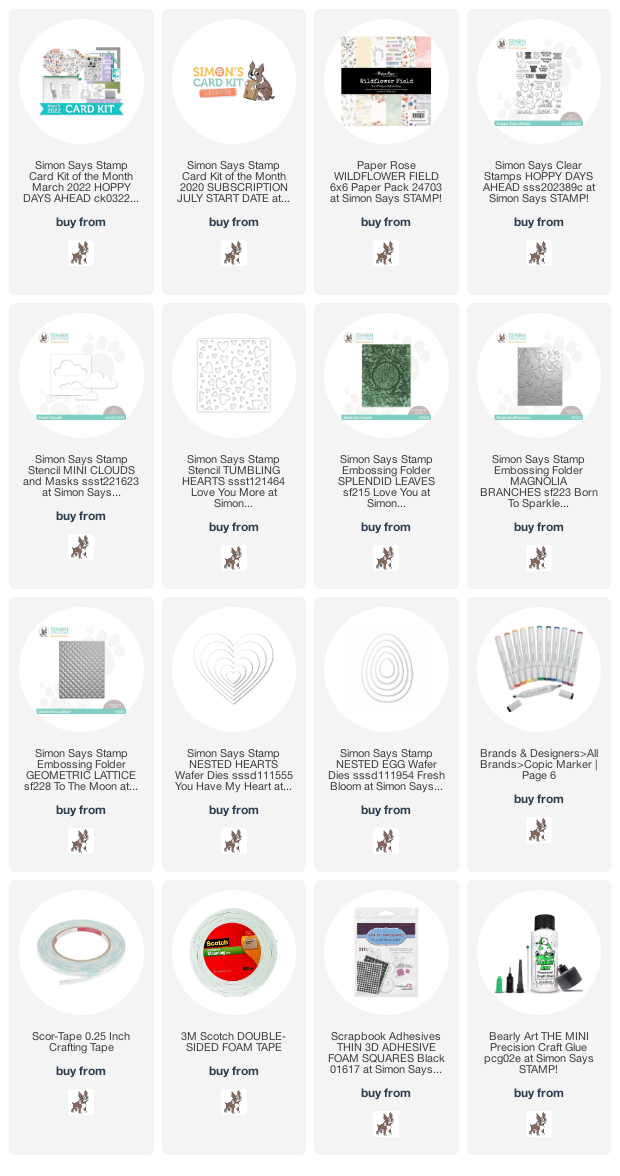
Card Making Supplies used for the Simon Says Stamp Hoppy Days Ahead Cards:
Here are the products I used today. Compensated affiliate links used where available at no cost to you.
When you click on a thumbnail link and shop you are supporting my website allowing me to continue bringing you new projects and videos. Thank you.

-
- Follow me on INSTAGRAM
- Join 37,700+ following me on PINTEREST
- Subscribe to my YOUTUBE Channel
- Follow me on FACEBOOK
- JOIN our Card Making Stamp and Share Facebook Group
- Check out my FREE PDF Gallery for over 350+ Card Making Tutorials
- How to make a SLIMLINE CARD – Info PAGE

– LOTS of great Paper Crafting Sales and New Releases going on this week – Check them out here
 Shop my Favorite Brands
Copyright:
All content (including text, photographs & designs) is copyright Sandi MacIver Designs 2021. Shared for personal use only. No content may be removed, duplicated, or copied for publication, contest entry, online distribution, or advertisement without permission


Oh my goodness!! Those are just so cute! Love the fluffy bunny tails, perfect spring cards! 🙂
thank you Amy, super sweet card kit
Bonjour Sandi,
These sweet bunnies are so precious. CARD #2 -Choosing brown tone is not usual, BUT it is i a nice choice with the heart print (wall?) The emboss background, add a 3D effect.
CARD #1, I like the emboss egg style. Not having the emboss plate, I can use the scoring board and an egg die cut, it would take longer. I have to try it. Your idea for the egg is very nice.
Card #3, SWEET SWEET SWEET- BISOUS, BISOUS, KISSY, LOVE
The choice of all your materials are very nice for all of these creations
Merci
Yolande
Bonjour Yolande. So glad you liked the cards. I tried to change it up for each one and bring in different elements. You could use any embossing folder or stamp to decorate the die cut egg, or your score board for sure. I had a brown bunny once, hence the color and when I looked on the blog, everyone had painted the bunnies white – so you know me, dare to be different, haha. And, I don’t make a lot of brown cards – but I really liked that pattern paper, so I dove in, haha
Hi, Sandi – I looked at this kit and, trying to be fiscally responsible (ahem!), decided I did not need it. It’s so stinkin’ cute, though… I just love everything I see that y’all have made with it. Maybe I will reconsider and use less electricity this month LOL. Your cards are all darling!
Lori S in PA
haha, I get that, LOL, LOVE this kit, it was so fun to create with even though I did bring in embossing folders, LOL and great for spring, friendship, birthdays, not just Easter
These are so cute! Love the added embossing folders too
Thank you Natasha, some times clean and simple are just what you need
Love, love, love, love. These are so beautiful. 💜
thank you Marisela