Hi card making friends and welcome back. I’m very excited about today’s New Card Making Video Yana’s Stenciled Poppies. She is an amazing artist and I have loved all the Poppies in the release so far, and I’m over the moon for this new Poppy Background Press Plate and Stencil Bundle. It’s so fabulous and it makes card making so very easy. I decided to turn on the video camera while I was making this one so you could see just how easy it is.
PLEASE NOTE: This post contains affiliate links. See below for my full disclosure

Products Used:
- Yana’s Poppy Background Press Plate and Stencil Bundle
- BetterPress Inks
- BetterPress System
- BetterPress Cotton Cardstock
- Platinum 6 die cutting machine
- Wonderful Script Sentiments Die
- Hello Friend Anemone Blooms Dies
For the stenciling portion of the card, I decided to use a bunch of my BetterPress Ink.
- Background: Cosmic Sky
- Flower Petals: Taffy and Tiger
- Leaves: Teal Topaz
- Stems: Peridot
- Flower Center: Saffron
They all worked very well together, just make sure that you heat set the Cosmic Sky background before you start stenciling or it might smear a bit.

New Card Making Video Yana’s Stenciled Poppies – Card Directions:
- Card Stock Cuts:
Card Base: 4-1/4″ x 11″, score and fold at 5-1/2″ – white - Card Front: 4-1/4″ x 5-1/2″ – Waterfall – Spellbinders
- Mat: 4″ x 5-1/4″ – white
- Art Piece: 4-1/2″ x 5-3/4″ Do the pressing and the stenciling and then cut it down to 3-7/8″ x 5-1/8″.
Start by taping down the gray magnet plate on the base of your BetterPress as you will be pressing the base color twice to get it even.
Next, add the plate to the magnet base, and your cardstock to the clear top.
Then, ink the plate with the Cosmic Sky BetterPress Ink and run it through the Platinum 6 machine (twice).

New Card Making Video Yana’s Stenciled Poppies – Card Directions: Stenciling
Lay the lid down on your work surface leaving the card stock attached and facing up. Use this to attach the stencils to.
Next, the stencils are numbered in the bottom left corner, so starting with #1, and the Taffy Ink, ink blend. Stencil 2 stencil with Tiger, Stencil 3 stencil with Taffy. Stencil 4 is the leaves done in Teal Topaz and stencil is the stems stenciled in Peridot. The flower centers do not have a stencil, but I used a small 0 brush and added Saffron.
Then, layer the card together and Gold Hot foil the Wonderful Script Sentiments and Hello Friend Anemone Blooms onto a piece of Waterfall card stock. Die cut with the coordinating dies and attach to the bottom right of the card.
Here is today’s New Card Making Video Yana’s Stenciled Poppies.
Visit my Card Making PDF Gallery for 350+ more card ideas

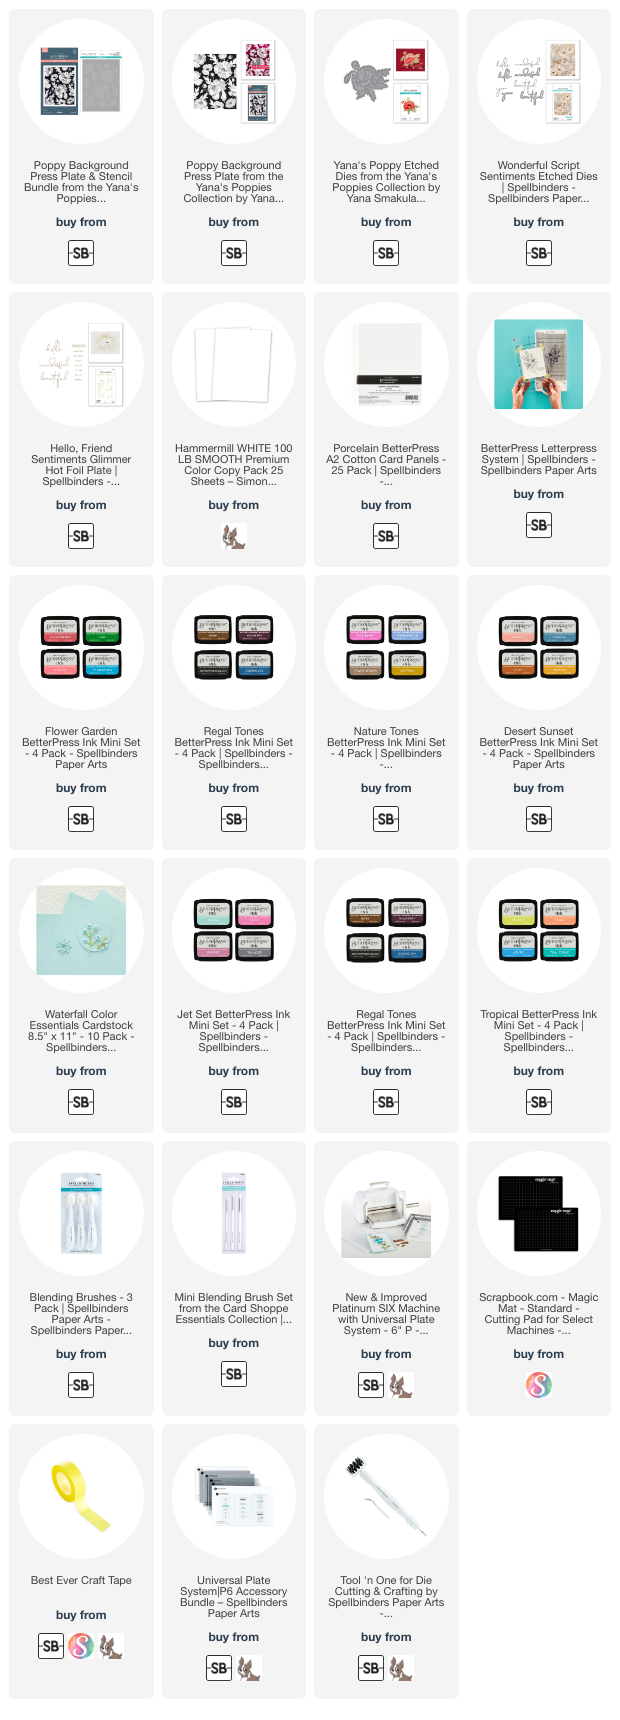
Card Making Supplies used for the New Card Making Video Yana’s Stenciled Poppies Cards:
Here are the products I used today. Compensated affiliate links used where available at no cost to you.
Clicking on a thumbnail link and shopping provides me with a small commission (at no additional cost to you), which supports my website and allows me to continue bringing you new projects and videos. Thank you for your support. Affiliate and product disclosure are found on my disclosure page. All products were personally purchased except for Spellbinders Poppy Background Press Plate and Stencil Bundle which were provided/sponsored by the company. As always, I was not paid to do this post. I only use and recommend products I love. Click on the icons below each product picture to go to my favorite stores.

-
-
- Follow me on INSTAGRAM
- Join 38,000+ following me on PINTEREST
- Subscribe to my YOUTUBE Channel
- Follow me on FACEBOOK
- JOIN my STAMP OBSESSION Facebook Group
- Check out my FREE PDF Gallery for over 350+ Card Making Tutorials
- How to make a SLIMLINE CARD – Info PAGE
- Do you like to stitch on cards? Then join our NEW FACEBOOK GROUP
-
– LOTS of great Paper Crafting Sales and New Releases going on this week – Check them out here
 Shop my Favorite Brands with my affiliate links
If you do place an order using my affiliate links (and thank you if you do) – please email me with the $$ amount before tax and shipping, and which company it was placed through, along with your mailing address and I’ll send you a hand made card as my thank you. [email protected]
The reason I ask for that specific info is the system that tracks the sales only gives us a dollar amount and company name, we do not know who made the sale.


Just beautiful Sandi! Love the colors, such pretty flowers! 🙂
thanks Amy
Fabulous, Sandi! Love the bright flowers on the deep background!
It does make a statement!!!
Thanks Sharon, I wanted to try all the BetterPress Ink Colors, apparently all on one card, LOL
Love the beautiful card and enjoyed your video on how you created this stunning card. Betterpress is on my “Want List”!
Thank you Gayle and I’m so glad you enjoyed the video. BetterPress is so much fun to play with, you will love it
ABSOLUTELY gorgeous Sandi! The colors are so AMAZING too!
thank you my friend
Beautifully done! Such a pretty card Sandi!
thanks so much Lisa