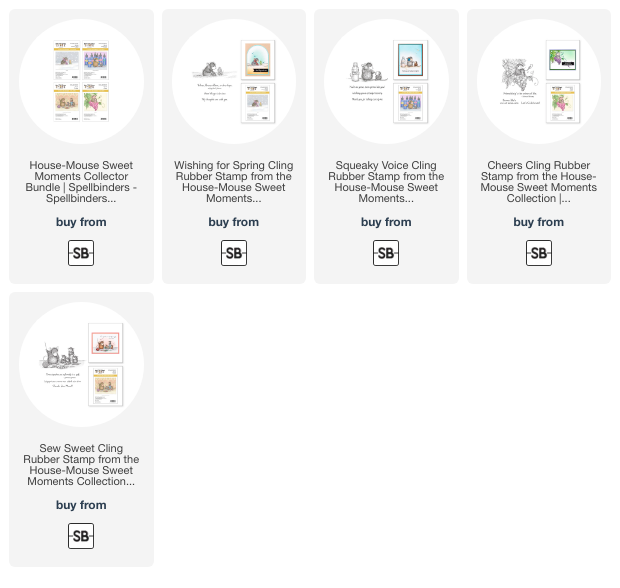
Hi friends, thanks for joining me today. I have some Spellbinders New House Mouse Stamps to share with you that were released on December 10th. As I shared in my last post, I’m doing a little catching up this week, so I’m combining two stamps and two different card designs in today’s post. The House Mouse Stamps have been around forever, and I love coloring their adorable little faces and seeing what kind of mischief they are getting into, LOL. The two new stamps I’m using today are from the House-Mouse Sweet Moments Collection you can see here.
Today’s are no different. We have a wine-swilling Mudpie sitting on a grape leaf enjoying a sip and sweet Muzzy all wrapped in his fuzzy scarf wishing spring would arrive. I’m with him, bring on spring, LOL.
Affiliate links are used throughout this post at no additional cost to you. This allows me to keep bringing you content. I appreciate your support.

I used my copic markers for these little guys and stamped them with the copic friendly; Hero Arts Intense Black Ink using my Misti so I could stamp the image numerous times to get it nice and black.
Mouse: E31, E33, E34, E57 Face: E50,E51, R20, E93. Flower & Grapes: V12, V15, V17, Scarf: RV17, RV34, Ground: N0, N1, N2, N3, N4 Grape Leaves: G21, G24,

Spellbinders New House Mouse Stamps Card #1
Close to my heart, this little dude likes red wine too, haha…..I’m using designer paper on both of today’s cards. While I was cleaning my studio last week, I knocked over a huge box of designer paper, and thought to myself – why aren’t I using this? Duh……you may be seeing more designer paper in the future, I’m sure you have a huge stash of it too, and they keep making more, so let’s get busy and recycle some of this shall we, LOL.
Both of the Design Papers I used today are probably retired, but Spellbinders is now carrying PAPER ROSE from Australia, and they have many beautiful papers that would work for these cards.
Start by stamping the mouse with Hero Arts Intense Black Ink onto Hammermill white cardstock 4-1/4″ x 5-1/2″ and color with copic markers.
Next, use the Essential Arches dies from Spellbinders to cut out the image, and then a larger one in purple to matte it. I used Bazzill cardstock, Wild Pansy #300908 for this card.

Then, create a A2 sized top folding white card base, 4-1/4″ x 11″, score and fold at 5-1/2″. To that, attach a piece of Craft Consortium Craft Papers Watercolours, cut 4-1/4″ x 5-1/2″.
Finally, cut a 3/4″ x 4-1/4″ strip of the purple for across the top of the card. Glue the arch art panel to the arch matte, then glue the art piece to the cross strip. Finally, attach all of this to the top of the card using foam tape to add dimension.
Embellish with a piece of gold twine, wrapped around the card front and tied into a bow.

Spellbinders New House Mouse Stamps – Card #2
Remember back a bazzion years ago when we used to tear the edges of our cards. You know like 30 years ago before die cutting machines and dies? haha, yep, I’m that old. Well it’s back….and I had so much fun doing it. I was cruising through Pinterest last week during my eye patch days, and saw that a few people where doing it again. As I finished coloring this little guy, I already had the designer paper picked out, and I thought a good tear (or two), would create the separation I needed from the art piece and the patterned paper. I liked it so much I flipped the scraps I tore off around and added a second layer.
Start with a 4-1/4″ x 5-1/2″ piece of Hammermill white cardstock and stamp the house mouse image with the Hero Arts Intense Black ink.
Next, color with the copic markers, and then tear across the top and bottom.
Then, flip the torn discard pieces around, and glue them onto the back of the art piece to create the second layer of torn paper.
Finally, create a white A2 sized card base, 4-1/4″ x 11″, score and fold at 5-1/2″. Over that, attach a piece of Moda Scrap – Fly & Scrap Blue and Purple patterned paper cut to 4-1/4″ x 5-1/2″. dry fit the art piece over the card front in the Misti to line up the sentiment stamp and stamp it in black. Tie some gold rope around the bottom of the art piece before attaching it to the center of the card front with foam tape.

Here are the New House-Mouse Sweet Moments stamps, you can order them as a bundle, or individually.
Visit my Card Making PDF Gallery for 350+ more card ideas.

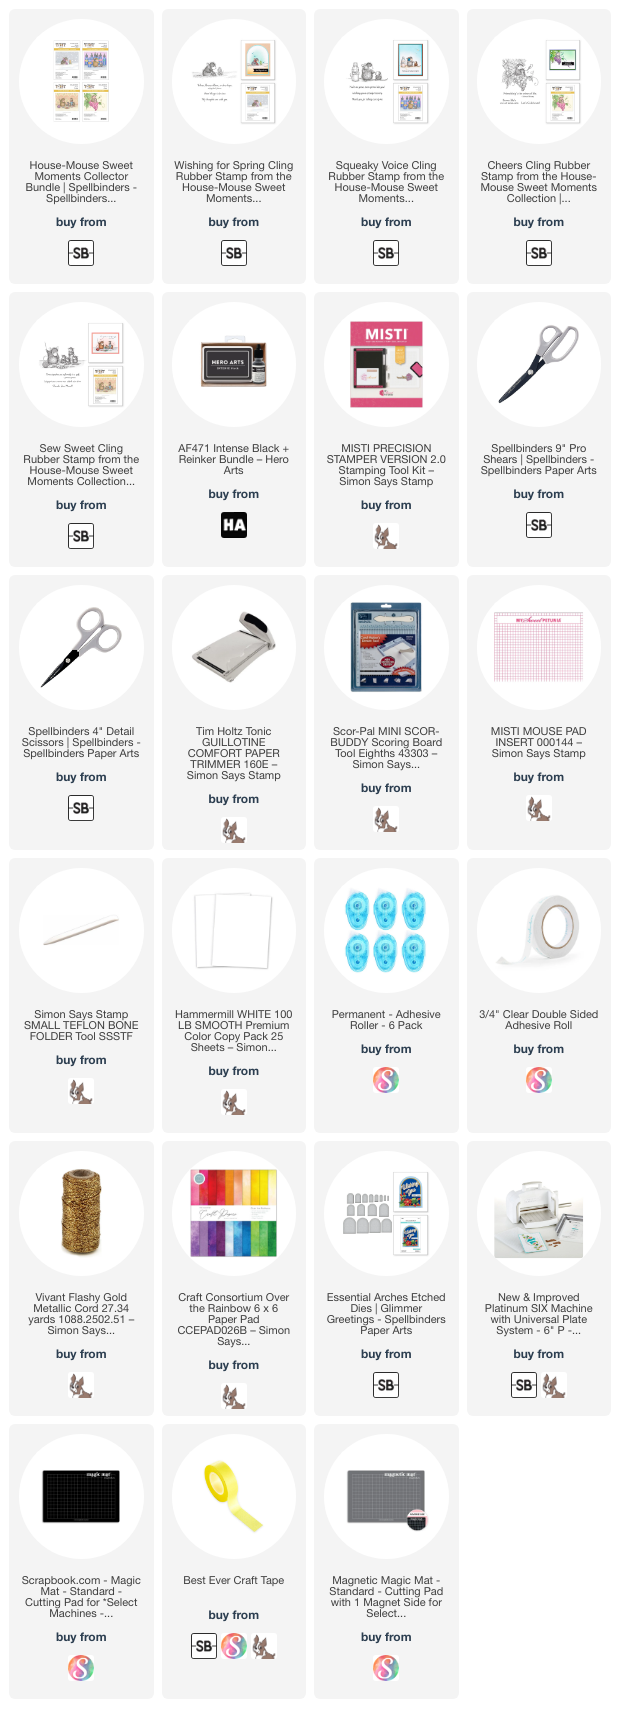
Card Making Supplies used for the Spellbinders New House Mouse Stamps Cards:
Here are the products I used today. Compensated affiliate links used were available at no cost to you.
Clicking on a thumbnail link and shopping provides me with a small commission (at no additional cost to you), which supports my website and allows me to continue bringing you new projects and videos. Thank you for your support. Affiliate and product disclosures are found on my disclosure page. All products were personally purchased except for Spellbinders House Mouse Stamps which were provided/sponsored by the company. As always, I was not paid to do this post. I only use and recommend products I love. Click on the icons below each product picture to go to my favorite stores.

-
-
- Follow me on INSTAGRAM
- Join 38,000+ following me on PINTEREST
- Subscribe to my YOUTUBE Channel
- Follow me on FACEBOOK
- JOIN my STAMP OBSESSION Facebook Group
- Check out my FREE PDF Gallery for over 350+ Card Making Tutorials
- How to make a SLIMLINE CARD – Info PAGE
- Do you like to stitch on cards? Then join our NEW FACEBOOK GROUP
-
– LOTS of great Paper Crafting Sales and New Releases going on this week – Check them out here
 Shop my Favorite Brands with my affiliate links
If you do place an order using my affiliate links (and thank you if you do) – please email me with the $$ amount before tax and shipping, and which company it was placed through, along with your mailing address and I’ll send you a hand made card as my thank you. [email protected]
The reason I ask for that specific info is the system that tracks the sales only gives us a dollar amount and company name, we do not know who made the sale.


Oh my goodness, how cute are the little mouse images?!? Love them and you’ve colored each image perfectly! 🙂
thank you Amy
These are adorable, Sandi! Love all the designer papers!
And yes, what goes around comes around!! Let’s not
talk about age!!
haha, truly, let’s not, haha, thanks Sharon
These are ADORABLE
thanks so much Natasha