
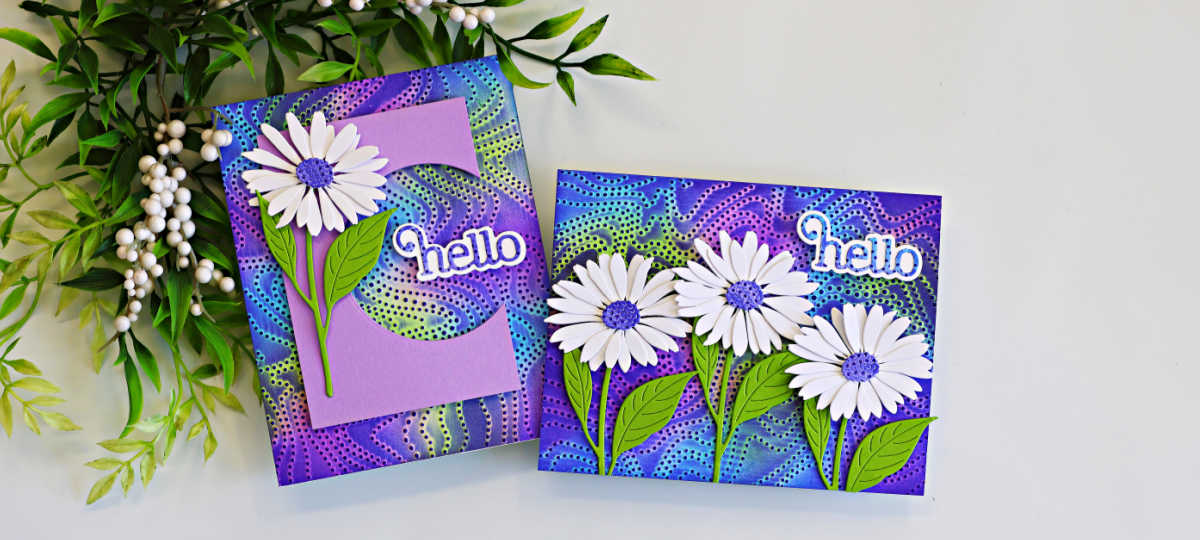
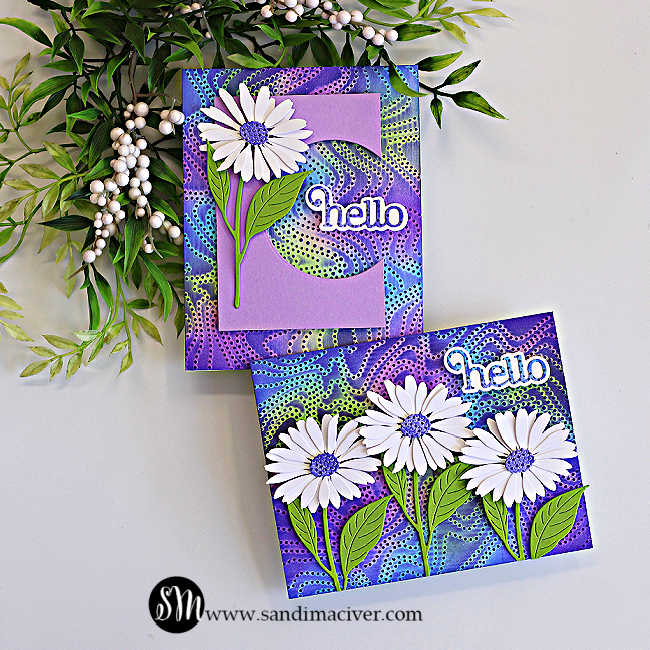
Good evening! I’m excited to share a project with you tonight featuring two new products from the NEW Simon Says Stamp Shine On Release, going live this evening. I’m using the Dew Drop Daisy Die and the Dotty Contour Embossing Folder.
This is such a fun release, packed with a huge variety of new products, and you can view the entire release HERE.
For today’s project, I decided to create the colorful backgrounds using the Embossed Joseph’s Coat Technique. Let me know in the comments if you’d like me to do a video. For the first card, I created a peek-a-boo sentiment with a single die cut and the second, I added a riot of cheerful daisies across the front.
Scroll down for the step-by-step instructions.
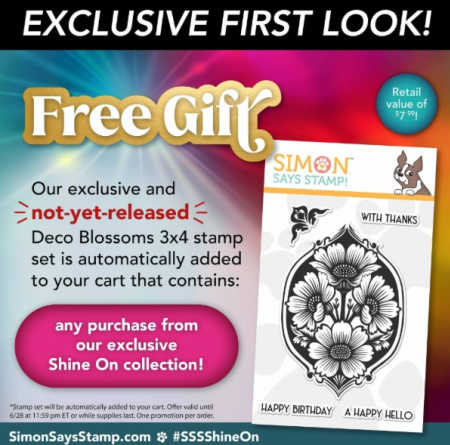
FREE GIFT – with purchase – receive the Not Yet Released Deco Blossoms Stamp with any purchase from the Shine On Collection!
Products Used for today’s Embossed Joseph’s Coat Technique:
How to create the Embossed Joseph’s Coat Technique Cards:
Create the card front:
First we are going to create the Joseph’s Coat Technique background. Most people create this technique using heat embossing, but it can also be achieved with ink pads. It’s also known as the Blackout Technique, and I’ll link to a few of my videos featuring this technique at the end of this post.
Start with a panel of white cardstock trimmed to 4-1/4″ x 5-1/2″. Using ink blending brushes, randomly apply Sprout, Orchid and Marine ink until the entire surface is covered.
Net, emboss the panel with the Dotty Contour Embossing Folder, making sure the raised embossed dots are on the inked side of the cardstock.
Drag the Iris ink pad directly over the embossed surface. This darkens the background and the raised dots while allowing the original blended colors to peek through around the embossed design, creating the beautiful Embossed Joseph’s Coat Technique.
Attach the finished panel to the front of an A2-sized white card base.
Card 1 – Adding the peek-a-Boo panel and Sentiment:
Trim a panel of Lavender cardstock to 3″ x 4-1/4″, then use a circle die to cut a peek-a-boo window from the right side. Attach the panel tot he center of the card using foam squares.
Create a second Joseph’s C background and use it to die cut the Giggle Hello Sentiment and the daisy flower centers. Die cut the sentiment shadow from white cardstock, layer the pieces together, and adhere the sentiment inside the peek-a-boo opening.
(I LOVE the little dotted pattern the embossing creates on the sentiment – don’t you!)
Die cut the daisy pieces, assemble the flower, and attach it to the leaf stem. Finish the card by adhering the flower to the left side of the lavender panel with foam squares.
Card 2 – Three Daisy Design:
Create another A2 sized white side-folding card base (5-1/2″ x 8-1/2″ score and fold at 4-1/4″) and attach a Joseph’s Coat background tot he front.
Skip the lavender panel on this version. Instead, die cut three daisies, assemble them, and arrange them across the bottom of the card front. Position the daisy on the right slightly lower than the others to leave room for the Giggle Hello sentiment in the upper right corner.
Want to know where this color combo came from?:
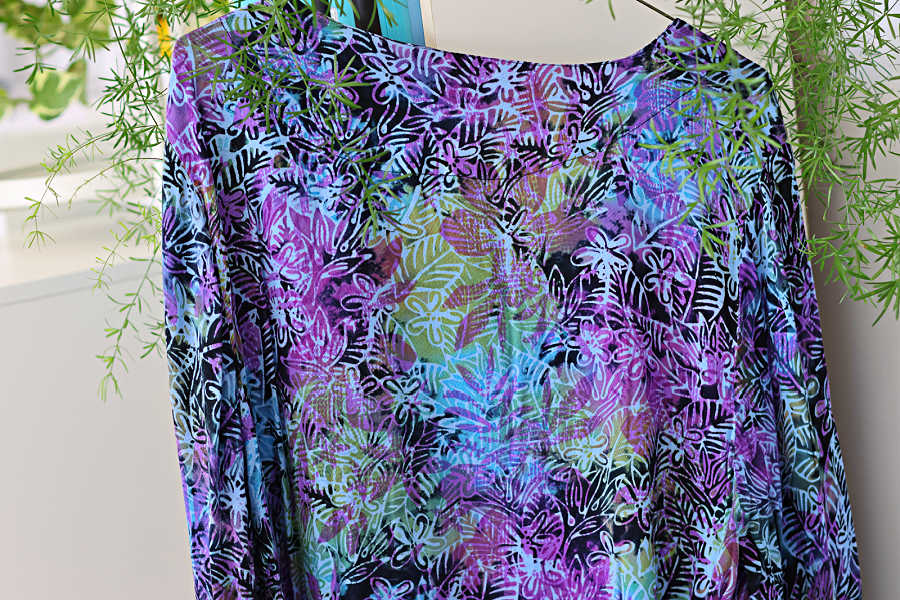
A shirt I bought in Hawaii last time I was there (yes, I know it needs ironing, LOL), just to show you, you can get inspirating from anywhere.
As promised, here are a few “Blackout Technique Videos:


Never Miss a Cardmaking Tutorial
Subscribe to my blog and get the latest cardmaking ideas, tutorials, and inspiration delivered straight to your inbox — plus access to exclusive content and updates you won’t want to miss!

Visit my YouTube channel for 270+ cardmaking tutorials, techniques, and creative ideas to inspire your next project
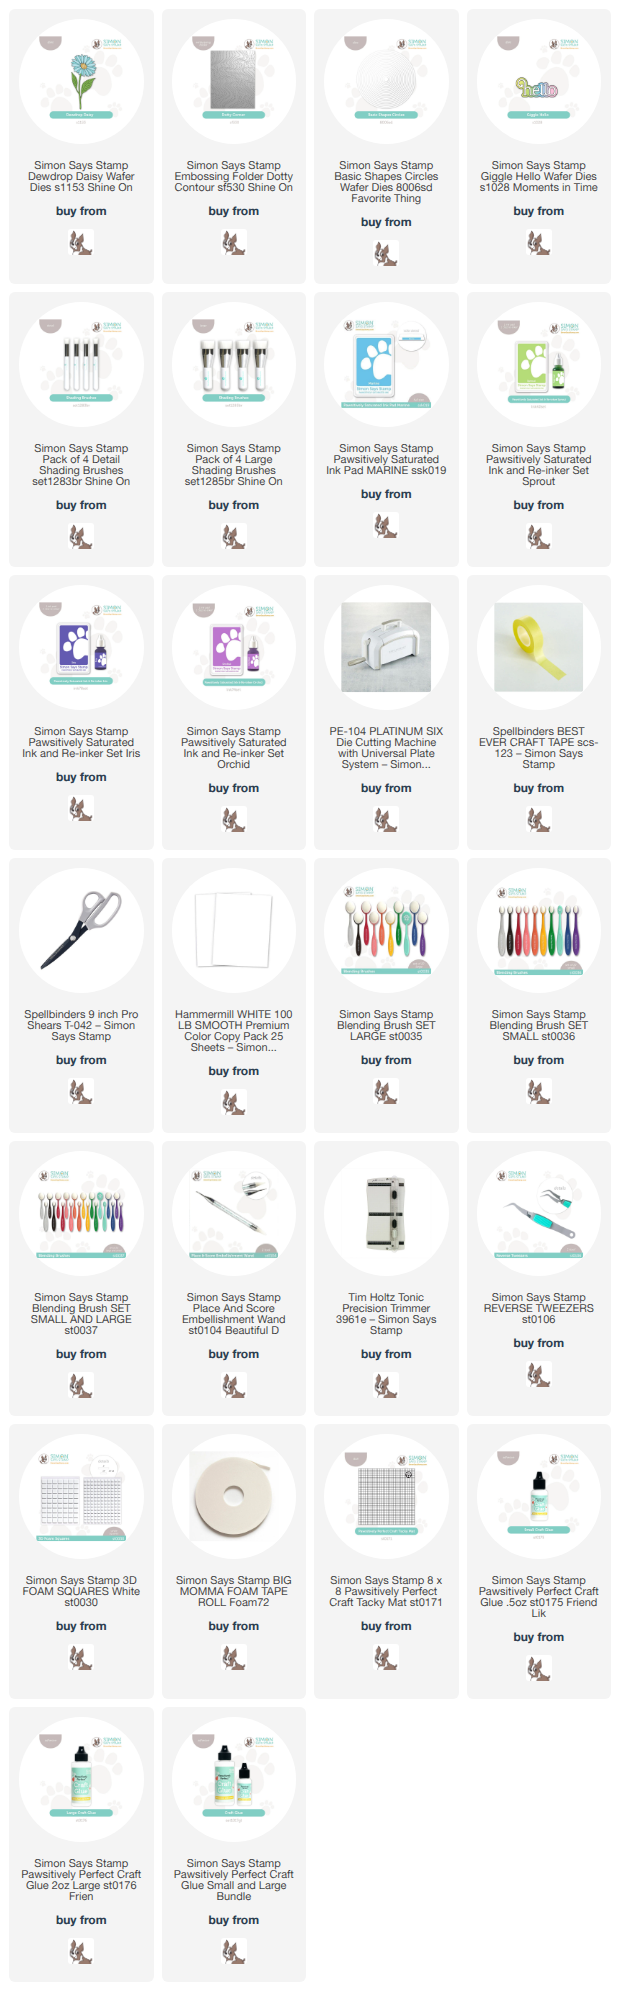
Cardmaking Supplies Used:
Here are the supplies I used to create today’s Embossed Joseph’s Coat Technique.
Many of the links below are compensated affiliate links. This means if you click through and make a purchase, I may receive a small commission at no additional cost to you.
These commissions help support my website and allow me to continue sharing cardmaking tutorials, videos, and inspiration. I truly appreciate your support.
All products were personally purchased unless otherwise noted. Simon Says Stamp Shine On products were provided by the company for design purposes.
You can find my full affiliate disclosure on my disclosure page.
Click the icons below each product to shop my favorite stores.
Let’s Connect & Get Inspired
Follow along for more cardmaking ideas, techniques, and tutorials:
- Follow me on Instagram
- Join 38,800+ creatives on Pinterest
- Subscribe to my YouTube Channel
- Follow me on Facebook
- Join my Cardmaking Obsession Facebook Group
FREE Cardmaking Tutorials Library
Looking for more inspiration? Explore my FREE PDF GALLERY with 359+ cardmaking tutorials — packed with ideas, techniques, and step-by-step projects to spark your creativity.

Don’t Miss This Week’s Deals
Lot’s of great paper crafting sales and new releases happening now — check them out here!

Shop My Favorite Craft Brands
Browse my Go to Brands and supplies using my affiliate links.