
Hey cardmaking friends – welcome back!
I have a super fun (and easy) technique to share with you today called the Embossed Double Vision Technique. With just two simple steps, you can transform an ordinary embossed background into a panel full of dimension, depth, and visual interest. It truly feels a little bit magical!
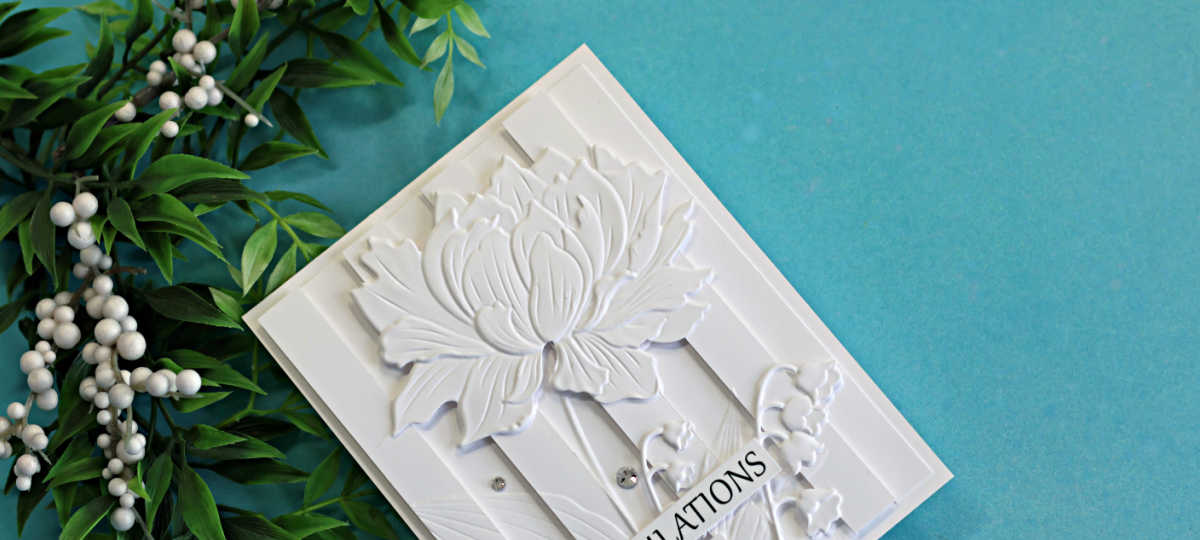
For today’s cards, I’m using two embossing folders from the Simon Says Stamp Always There release: Peony and Bells and Gorgeous Hydrangea. I chose these folders intentionally to show you the difference between a design that works beautifully with this technique and one that doesn’t work quite as well — because sometimes we learn just as much from what doesn’t work, haha!
The Embossed Double Vision Technique is similar to the eclipse technique, but instead of working with letters, we’re creating the effect with strips. By raising every second strip, you create depth, dimension, and movement across the entire design, making the embossed pattern really stand out.
Grab a coffee, sit back, and enjoy the video!
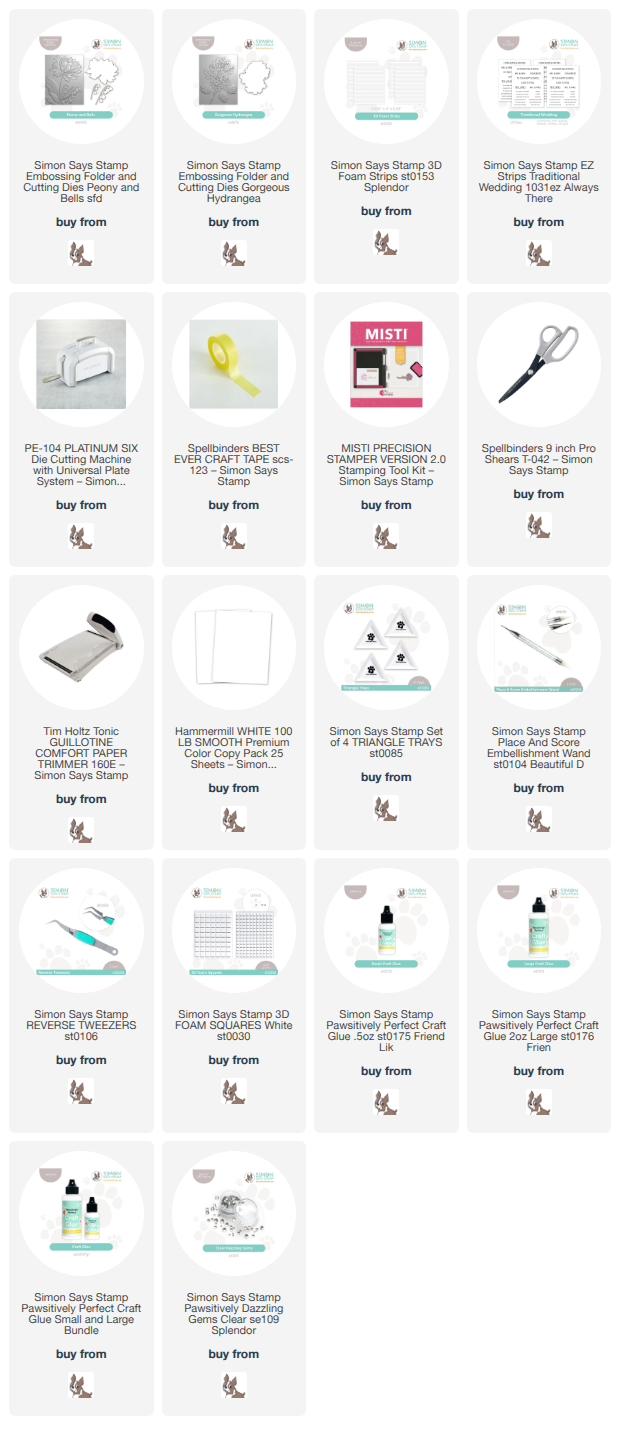
Products used for the Embossed Double Vision Technique Cards:
- Peony and Bells Embossing Folder
- Gorgeous Hydrangea Embossing Folder
- 3D Foam Strips
- EZ Traditional Wedding
- Clear Pawsitively Dazzling Gems
How to create the Embossed Double Vision Technique Card:
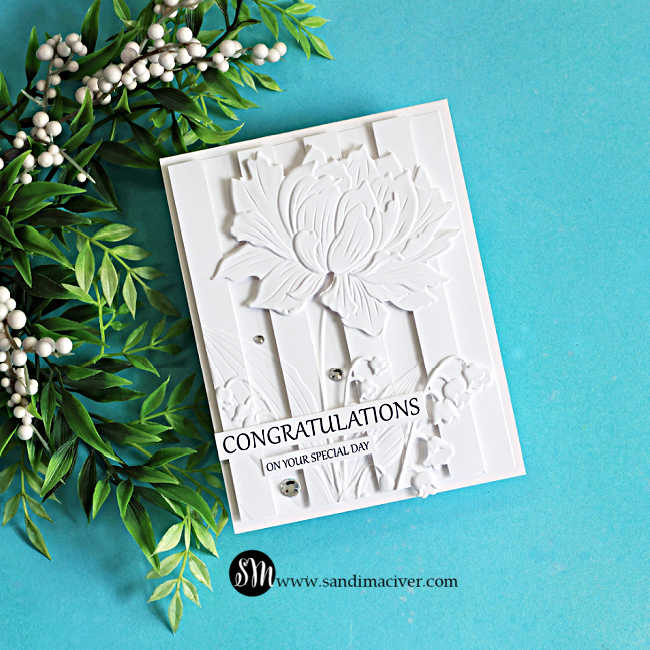
Begin by embossing a panel of white cardstock trimmed to 4″ x 5-1/4″.
Using a paper trimmer, cut the embossed panel into 1/2″ strips. Apply foam strips to every second strip, leaving the alternating strips flat.
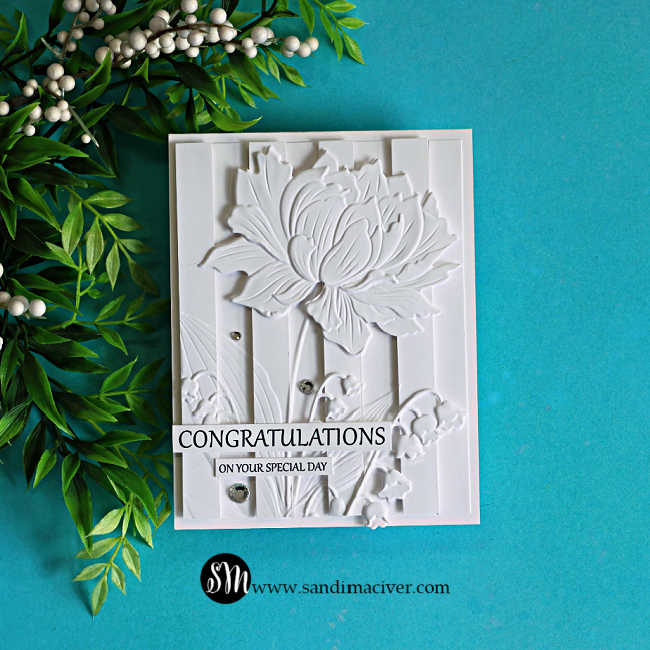
Attach the strips to the front of a white, top-folding A2 sized card base. Use foam strips on the raised strips and liquid glue on the flat strips to create the dimensional “Double Vision” effect.
Next, die cut the three floral pieces from white cardstock and emboss them using the coordinating embossing folder. Adhere the embossed floral elements to the card front, arranging them to add even more depth and dimension.
Finish the card by adding a sentiment in the lower left corner and embellishing with Clear Dazzling Gems for a touch of sparkle.
Choosing the right Embossing Folder:
The success of this technique depends largely on the embossing folder you choose. Look for designs that feature pattern and texture across most of the surface area, as these create the most dramatic effect when separated into strips.
Embossing folders with coordinating dies, such as the Peony and Bells Embossing Folder, work especially well because the additional die-cut elements can be embossed and layered on top of the background for even more dimension. While this technique can be used with almost any embossing folder, detailed all-over patterns tend to produce the most striking results.
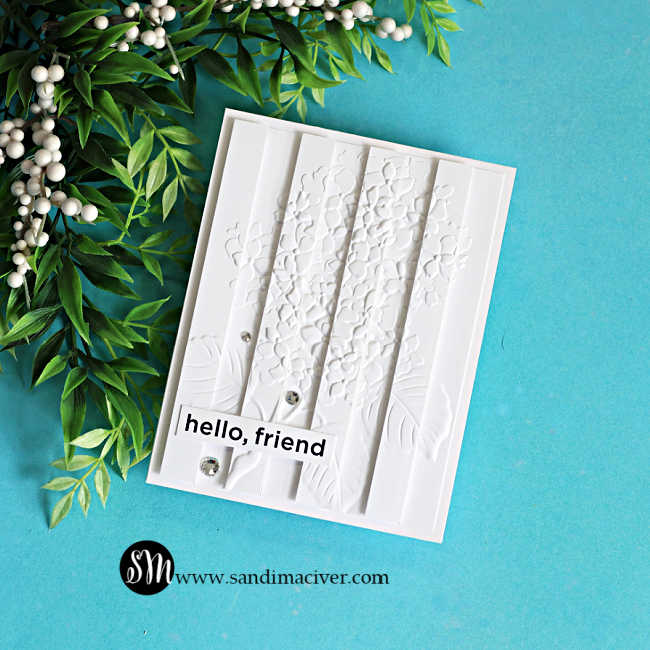
In the card above, I used the Gorgeous Hydrangea Embossing Folder which also includes a coordinating die and stencil for ink blending. The embossing folder itself is a great choice for the Embossed Double Vision Technique because the floral design covers most of the panel. However, the coordinating die cuts the entire floral image, and adding it as an overlay would cover much of the dimensional strip effect that makes this technique so unique. That’s why I chose not to use it on this card. The result is still a beautiful design that showcases the Double Vision Technique very well- it’s simply a bit more subtle than the Peony and Bells card, where the smaller embossed overlays add dimension without hiding the background.
Here’s today’s Embossed Double Vision Technique Video:
I hope you enjoy it! If you do, I’d greatly appreciate a thumbs up and would love for you to share it with your crafty friends. Leaving a kind comment and shopping through my affiliate links are wonderful ways to support my channel and help me continue creating free cardmaking tutorials like this one.
I hope today’s Embossed Double Vision Technique video inspires you to give this simple embossing trick a try with your favorite embossing folder. It’s such an easy way to add depth, dimension, and visual interest to your handmade cards.
Thanks so much for stopping by today. I truly appreciate your support, and as always, happy cardmaking!


Never Miss a Cardmaking Tutorial
Subscribe to my blog and get the latest cardmaking ideas, tutorials, and inspiration delivered straight to your inbox — plus access to exclusive content and updates you won’t want to miss!

Visit my YouTube channel for 270+ cardmaking tutorials, techniques, and creative ideas to inspire your next project
Cardmaking Supplies Used:
Here are the supplies I used to create today’s Embossed Double Vision Technique Cards.
Many of the links below are compensated affiliate links. This means if you click through and make a purchase, I may receive a small commission at no additional cost to you.
These commissions help support my website and allow me to continue sharing cardmaking tutorials, videos, and inspiration. I truly appreciate your support.
All products were personally purchased unless otherwise noted. Simon Says Stamp Always There products were provided by the company for design purposes.
You can find my full affiliate disclosure on my disclosure page.
Click the icons below each product to shop my favorite stores.
Let’s Connect & Get Inspired
Follow along for more cardmaking ideas, techniques, and tutorials:
- Follow me on Instagram
- Join 38,800+ creatives on Pinterest
- Subscribe to my YouTube Channel
- Follow me on Facebook
- Join my Cardmaking Obsession Facebook Group
FREE Cardmaking Tutorials Library
Looking for more inspiration? Explore my FREE PDF GALLERY with 359+ cardmaking tutorials — packed with ideas, techniques, and step-by-step projects to spark your creativity.
Don’t Miss This Week’s Deals
Lot’s of great paper crafting sales and new releases happening now — check them out here!

Shop My Favorite Craft Brands
Browse my Go to Brands and supplies using my affiliate links.
Oh my goodness, that’s stunning Sandi! Love the white-on-white look and the flower is beautiful! 🙂
thank you Amy
Fascinating technique, Sandi. Lovely results. Can’t wait to try it out!
Thank you Gayle, so glad you like it
What a great idea! I do agree with you, much as I love hydrangeas!
The first embossing folder works perfectly as if it was made for this!
Gorgeous!
Thanks Sharon, it looks a lot better in the next technique I’ll be filming on Monday
Amazing – great technique. I have lots of folders this would be good for!
Thanks Lisa, and I know right, so many that would work