
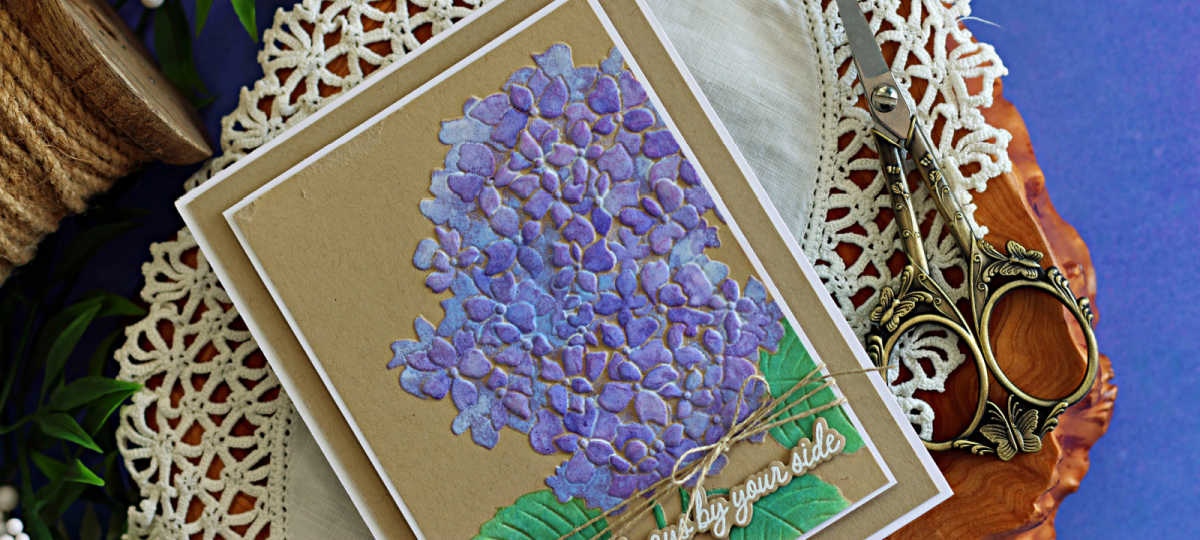
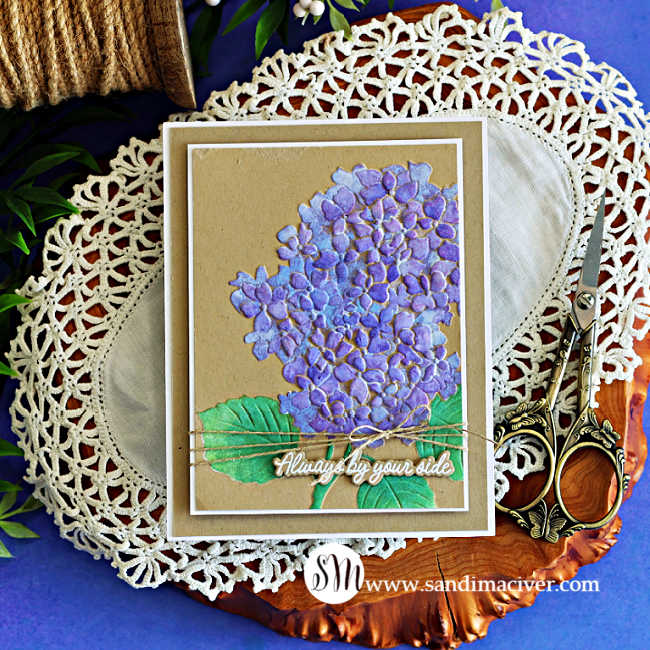
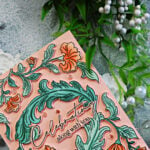
Today’s card combines a little white pigment ink magic with the Gorgeous Hydrangea Embossing Folder and Stencil to create soft, colorful flowers on Kraft cardstock.
I love how the white ink changes the look of the stenciled colors. Instead of disappearing into the Kraft cardstock, the purple and green inks stay bright and vibrant while still letting the warm Kraft background show through.
Products used for the Gorgeous Hydrangea Card:
- Gorgeous Hydrangea Embossing Folder/Die/Stencil
- Woodland Friends Stamp and Die Set
- White Pigment Ink
Creating the Gorgeous Hydrangea Card:
Start by embossing a 3-1/2″ x 4-3/4″ piece of Kraft cardstock with the Gorgeous Hydrangea Embossing Folder.
Next, squeeze some white pigment ink from the reinker onto an acrylic stamp handle and use an old paintbrush to apply it all over the raised embossed design. The white creates a nice base for the colored inks and really helps them stand out against the darker cardstock.
PRO-TIP:
Be sure to let the white pigment ink dry completely before moving on. Pigment ink takes longer to dry, and you don’t want to mix that wet white ink into your blending brushes or colored inks.
Once it’s dry, line up the coordinating stencils and blend the inks over the flowers and leaves.
Flowers: Lilac, Orchid, and Amethyst
Greens: Jade, Eucalyptus, and Juniper
The white underneath gives the colors a beautiful, soft, almost chalky appearance while highlighting all that wonderful embossed detail.
Finishing the Card:
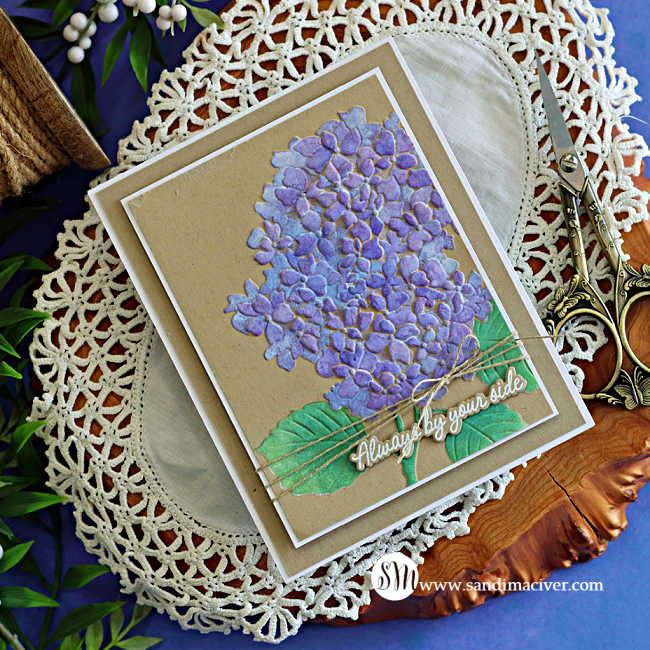
Add a 3-5/8″ x 4-7/8″ white mat to the back of the art piece.
Wrap a piece of twine around the panel three times near the bottom and tie off in a bow.
Create a white A2-sized top-folding card base, cut a front panel in Kraft at 4-1/8″ x 5-3/8″, and attach it to the card base.
Use foam squares to add the art piece to the center of the card base.
Finally, white heat-emboss the sentiment from the Woodland Friends stamp set. Cut it out with the coordinating die and attach it to the bottom-right corner.
Try White Pigment Ink Under Your Stenciling:
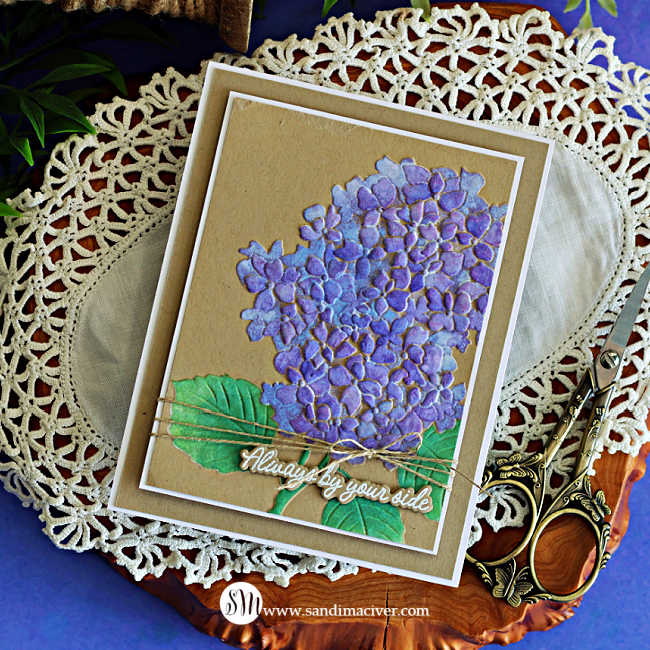
This is such an easy way to get more mileage from your embossing folders and coordinating stencils, especially when you want to work on darker cardstock.
Adding that quick layer of white pigment ink first gives your colored inks a brighter base and creates an entirely different look than stenciling directly onto Kraft.
I hope you’ll give this fun technique a try!


Never Miss a Cardmaking Tutorial
Subscribe to my blog and get the latest cardmaking ideas, tutorials, and inspiration delivered straight to your inbox — plus access to exclusive content and updates you won’t want to miss!

Visit my YouTube channel for 270+ cardmaking tutorials, techniques, and creative ideas to inspire your next project
Cardmaking Supplies Used:
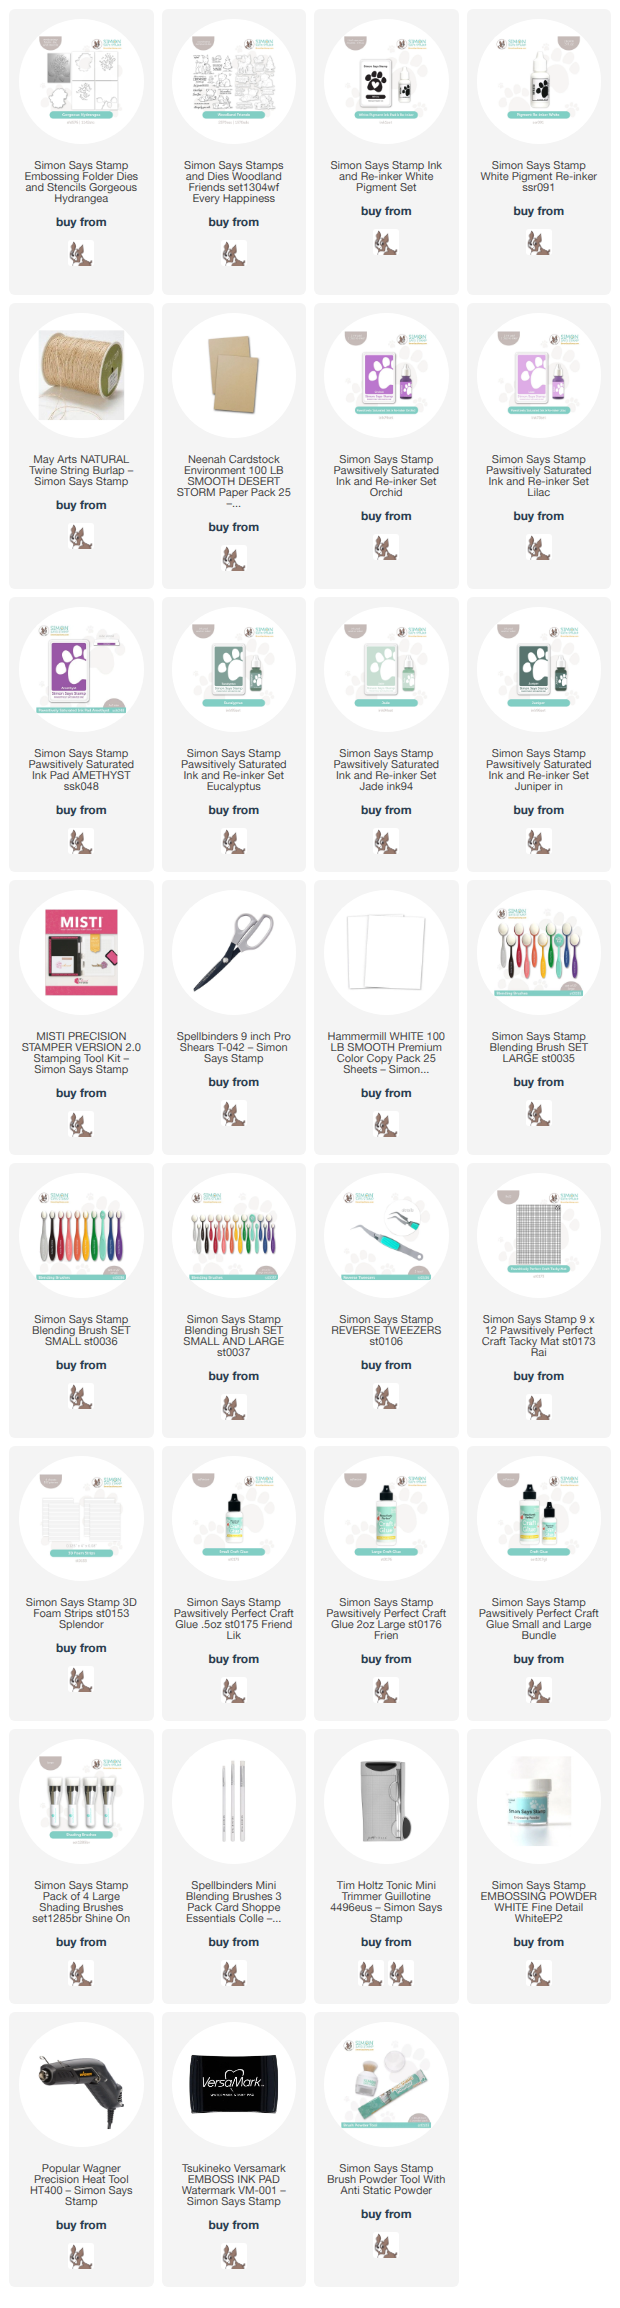
Here are the supplies I used to create today’s Gorgeous Hydrangea Card.
Many of the links below are compensated affiliate links. This means if you click through and make a purchase, I may receive a small commission at no additional cost to you.
These commissions help support my website and allow me to continue sharing cardmaking tutorials, videos, and inspiration. I truly appreciate your support.
All products were personally purchased unless otherwise noted. Simon Says Stamp products were provided by the company for design purposes.
You can find my full affiliate disclosure on my disclosure page.
Click the icons below each product to shop my favorite stores.
Let’s Connect & Get Inspired
Follow along for more cardmaking ideas, techniques, and tutorials:
- Follow me on Instagram
- Join 38,800+ creatives on Pinterest
- Subscribe to my YouTube Channel
- Follow me on Facebook
- Join my Cardmaking Obsession Facebook Group
FREE Cardmaking Tutorials Library
Looking for more inspiration? Explore my FREE PDF GALLERY with 359+ cardmaking tutorials — packed with ideas, techniques, and step-by-step projects to spark your creativity.

Don’t Miss This Week’s Deals
Lot’s of great paper crafting sales and new releases happening now — check them out here!

Shop My Favorite Craft Brands
Browse my Go to Brands and supplies using my affiliate links.
I love your card Sandi! I do want to try this technique- the flowers show up well & are beautiful on the Kraft cs. You’re incredibly talented!
thank you Donna, the technique is super easy, and really pretty, and thank you for your kind words
Terrific, Sandi! Looks like someone else has a thing for hydrangeas!!!
Thank you Sharon, and I do, but I have never lived where I could grow them, haha
So pretty Sandi! That hydrangea image has so much texture, just beautiful! 🙂
thank you Amy
beautiful colours Sandi, lovely card
thank you Lisa