
Simon Says Stamp recently released a new collection of coordinating dies for Tim Holtz stamp sets, including The Scarecrow. Mine arrived yesterday, and since I’ve had this stamp set for over a year, I immediately dropped everything and had a little play!
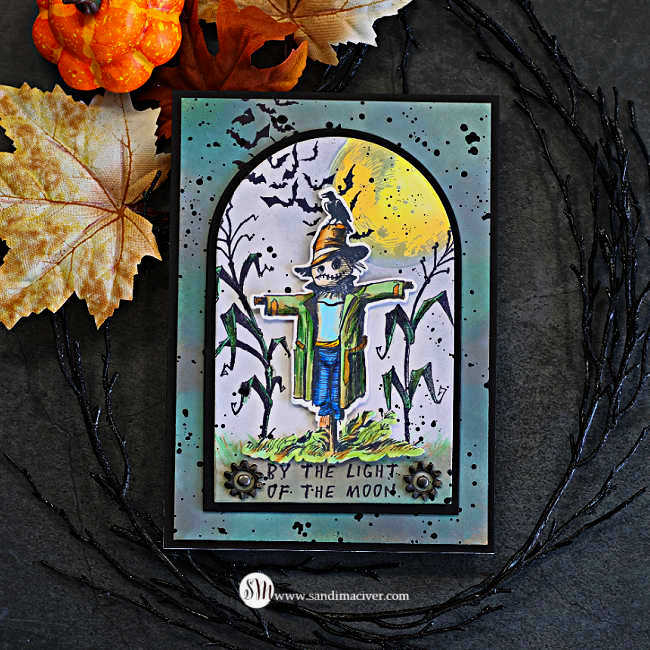
I’m a HUGE fan of all things Halloween, so spending an afternoon (and a little early-morning time, LOL) creating this large 5 x 7″ card was right up my alley. I pulled out lots of my favorite Tim Holtz Distress products and had some mixed-media fun bringing this spooky scene to life.
Scroll down, and I’ll walk you through the steps I used to create the card and show you how those new coordinating dies add a whole new dimension to The Scarecrow.
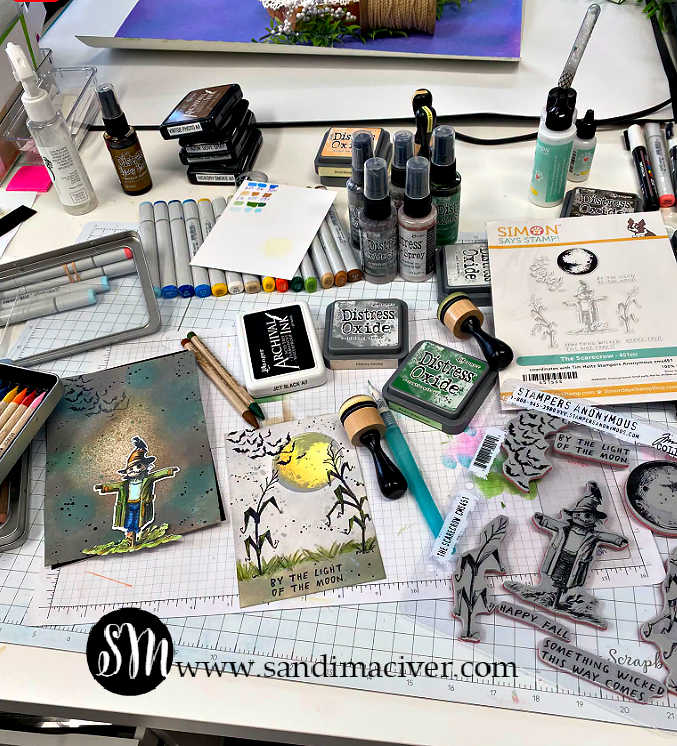
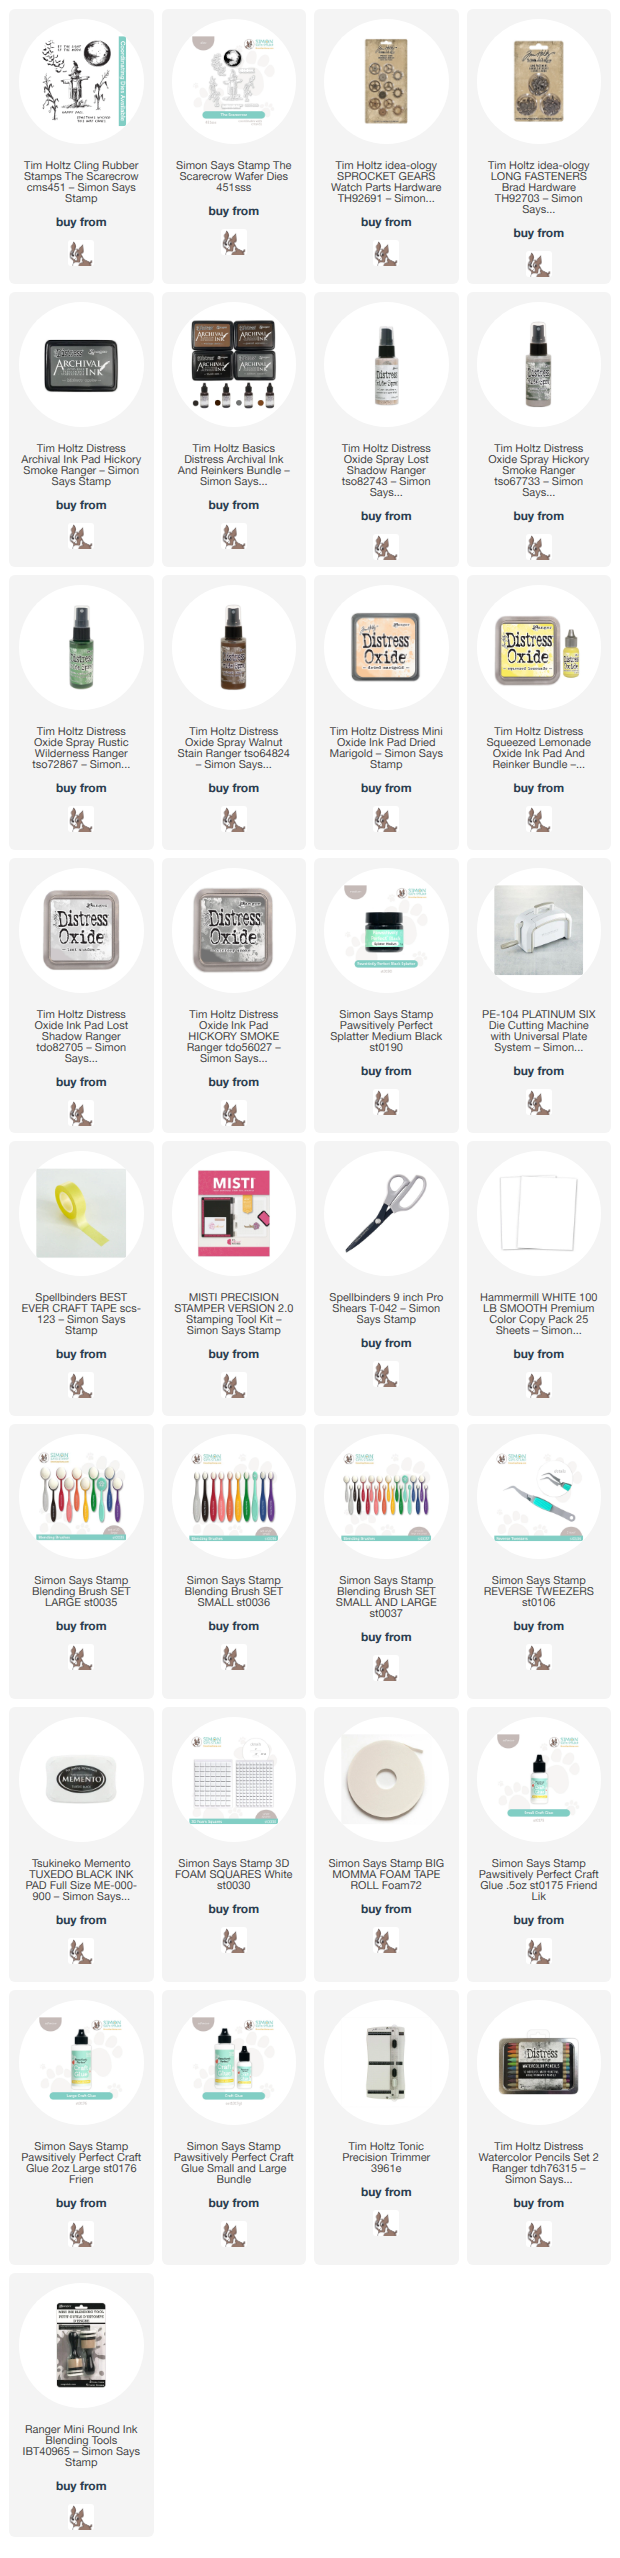
I shared this image yesterday on my business Facebook Page – my Craftermath – some of the MANY products I used to produce this card. I ended up with about 5 square inches of workspace, haha. Do you do that too?
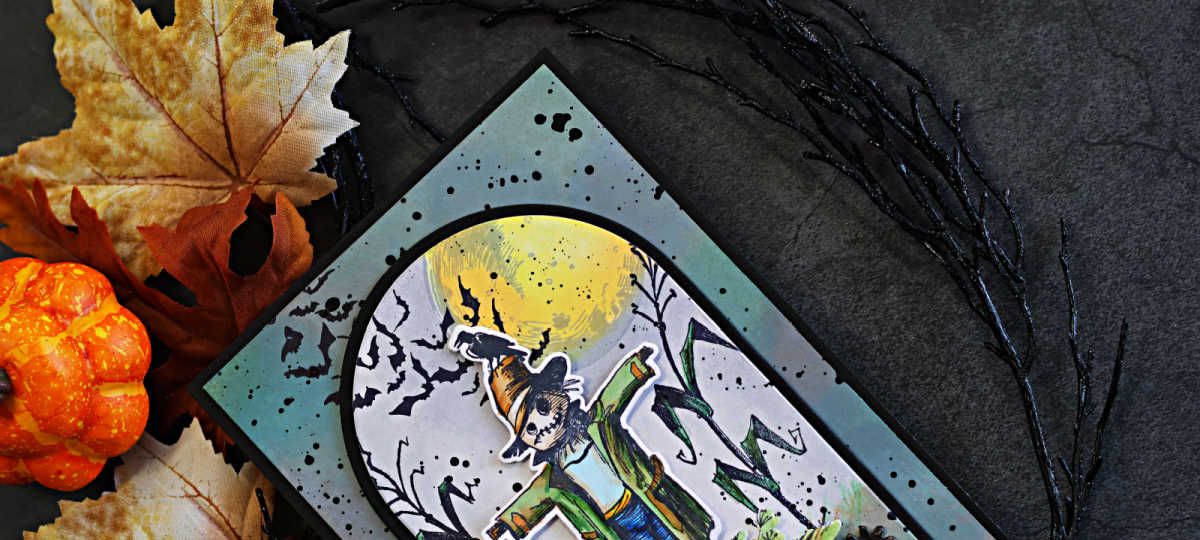
Products used to create the Tim Holtz The Scarecrow card:
The Scarecrow Stamp Set
The Scarecrow coordinating dies from Simon Says Stamp
A7 Arches Dies
and a pile of inks and sprays that I have linked at the end of this post for you.
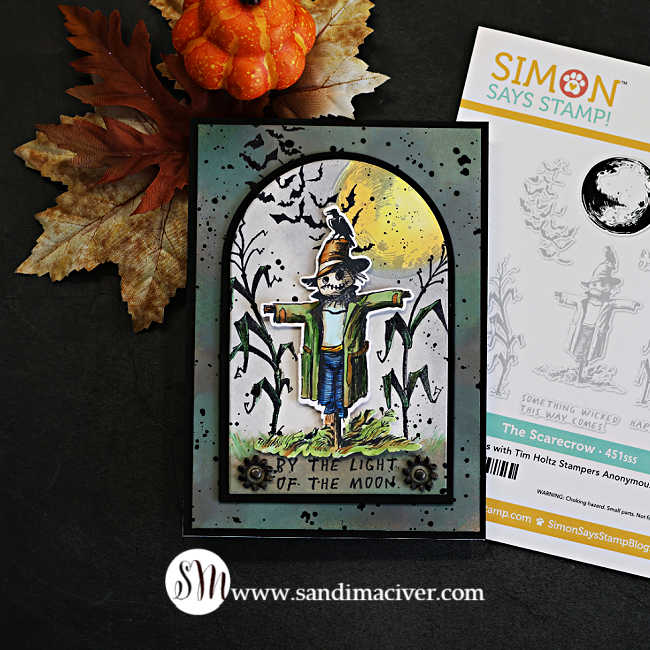
How to create the Tim Holtz The Scarecrow Card:
Create the Arched card front panel:
Die-cut a white arch measuring approximately 3-3/4″ x 5-1/2″. Stamp the moon with Hickory Smoke Archival Ink, then ink-blend over it with Dried Marigold and Squeezed Lemonade Distress Oxide Ink.
Next, cut a mask for the moon and place it over the stamped image. Ink blend the entire panel with Hickory Smoke and Lost Shadow Distress Oxide Inks.
Create the dirt and grassy area along the bottom by blending Frayed Burlap, Ground Espresso, and Rustic Wilderness Distress Oxide Inks.
Remove the mask from the moon, place the panel into a Misti. Stamp the cornstalks and bats with Black Archival Ink. Stamp the sentiment in the dirt area along the bottom.
Color the grass and corn with Tim Holtz Watercolor Pencils Set #2. Finish the background with a splatter of black paint, then set the panel aside to dry.
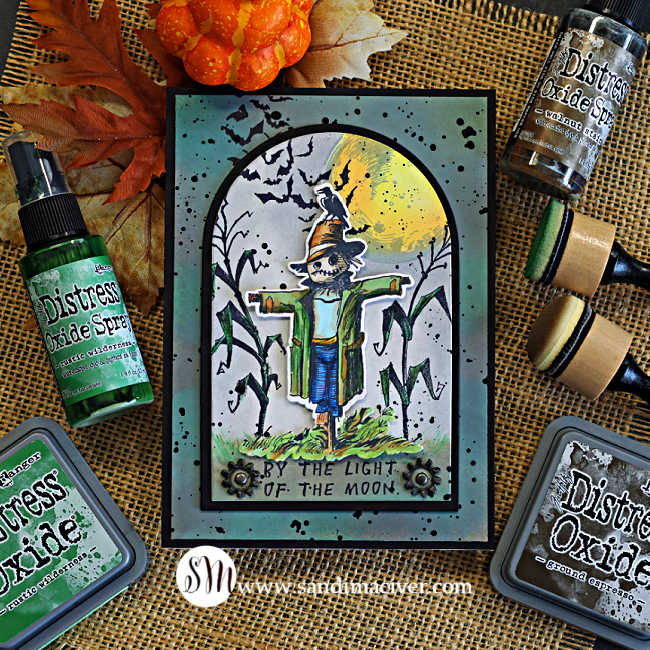
Create the Scarecrow:
Stamp the scarecrow onto white cardstock with Memento Tuxedo Black Ink, then color the image with Copic Markers.
- Jeans: B16, B24, B26
- Shirt: B000 with E31 shadowing the edges
- Hat and coat trim: E31, E35, E57
- Coat – and Grass: G21, G24, G28
- Face: E40, E43
I went back in with the Tim Holtz Watercolor Pencils Set 2, and used the green and brown pencils to add additional shadows and highlights. I also used the dark green to watercolor the corn for a little more depth and contrast.
Once the coloring is complete, die-cut the scarecrow using the New Simon Says Stamp coordinating dies. I love how the die cuts right around all those little details and makes it so easy to pop the scarecrow up from the stamped background.
Create the Card Base:
Cut a panel of white cardstock to 10″ x 7″ and score and fold at 5″ to create the card base. Cover the front with a 5″ x 7″ panel of black.
Next, cut another panel of white cardstock 4-3/4″ x 6-3/4″ and place it inside your Splat Box.
Spray the panel with Distress Oxide Sprays Lost Shadow, Hickory Smoke, Rustic Wilderness, and Walnut Stain.
Truthfully, I wasn’t getting the background I wanted with these sprays, LOL, so I let the panel dry, then ink-blended over it with Ground Espresso and Rustic Wilderness until I was happy with the depth of Color. I wanted it slightly darker than the front panel, but with the same color hues.
Finally, splatter the panel with black paint and let it dry before attaching it to the card base.
I also placed this dried panel back into my Misti, lined up the bats, and stamped the bats again so they appear to fly off the smaller front panel and continue onto the larger background. You can barely see them in the upper-left corner, though, so you could easily skip this step if you wish.
Assemble the Card:
Attach the smaller front arch panel to black mat panel cut with the one size larger arched die.
Punch holes on either side of the sentiment at the bottom and add a brad to each one. Glue a small gear around each brad for a fun mixed-media detail.
Place foam tape strips on the back and attach it to the center of the card base.
Add foam squares to the back of the die-cut scarecrow and adhere him to the center of the scene.
I thought about adding some twine or a little piece of burlap, but in the end, I decided there was enough going on with this card, LOL. That’s the fun of mixed media — you can spend hours auditioning different little bits and pieces before finally deciding you’re done!


Never Miss a Cardmaking Tutorial
Subscribe to my blog and get the latest cardmaking ideas, tutorials, and inspiration delivered straight to your inbox — plus access to exclusive content and updates you won’t want to miss!

Visit my YouTube channel for 270+ cardmaking tutorials, techniques, and creative ideas to inspire your next project
Cardmaking Supplies Used:
Here are the supplies I used to create today’s Tim Holtz The Scarecrow Card.
Many of the links below are compensated affiliate links. This means if you click through and make a purchase, I may receive a small commission at no additional cost to you.
These commissions help support my website and allow me to continue sharing cardmaking tutorials, videos, and inspiration. I truly appreciate your support.
All products were personally purchased unless otherwise noted. Simon Says Stamp products were provided by the company for design purposes.
You can find my full affiliate disclosure on my disclosure page.
Click the icons below each product to shop my favorite stores.
Let’s Connect & Get Inspired
Follow along for more cardmaking ideas, techniques, and tutorials:
- Follow me on Instagram
- Join 38,800+ creatives on Pinterest
- Subscribe to my YouTube Channel
- Follow me on Facebook
- Join my Cardmaking Obsession Facebook Group
FREE Cardmaking Tutorials Library
Looking for more inspiration? Explore my FREE PDF GALLERY with 359+ cardmaking tutorials — packed with ideas, techniques, and step-by-step projects to spark your creativity.

Don’t Miss This Week’s Deals
Lot’s of great paper crafting sales and new releases happening now — check them out here!

Shop My Favorite Craft Brands
Browse my Go to Brands and supplies using my affiliate links.
Such an awesome Halloween card! Love the fun “spooky” scene that you’ve created! 🙂
thanks Amy
Love your work table! And I love the finished procuct,
it’s terrific!
thank you Sharon, my work table is always a mess, haha
what a scene! looks so atmospheric. great job Sandi!
thank you Lisa, MANY layers of spray, haha