
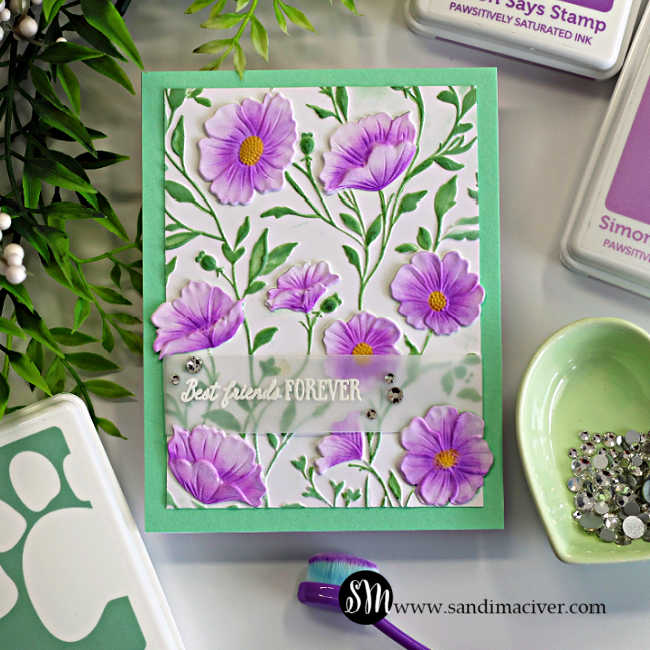
Today I’m sharing a soft and pretty Morning Glory card featuring the gorgeous Morning Glory Vibes Embossing Folder, Stencil and Die Set from Simon Says Stamp. This beautiful floral set is included in this month’s Simply Shabby Card kit, but it’s also available to purchase separately. I combined soft shades of purple and fresh mint green to bring the embossed blooms to life, then finished the card with a simple vellum sentiment, so all that gorgeous floral detail could remain the star of the show.
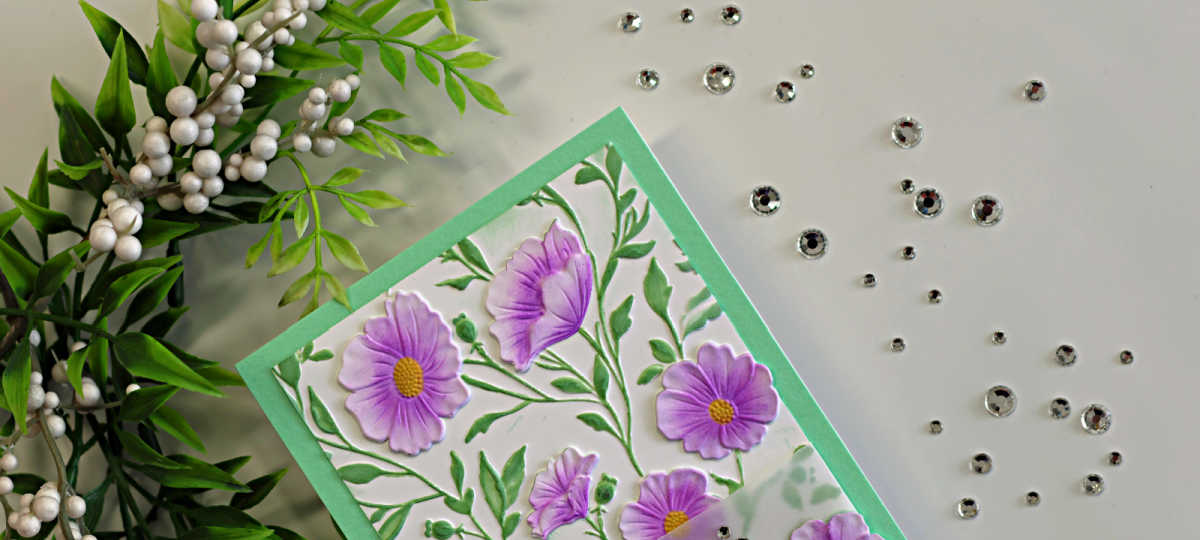
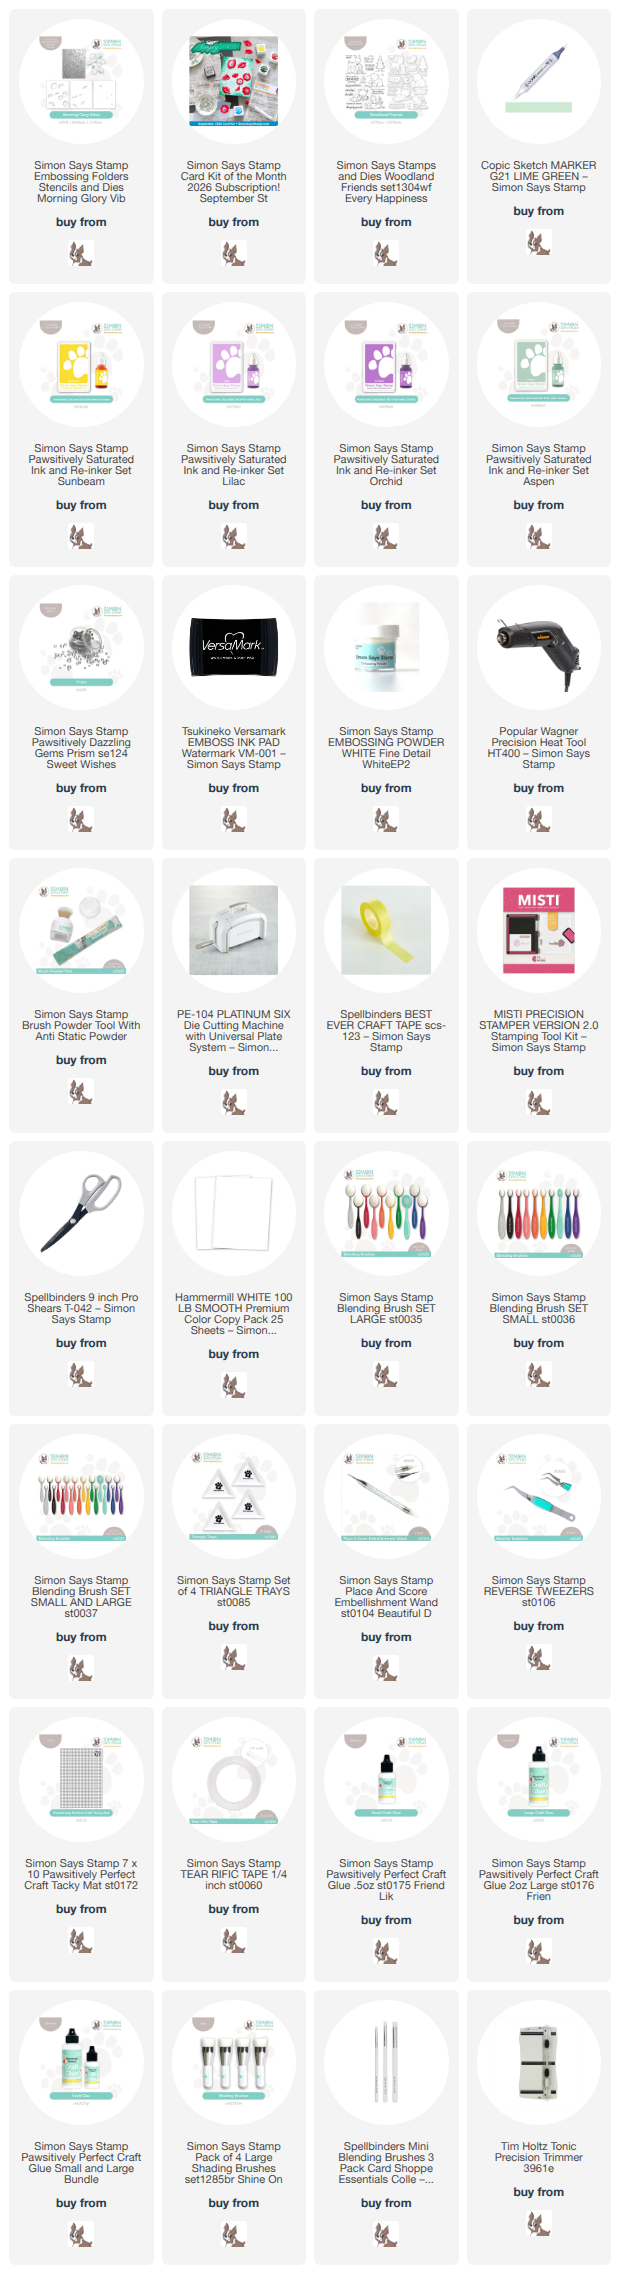
Products used for the Morning Glory Card:
- Morning Glory Vibes 3D Embossing Folder
- Morning Glory Vibes Die Set
- Morning Glory Vibes Stencil
- Clear Pawsitivily Dazzling Gems
- Woodland Friends Stamp Set (for the sentiment)
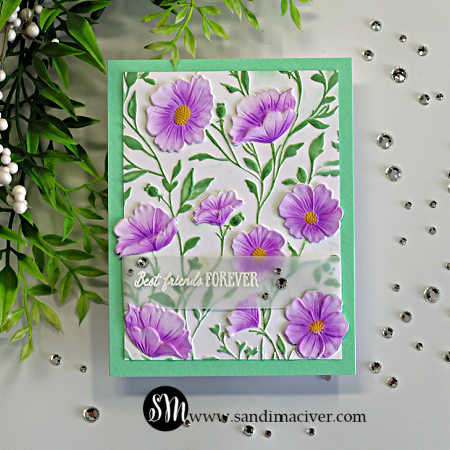
How to Create the Morning Glory Card:
Emboss the Card Front:
Trim a panel of white cardstock to 3-3/4″ x 5″ then emboss it with the Morning Glory Vibes 3D Embossing Folder.
Next, use a G21 Copic marker to lightly color the leaves and stems
Then, gently drag the Aspen Ink Pad over the raised areas of the embossed panel. This adds a second shade of green to the foliage, creating a beautiful two-tone effect and highlighting all that gorgeous embossed detail.
Create the Sentiment:
Trim a piece of vellum to 1″ x 5-1/2″. Place it in your Misty and white heat emboss one of the sentiments from the Woodland Friends Stamp Set.
Lay the vellum across your embossed card front, fold the ends around to the back, and secure them in place.
Use Tear Tape to attach the embossed panel to the card base.
Create the Flowers:
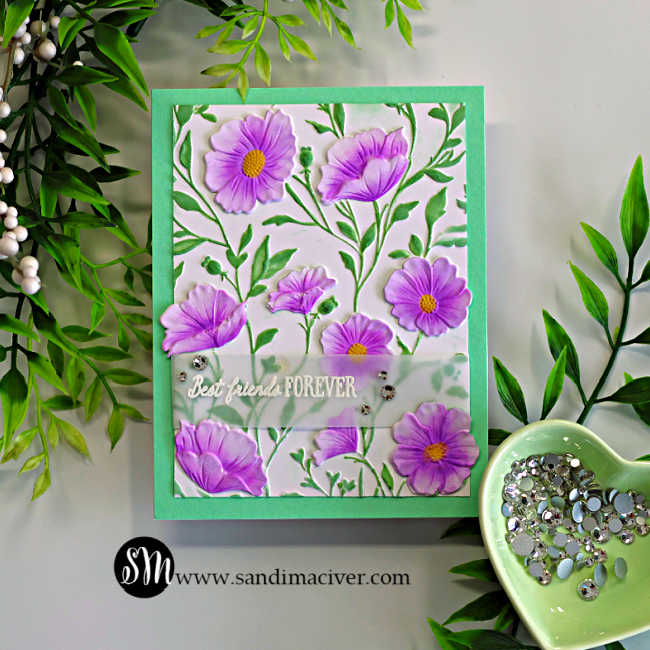
Die cut the flowers, lay them into the embossing folder, and emboss them to add all that beautiful dimensional detail.
Place the embossed flowers on a sticky mat and begin ink blending with Lilac Ink. Next, use a small blending brush to add Orchid Ink around the centers of the flowers for extra depth and contrast. Finally, use the coordinating stencil to color the flower centers with Sunbeam Ink.
Use Craft Glue to attach the finished flowers over the coordinating blooms on the embossed card front. Layering the die-cut flowers over the embossed images creates a lovely 3D effect and really makes those purple blooms pop.
Finally, embellish the card with a few Clear Pawsitively Dazzling Gems for a little extra sparkle.


Never Miss a Cardmaking Tutorial
Subscribe to my blog and get the latest cardmaking ideas, tutorials, and inspiration delivered straight to your inbox — plus access to exclusive content and updates you won’t want to miss!

Visit my YouTube channel for 270+ cardmaking tutorials, techniques, and creative ideas to inspire your next project
Cardmaking Supplies Used:
Here are the supplies I used to create today’s Morning Glory Card.
Many of the links below are compensated affiliate links. This means if you click through and make a purchase, I may receive a small commission at no additional cost to you.
These commissions help support my website and allow me to continue sharing cardmaking tutorials, videos, and inspiration. I truly appreciate your support.
All products were personally purchased unless otherwise noted. Simon Says Stamp products were provided by the company for design purposes.
You can find my full affiliate disclosure on my disclosure page.
Click the icons below each product to shop my favorite stores.
Let’s Connect & Get Inspired
Follow along for more cardmaking ideas, techniques, and tutorials:
- Follow me on Instagram
- Join 38,800+ creatives on Pinterest
- Subscribe to my YouTube Channel
- Follow me on Facebook
- Join my Cardmaking Obsession Facebook Group
FREE Cardmaking Tutorials Library
Looking for more inspiration? Explore my FREE PDF GALLERY with 359+ cardmaking tutorials — packed with ideas, techniques, and step-by-step projects to spark your creativity.

Don’t Miss This Week’s Deals
Lot’s of great paper crafting sales and new releases happening now — check them out here!

Shop My Favorite Craft Brands
Browse my Go to Brands and supplies using my affiliate links.
Such a pretty card Sandi! The flowers really pop off the paper! Just beautiful! 🙂
thanks so much Amy
This is a real beauty!
thank you Sharon
Beautiful card. Even though I don’t always comment I really enjoy all yourcreations.
aw, thank you Judy, and I appreciate you following me
Such a pretty card!
thank you Jan
beautiful folder and such a pretty card Sandi.
thanks so much Lisa
Love the lilac and mint green color combo. Makes a beautiful art piece! You always inspire me to go through my stash and see how I can use your great ideas!
aw, thanks Gayle, I’m so glad you liked it