
The final release for Simon Says Stamp STAMPtember® is this beautiful Grateful Moments Bundle. It includes an amazing 6 x 8 stamp set filled with gorgeous floral images and sentiments in two sizes, coordinating dies, a stencil set, and the coordinating Timeless Grateful two-piece sentiment die. I had such an enjoyable afternoon creating with this collection.
While this is a STAMPtember release, these are Simon Says Stamp exclusive products, and they will be restocked – YEAH!
The colors for my first card were inspired by the mums and pumpkins currently decorating my front porch. And the second card–well, you know me and my favorite colors, haha!
I share how to create each card below for you, so let’s get started!
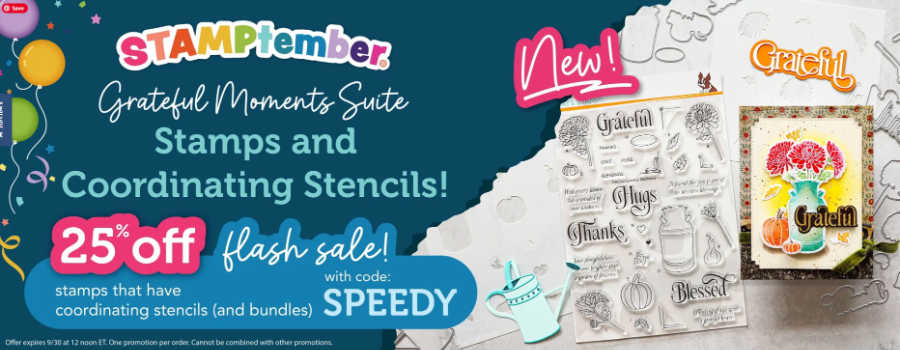
Order today’s Grateful Moments Bundle HERE
get 25% OFF – use code: SPEEDY
Visit SIMON SAYS STAMP
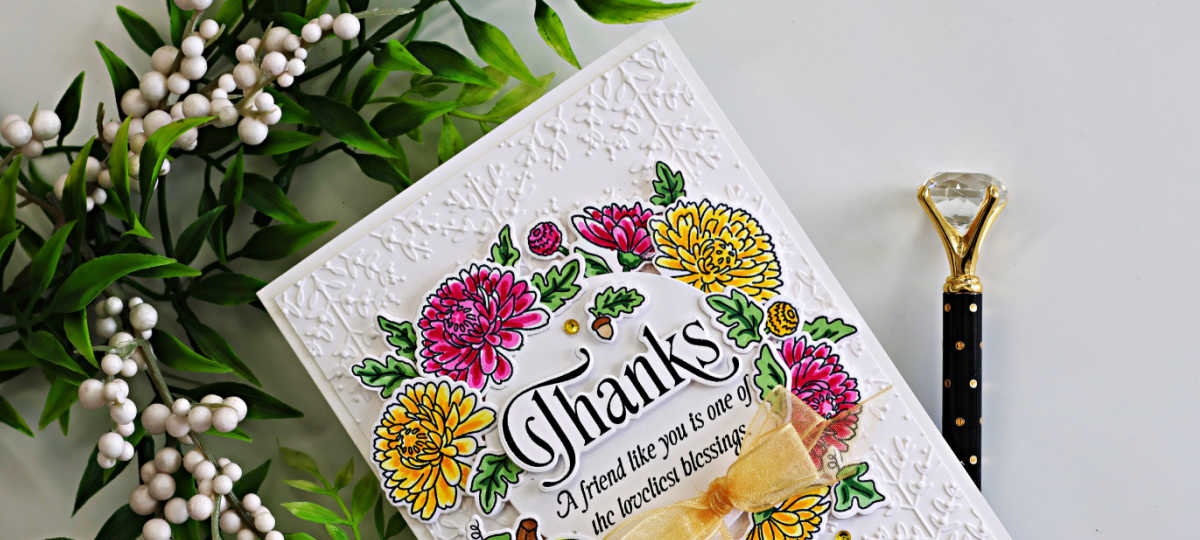
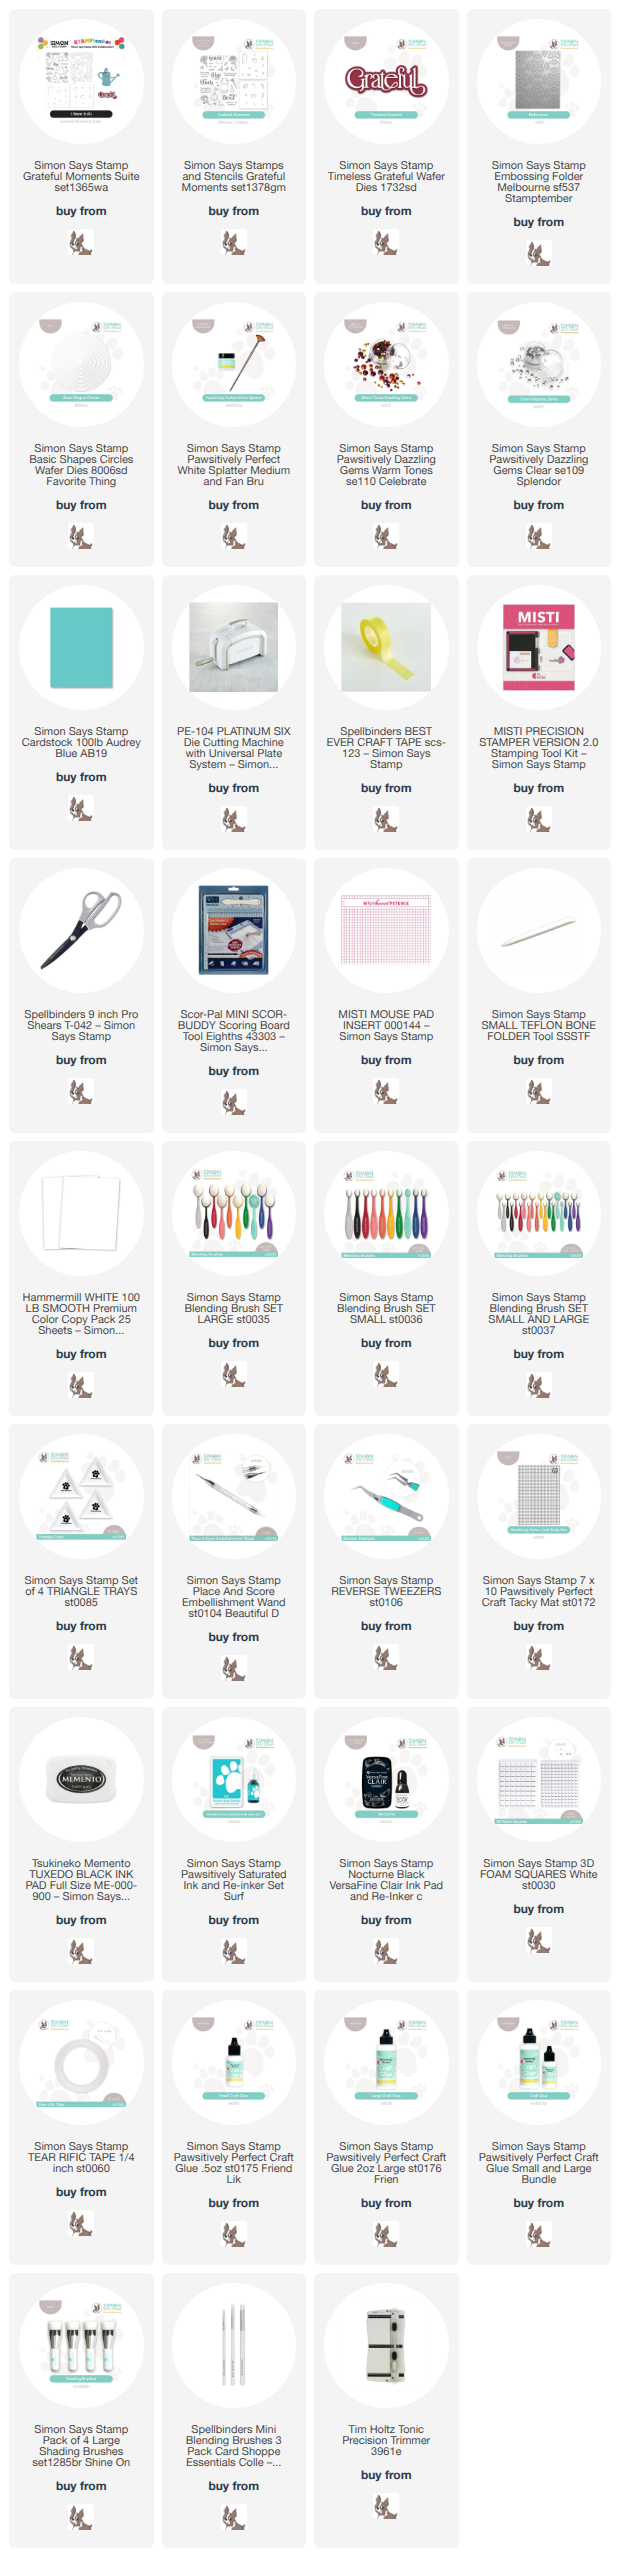
Products used for the Simon Says Stamp Grateful Moments Fall Cards:
- Grateful Moments Stamp and Die Set
- Timeless Grateful sentiment dies
- Melbourne 3D Embossing Folder
- Basic Shapes Circles
- Pawsitively Perfect White Splatter Medium
- Dazzling Gems – Clear and Warm Tones
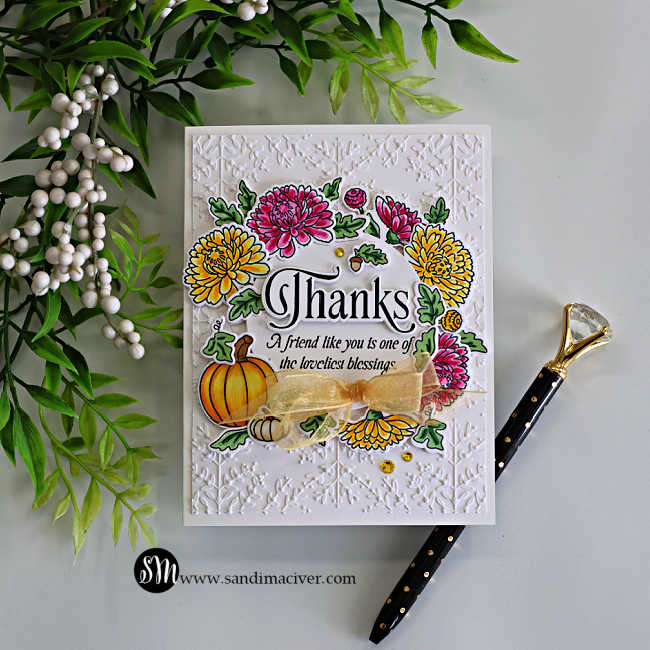
How to Create the Grateful Moments Fall Card #1:
Trim a panel of white cardstock to 4″ x 5-1/4″ and emboss it with the Melbourne 3D Embossing Folder. Attach it to a side-folding A2-sized white card base.
NOTE: This Melbourne 3D Embossing Folder is stunning. It has a square grid snowflake pattern, perfect for all your winter and holiday cards and it embosses beautifully.
Next, stamp the images onto Hammermill White Cardstock with Memento Ink, then color them with Copic Markers.
NOTE: I opted for Copics instead of the stencils because they were already out on my table and I felt like coloring! The stencils would have made adding color to these pretty images much faster, though.
Copics Used:
- Orange: Y38, YR04, YR07
- Brown: E40 – E81-E43, E44 for the pumpkin stems
- Pinks: RV55, RV17, RV19
- Greens: G21, G24, G28
- Yellow: Y11, Y15, Y19
- Grays: N4, N7, N8
Die-cut all the colored images with the coordinating dies. Stamp the sentiments on a panel of white cardstock and cut it with the Basic Shapes Circles Die. Stamp the large sentiment a second time, cut it out with the coordinating die, and attach it over the original with foam squares to highlight the large word.
Arrange and glue the flowers and greenery around the back of the circle, then attach the completed piece to the center of the card with foam squares for added dimension.
Add a two-loop bow to the bottom right and tuck in a few additional leaves to fill out the bouquet. Layer the two pumpkins over the arrangement in the bottom left corner.
Finish the card with a few yellow gems for a little extra sparkle.
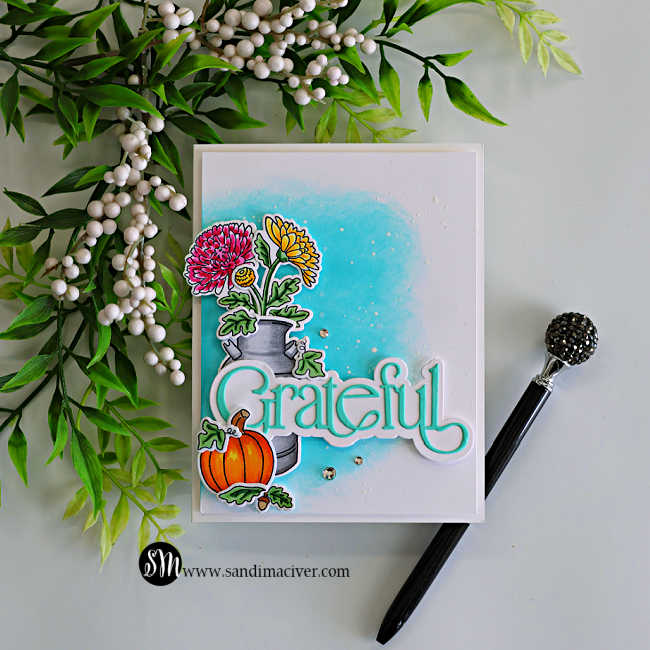
Instructions for Card #2
Trim a panel of Hammermill White Cardstock to 4″ x 5-1/2″. Ink blend Surf ink along the left side to create a soft background for the die-cut inages. Splatter the panel with white ink, and once dry, attach it to a side-folding white A2-sized card base.
Next, stamp the images onto Hammermill White Cardstock with Memento Ink, then color them with Copic Markers.
Die-cut all the colored images with the coordinating dies. Arrange the flowers and greenery so they appear to be spilling out of the milk can, then attach the arrangement along the left side of the card.
Die-cut the sentiment from Audry Blue and White cardstock. Layer the pieces together and attach the sentiment across the milk can.
Add the pumpkin and a few leaves as an overlay at the bottom of the arrangement.
Finish the card with a few clear gems for added sparkle.


Never Miss a Cardmaking Tutorial
Subscribe to my blog and get the latest cardmaking ideas, tutorials, and inspiration delivered straight to your inbox — plus access to exclusive content and updates you won’t want to miss!

Visit my YouTube channel for 270+ cardmaking tutorials, techniques, and creative ideas to inspire your next project
Cardmaking Supplies Used:
Here are the supplies I used to create today’s Simon Says STamp Grateful Moments Fall Cards.
Many of the links below are compensated affiliate links. This means if you click through and make a purchase, I may receive a small commission at no additional cost to you.
These commissions help support my website and allow me to continue sharing cardmaking tutorials, videos, and inspiration. I truly appreciate your support.
All products were personally purchased unless otherwise noted. Simon Says Stamp products were provided by the company for design purposes.
You can find my full affiliate disclosure on my disclosure page.
Click the icons below each product to shop my favorite stores.
Let’s Connect & Get Inspired
Follow along for more cardmaking ideas, techniques, and tutorials:
- Follow me on Instagram
- Join 38,800+ creatives on Pinterest
- Subscribe to my YouTube Channel
- Follow me on Facebook
- Join my Cardmaking Obsession Facebook Group
FREE Cardmaking Tutorials Library
Looking for more inspiration? Explore my FREE PDF GALLERY with 359+ cardmaking tutorials — packed with ideas, techniques, and step-by-step projects to spark your creativity.

Don’t Miss This Week’s Deals
Lots of great paper crafting sales and new releases happening now — check them out here!

Shop My Favorite Craft Brands
Browse my Go to Brands and supplies using my affiliate links.

Such a pretty fall card Sandi! Love the framing! 🙂
thank you Amy
This is delightful and so very pretty! Love the embossed background
and the gold ribbon is the perfect touch!
thank you Sharon
Beautiful makes! Really love the top one in particular with that gorgeous bow!
thank you Lisa