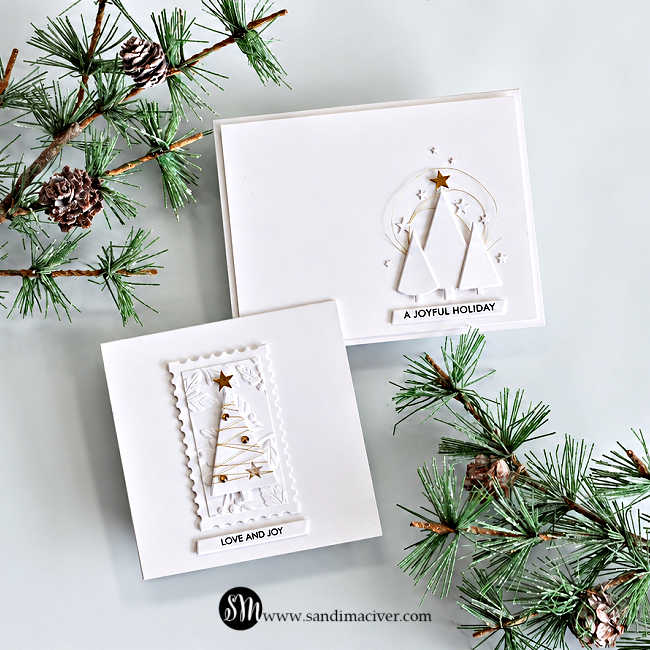
I have been seeing a lot of “white” Christmas cards on Instagram lately, and I love them, so I thought I would do a couple. I have the Simple Trees die set created by Cathy Zielske for Simon Says Stamp, and I decided they would be perfect for what I had in mind. I wanted simple but elegant, some bling, of course, but not too much, and no extra bulk that would require extra postage.
This is part of my Christmas Card Magic Series for this year, and again, these are super simple, so I didn’t do a video. My MIL’s moving truck is arriving either tomorrow or Wed. So it will be a couple of days of heavy work to get her organized and settled, and then life will get back to normal and I’ll be back making videos again.
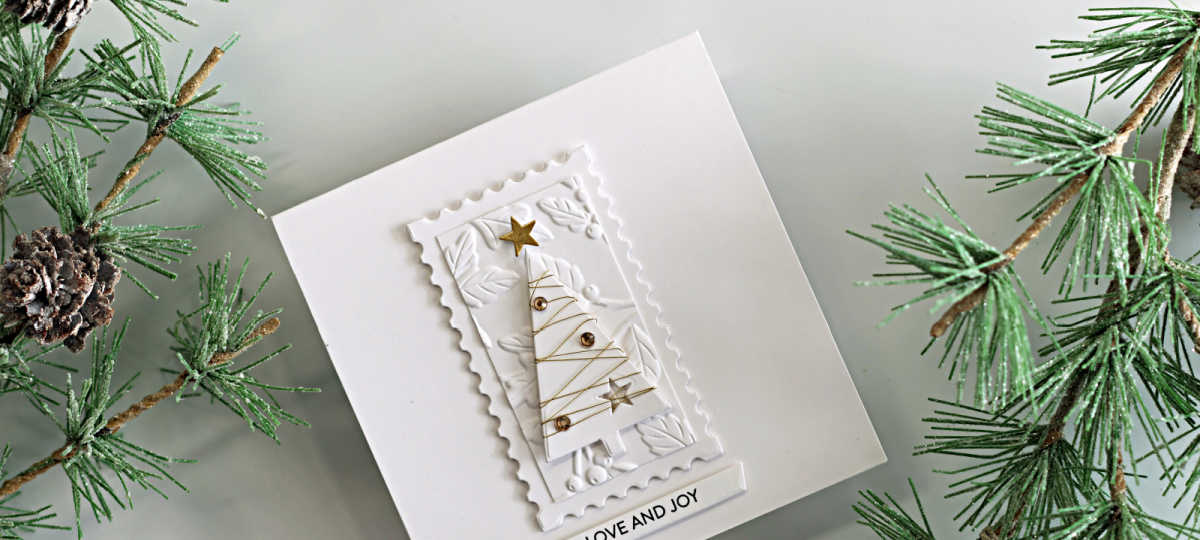
Here’s what I came up with: These are quick and easy and very mass-producible for your holiday carding.
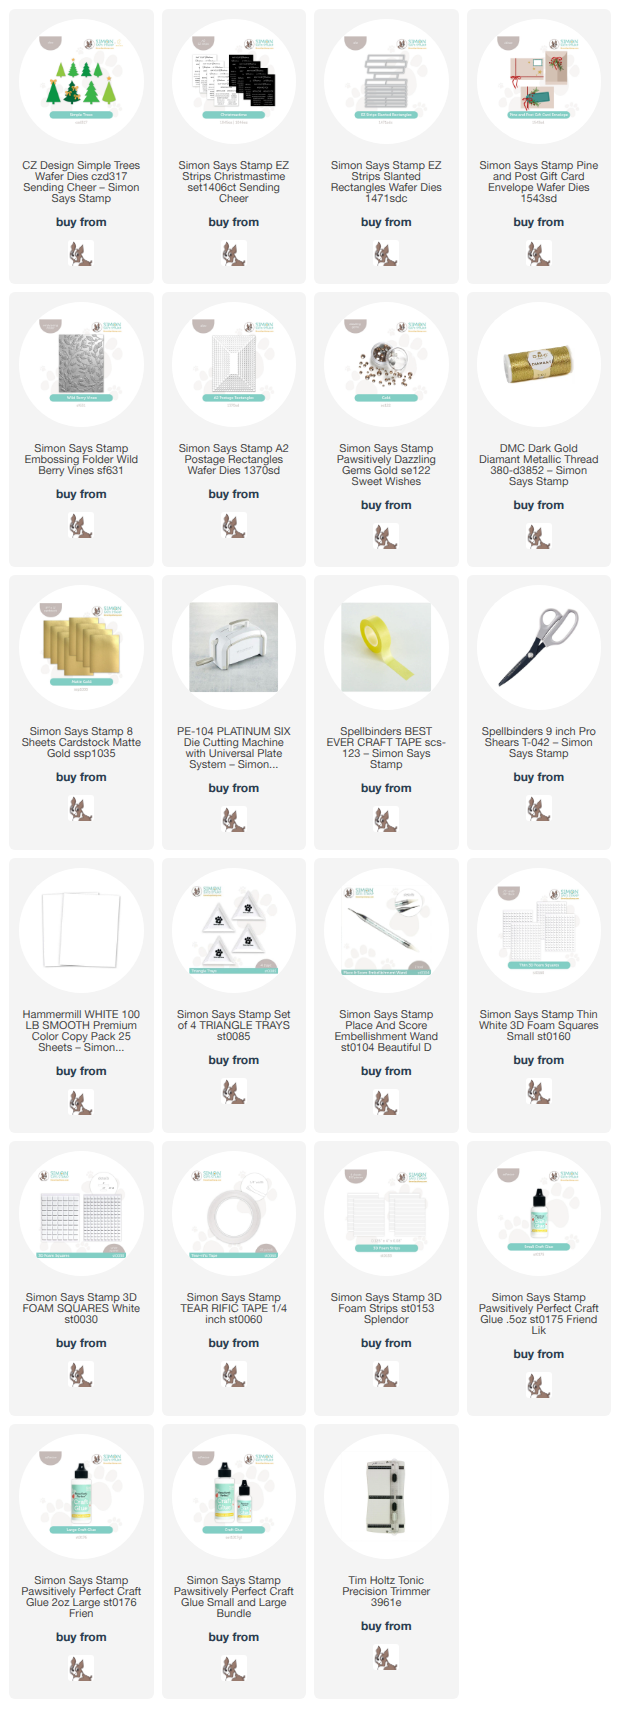
Products Used for today’s Simple Trees Christmas Cards:
- Simple Trees czd317
- Christmastime EZ Strips Sentiments
- A2 Postage Rectangles 1370sd
- Pine and Post Gift Card Envelope 1543sd
- Wild Berry Vines Embossing Folder
- Gold Pawsitively Dazzling Gems
- Gold Thread
How to create the Simple Trees Christmas Cards:
Both cards started as top-folding A2-sized cards. For the second card, I trimmed the base into a square to better highlight the postage rectangle. You can still mail this in an A2-sized envelope; just add an additional 4-1/4″ x 5-1/2″ piece of cardstock.
Simple Trees Christmas Cards #1
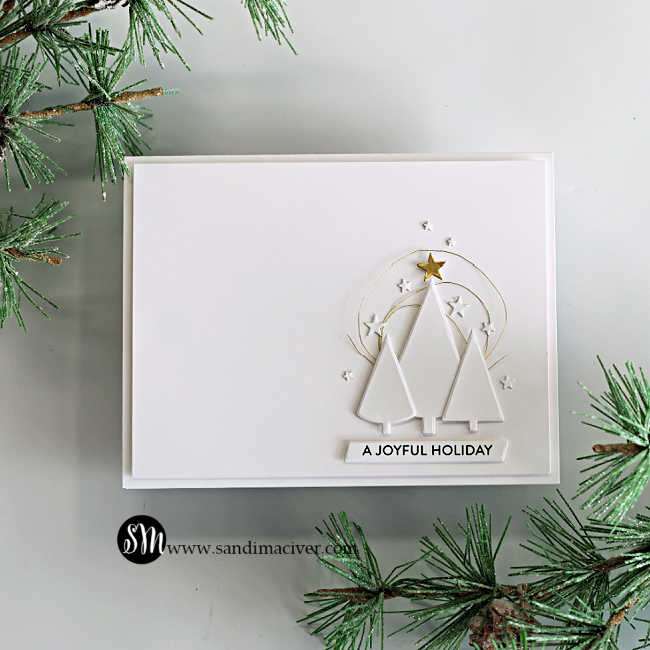
- Trim a panel of white cardstock to 4″ x 5-1/4″ and adhere it to the front of a top-folding A2-sized white card base.
- Die-cut three trees from white cardstock and one star from gold cardstock. Use the Pine and Post Gift Card Envelope Dies to cut several smaller white stars for the background.
- Use the Christmastime Ez strips printed sentiments and coordinating dies to cut a batch of sentiments, and choose a smaller one for this card.
- Loop a piece of gold thread and secure the loops with a small piece of Scotch tape. Position it on the card front where the die-cut trees will overlap it.
- Add foam squares to the backs of the trees and arrange them over the gold thread.
- Add the gold star with a small piece of foam tape, then glue the smaller white stars around the trees.
- Finally, adhere the sentiment with foam squares.
A quick and easy CAS (clean and Simple) card — and a pretty way to clean out your scrap bin.
 Simple Trees Christmas Cards #2
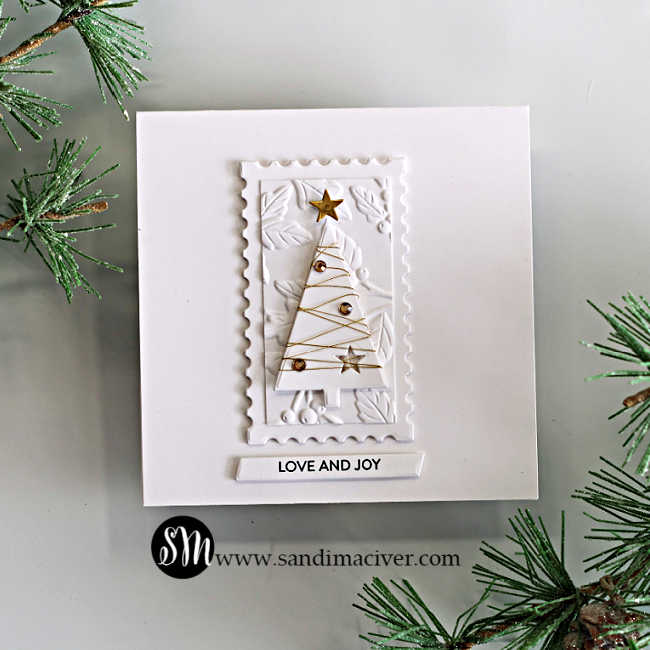
- Start with a top-folding A2-sized white card base and trim its length to 4-1/4″ to create a square card.
- Next, use the A2 Postage Rectangles dies to cut a white postage panel slightly larger than the die-cut tree. Mine measures approximately 1-3/4″ x 3″.
- Cut a second white panel to fit inside the postage panel. Mine measures 1-3/8 x 2-5/8″. Emboss it with a folder featuring a smaller-scale design, such as the Wild Berry Vines Embossing Folder I used. Adhere the embossed panel to the center of the postage panel, then attach the layered panel to the center of the card base.
- Die-cut the tree, then use the small star die from the Simple Trees set to cut a star opening in the bottom right corner.
- Wrap the tree in gold thread, then use foam squares to attach it to the center of the postage panel.
- Add the gold star to the top, and decorate the tree with three Gold Pawsitively Dazzling gems.
- Finish by adhering another Christmastime EZ Strip sentiment centered beneath the postage panel.
NOTE: Use the thinner foam squares for this card, as the postage panel has 3 layers.


Never Miss a Cardmaking Tutorial
Subscribe to my blog and get the latest cardmaking ideas, tutorials, and inspiration delivered straight to your inbox — plus access to exclusive content and updates you won’t want to miss!

Visit my YouTube channel for 270+ cardmaking tutorials, techniques, and creative ideas to inspire your next project
Cardmaking Supplies Used:
Here are the supplies I used to create today’s Simple Trees Christmas Cards.
Many of the links below are compensated affiliate links. This means if you click through and make a purchase, I may receive a small commission at no additional cost to you.
These commissions help support my website and allow me to continue sharing cardmaking tutorials, videos, and inspiration. I truly appreciate your support.
Products provided by manufacturers for design purposes are marked with an asterisk (*) in the supply list.
You can find my full affiliate disclosure on my disclosure page.
Click the icons below each product to shop my favorite stores.
Let’s Connect & Get Inspired
Follow along for more cardmaking ideas, techniques, and tutorials:
- Follow me on Instagram
- Join 38,800+ creatives on Pinterest
- Subscribe to my YouTube Channel
- Follow me on Facebook
- Join my Cardmaking Obsession Facebook Group
FREE Cardmaking Tutorials Library
Looking for more inspiration? Explore my FREE PDF GALLERY with 359+ cardmaking tutorials — packed with ideas, techniques, and step-by-step projects to spark your creativity.

Don’t Miss This Week’s Deals
Lots of great paper crafting sales and new releases happening now — check them out here!

Shop My Favorite Craft Brands
Browse my Go to Brands and supplies using my affiliate links.