
I was out walking Bailey (the corgi) this morning when I noticed the birds singing and tiny buds starting to appear on the trees. It instantly took me back to my younger years in Vernon, where the beautiful tulip trees (Magnolia) would burst into bloom each spring.
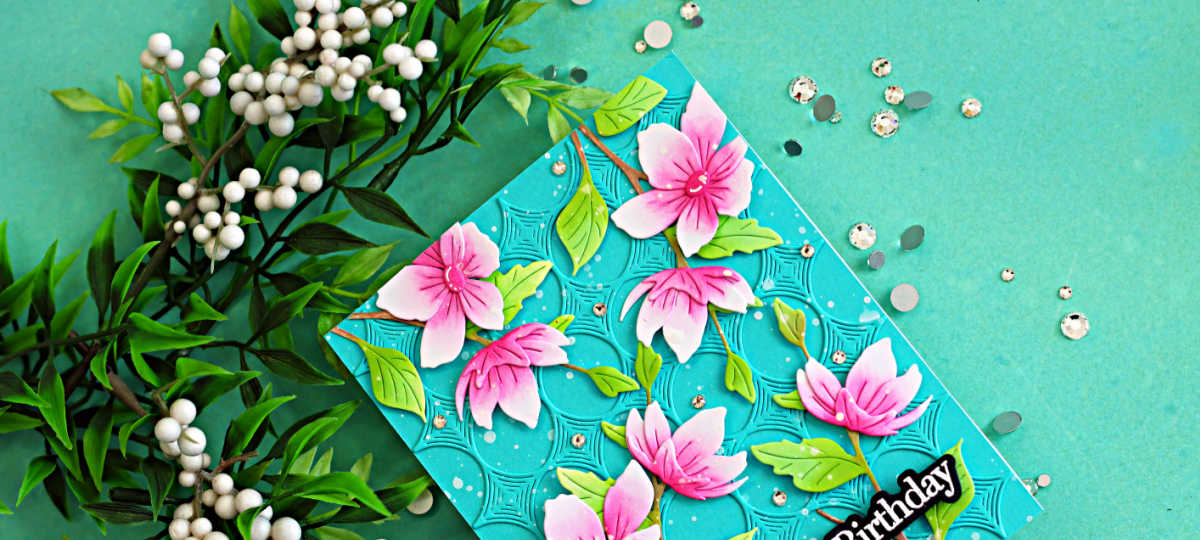
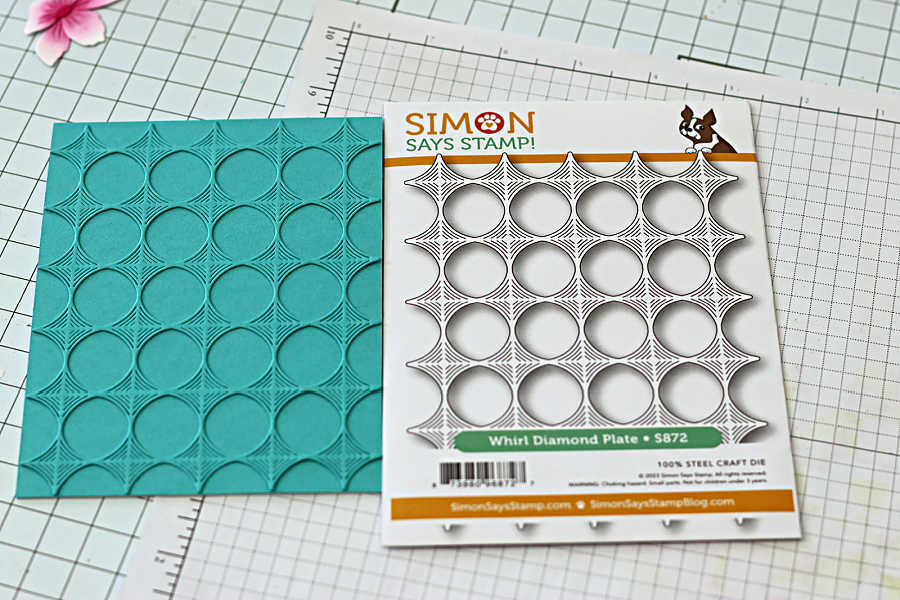
That inspiration led me to recreate that soft, seasonal feeling in today’s card using the Elegant Blossom Branch die and the Whirl Diamond Plate from Simon Says Stamp.
I’ve put together a short photo tutorial below to walk you through each step.
Products Used for Today’s Elegant Blossom Branch Card:
How to create the Elegant Blossom Branch Card:
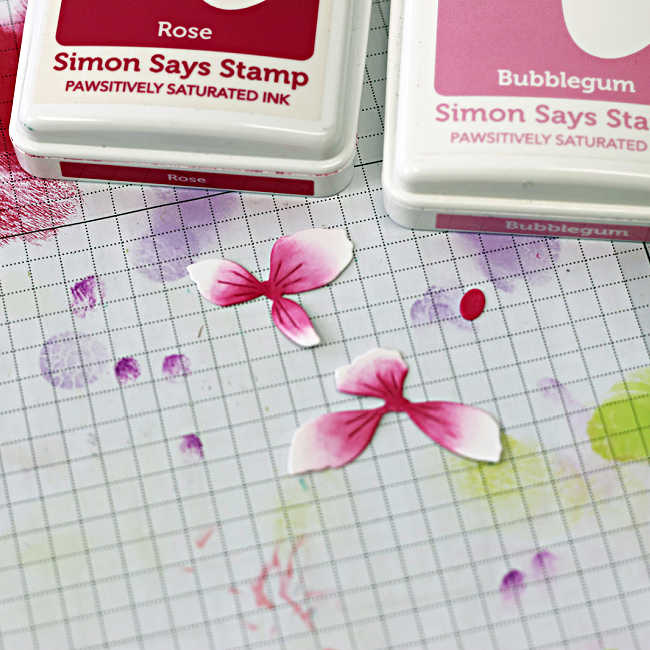
Create the Flowers:
Cut the Elegant Blossoms Branch die four times from white cardstock.
Starting with the flowers, ink blend each piece, by applying color from the center and pulling the ink outward, leaving some of the petal tips white for a soft, dimensional look. Begin with Bubblegum ink, then deepen the centers with a touch of Rose Ink.
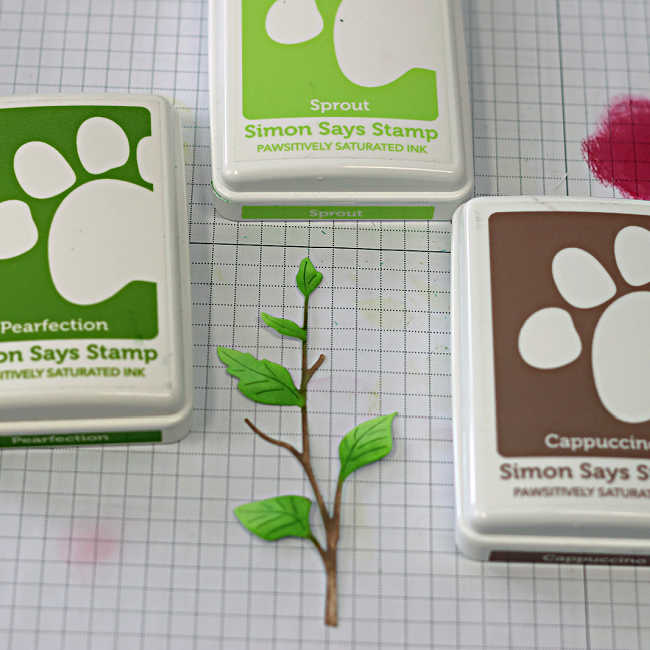
Create the Stems:
Ink the stems using Cappuccino ink and the leaves using Sprout and Pearfection, adding the darker ink closest to the stem to add depth and shadow.
Create a Card Base:
Cut a piece of white cardstock to 4-1/4″ x 11″, score and fold at 5-1/2″ to create a top-folding A2 card base.
Cut trim a panel of Audrey Blue to 4-1/4″ x 5-1/2″ and attach it to the card base.
Cut a second panel of Audrey Blue cardstock to 4-1/4″ x 5-1/2″, then die cut it using the Whirl Diamond Plate before attaching it to the card front.
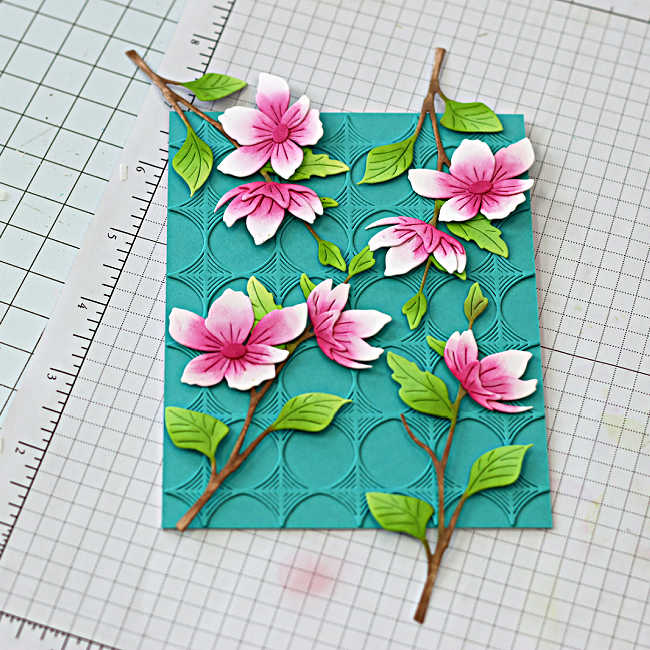
Arrange the branches on the card:
Dry fit the branches onto the card front, adjusting them until you’re happy with the placement. Once positioned, adhere them using foam squares for added dimension.
Flip the card over and use sharp scissors to trim away any overhanging pieces for a clean finish.
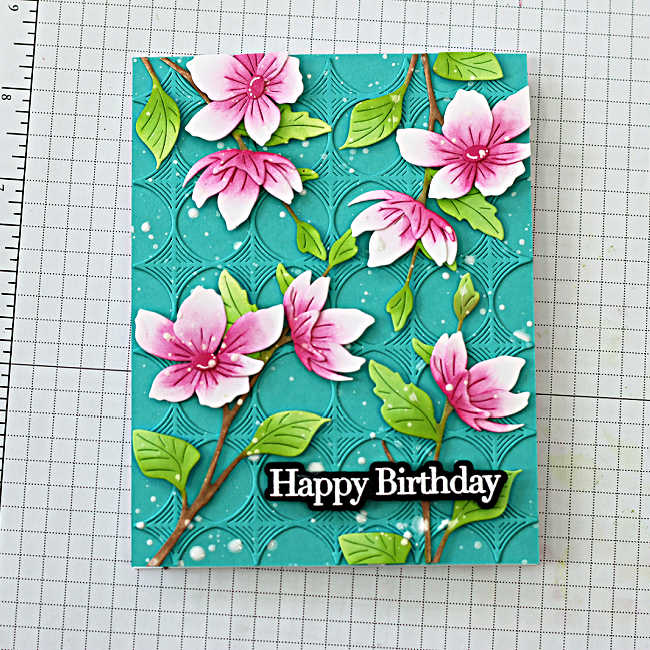
Add Splatter and a Sentiment:
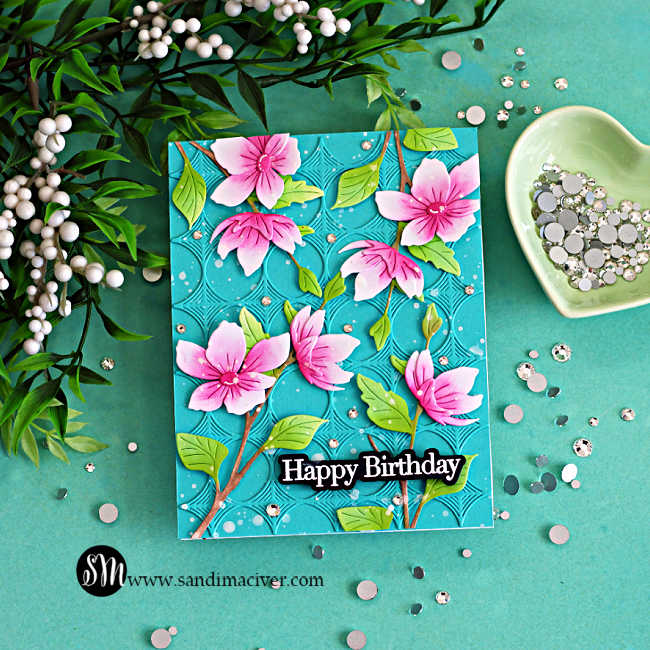
Place the card inside a Splat box and add white paint splatter for a soft, artistic finish.
Once dry, add a white heat-embossed sentiment from the Inside Greetings Birthday stamp and die set.
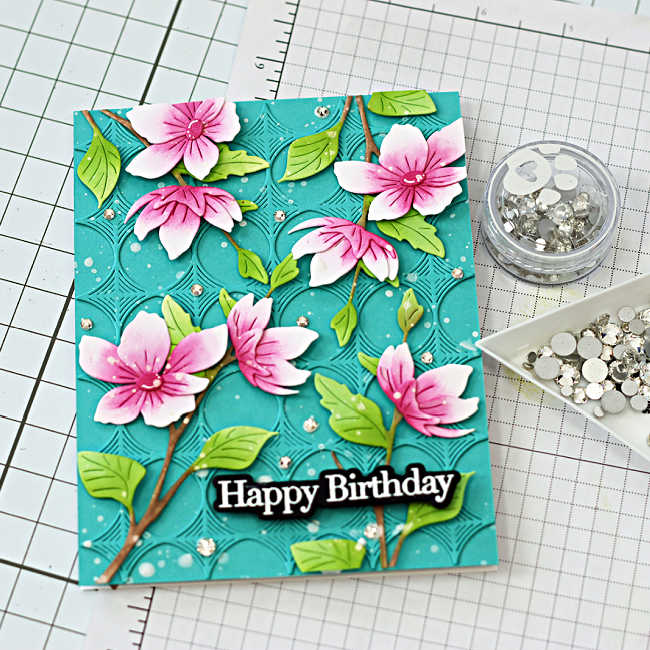
Embellish:
Add a sprinkling of Clear Pawsitively Dazzling Gems for a touch of Sparkle and shine.
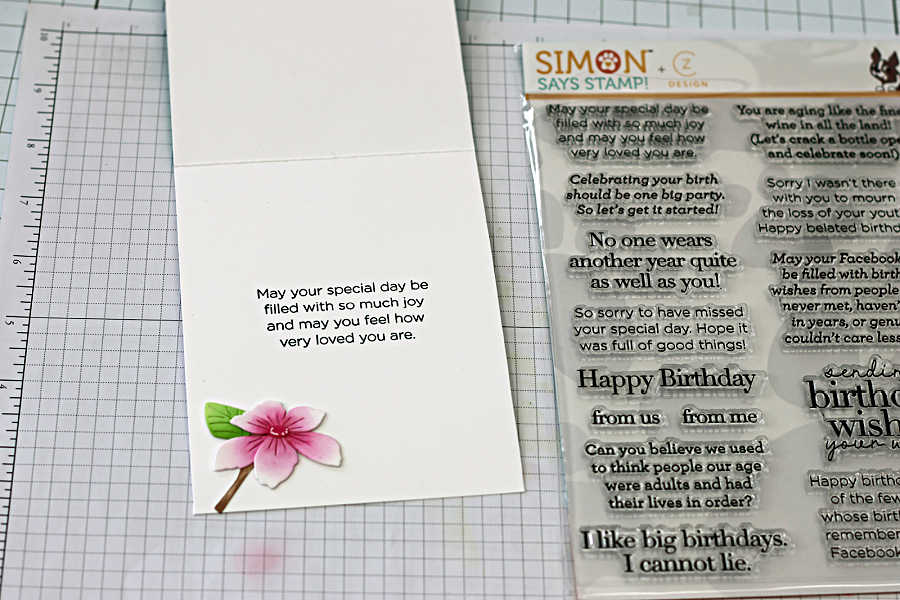
Stamp and Embellish the inside of the card:
Save a flower and one of the trimmed leaf and stem to decorate the inside of the card. Add a sentiment stamped in black ink.

I hope today’s elegant blossom branch card inspires you to create your own beautiful die cut spring card. This design is perfect for so many occasions, and I love how the soft ink blending and textured background come together for a fresh, seasonal look. IF you give this card a try, I’d love to see what you create – be sure to share and tag me so I can admire your work!


Never Miss a Cardmaking Tutorial
Subscribe to my blog and get the latest cardmaking ideas, tutorials, and inspiration delivered straight to your inbox — plus access to exclusive content and updates you won’t want to miss!

Visit my YouTube channel for 270+ cardmaking tutorials, techniques, and creative ideas to inspire your next project
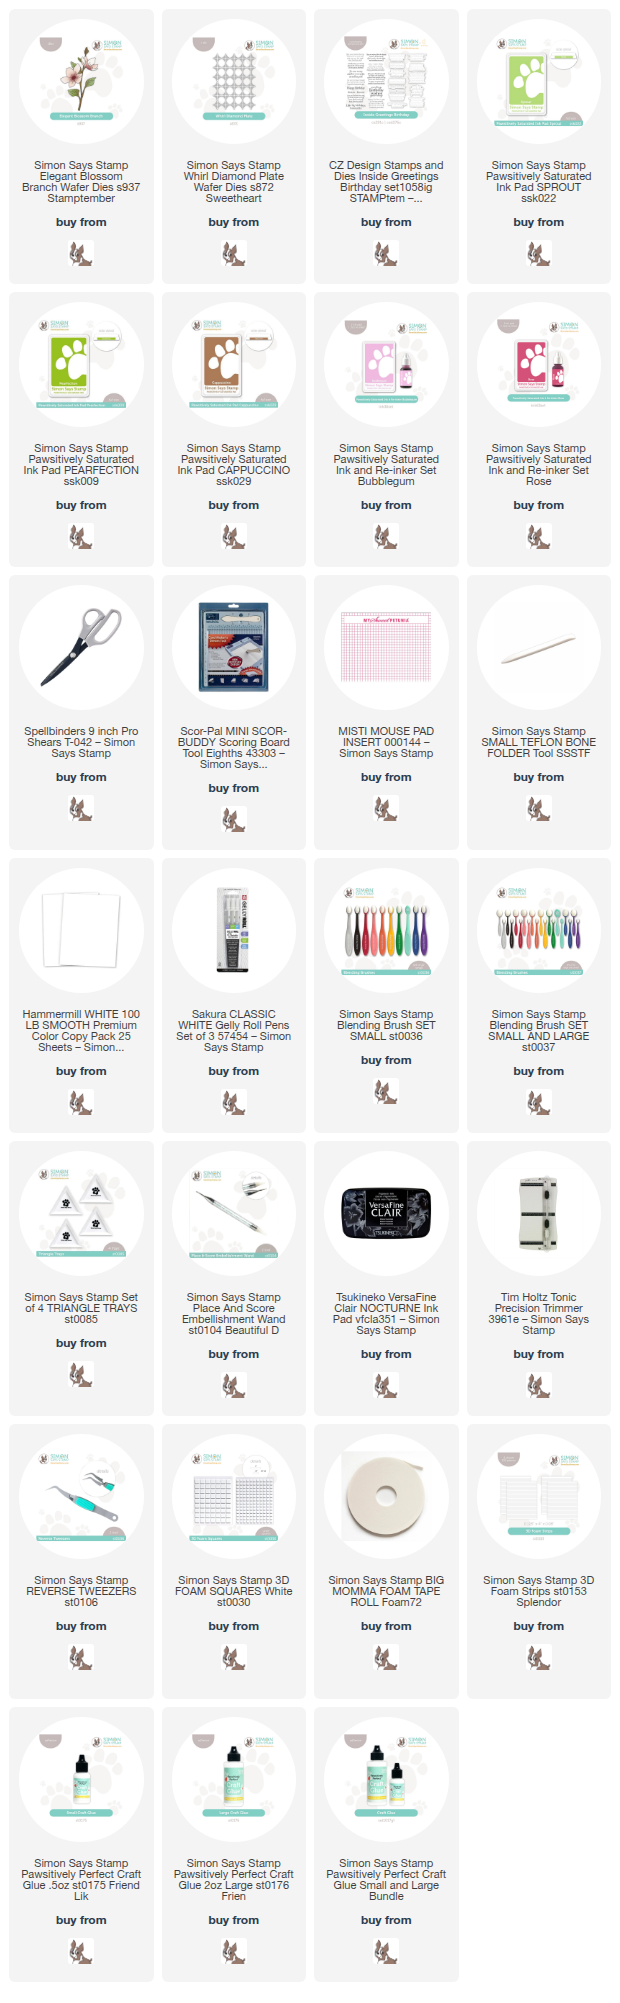
Cardmaking Supplies Used:
Here are the supplies I used to create today’s Elegant Blossom Branch Card.
Many of the links below are compensated affiliate links. This means if you click through and make a purchase, I may receive a small commission at no additional cost to you.
These commissions help support my website and allow me to continue sharing cardmaking tutorials, videos, and inspiration. I truly appreciate your support.
All products were personally purchased unless otherwise noted. Simon Says Stamp products were provided by the company for design purposes.
You can find my full affiliate disclosure on my disclosure page.
Click the icons below each product to shop my favorite stores.
Let’s Connect & Get Inspired
Follow along for more cardmaking ideas, techniques, and tutorials:
- Follow me on Instagram
- Join 38,800+ creatives on Pinterest
- Subscribe to my YouTube Channel
- Follow me on Facebook
- Join my Cardmaking Obsession Facebook Group
FREE Cardmaking Tutorials Library
Looking for more inspiration? Explore my FREE PDF GALLERY with 359+ cardmaking tutorials — packed with ideas, techniques, and step-by-step projects to spark your creativity.

Don’t Miss This Week’s Deals
Lot’s of great paper crafting sales and new releases happening now — check them out here!

Shop My Favorite Craft Brands
Browse my Go to Brands and supplies using my affiliate links.
Just beautiful Sandi! The layering is just perfect, love the colors that you’ve used too! 🙂
thank you Amy, reminds me of spring
Such a pretty card. Your splatters always look so perfect. Today is laundry day, but I’d rather make cards. LOL. Your beautiful creation has inspired me.
aw thank you Carole, good luck with your laundry. I hate laundry day, LOL, like you, I would rather be crafting
This is gorgeous! Love that embossed background and the flowers are so pretty!
I mustn’t forget your terrific colours!!!
aw, thank you Sharon, it’s a happy memory from the past and spring is my favorite season
pretty blooms! what a lovely card Sandi.
thank you Lisa