
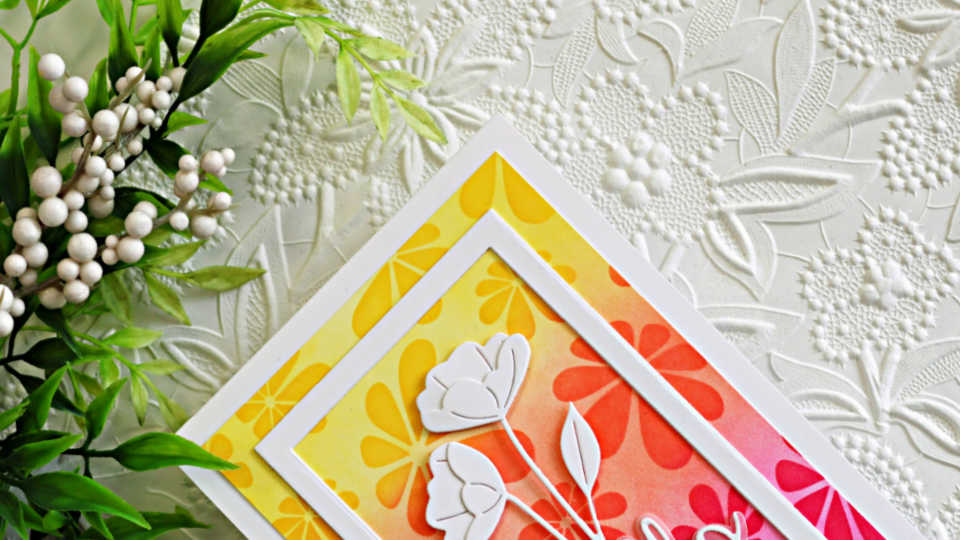
There’s something about bright florals and fresh spring colors that instantly lifts my mood, and today’s card is packed with both. Using the beautiful Retro Daisies Stencil and the delicate Arctic Poppies Die Set from Simon Says Stamp, I created a cheerful “Hello Spring” card filled with warm sunshine shades and crisp white die-cuts.
I spent the weekend planting pots, cleaning out gardens and making 3 trips to my favorite spot – The Garden Center. With the greenhouse overflowing in a riot of colors, and beautiful spring scents, I couldn’t help but feel inspired for today’s bright and happy card.
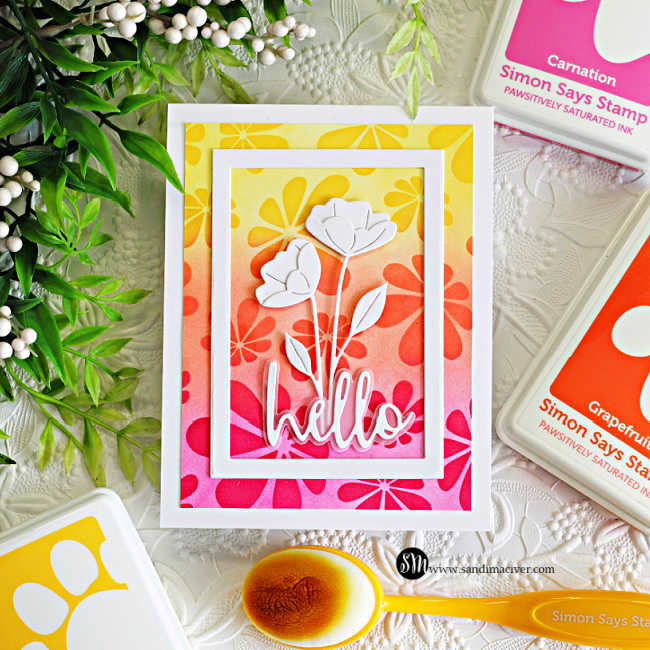
I blended Carnation, Grapefruit and Zest inks for the perfect spring-inspired ombre’ background, while the layered white poppies add softness and dimension without overwhelming the design. I love how the clean white frame draws your eye directly into the floral panel and keeps everything looking fresh and modern.
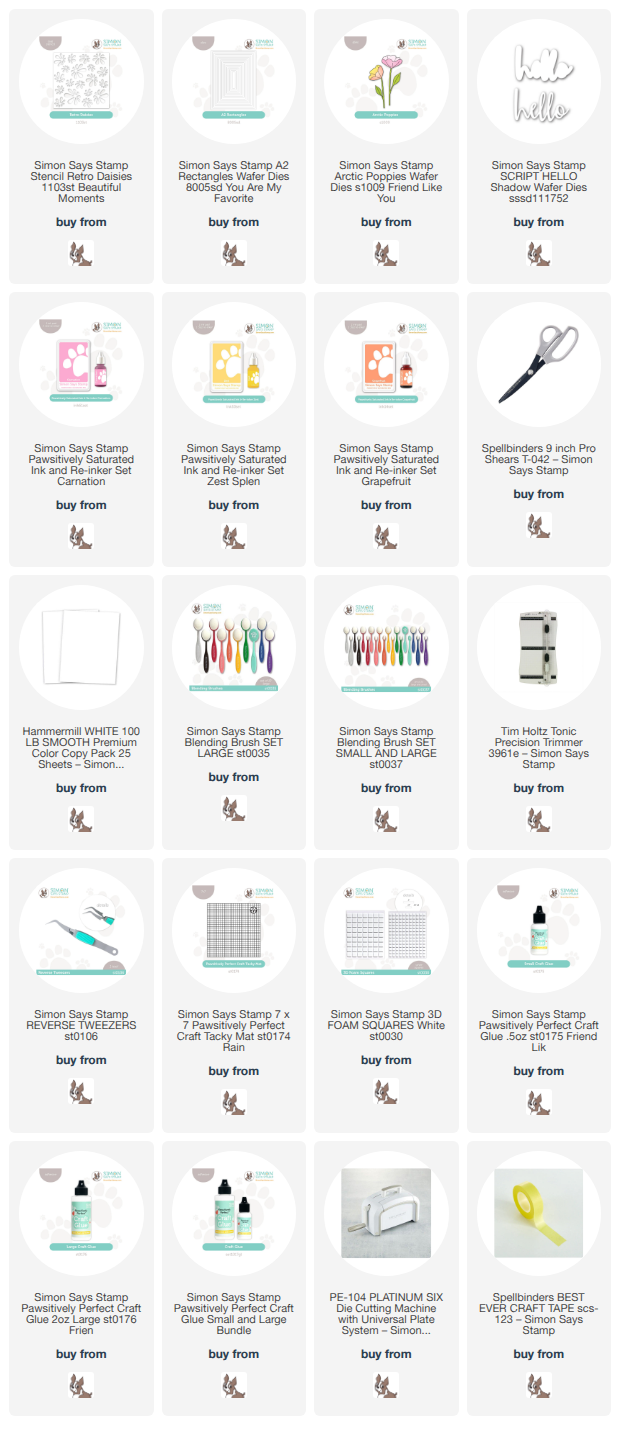
Products used for the Hello Spring Bright Retro Daisy Card:
- Retro Daisies Stencil
- Arctic Poppies Dies
- Script Hello Sentiment Dies
- A2 Rectangles Waffer Dies
- Pawsitively Saturated Inks: Carnation, Grapefruit and Zest
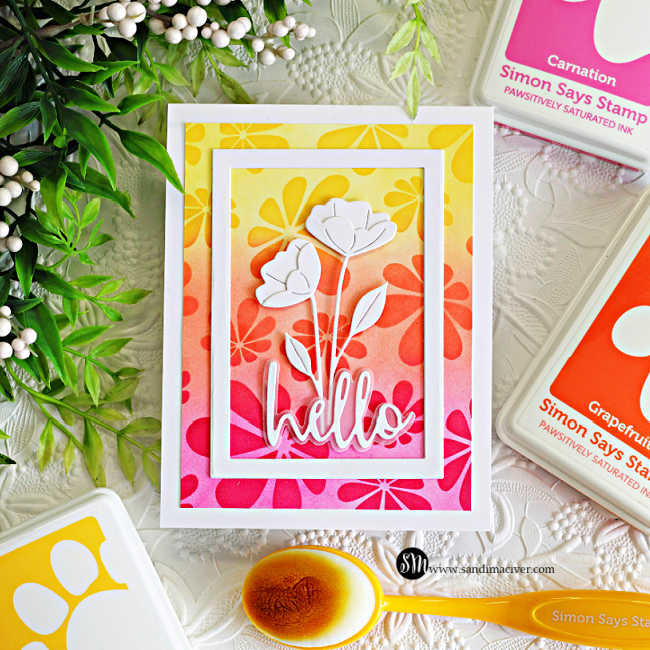
How to create the Hello Spring | Bright Retro Daisy Card with Simon Says Stamp
Create the Card Base:
Trim a panel of white cardstock to 4-1/4″ x 11″ score and fold at 5-1/2″ to create an A2-sized top folding white card base.
Create the Ink Blended Background:
Trim a panel of white cardstock to 3-3/4″ x 5″.
Place it onto your sticky mat and cover with the the Retro Daisies Stencil. Ink blend Simon Says Stamp Pawsitively Saturated Inks through the stencil using blending brushes.
Remove the stencil, and apply the same colors to the background to create the ombre effect.
Once complete, attach the stenciled panel to the center of the card front.
Create the Frame:
Die cut two rectangular frames from white cardstock using A2 Rectangles. Glue them together and center them to the stenciled panel.
Die Cut the Arctic Poppies:
Die cut the Arctic Poppies pieces from white cardstock and assemble the flowers.
Arrange the flowers inside the framed opening and adhere them with foam squares to add dimension.
Add the sentiment:
Die cut the hello sentiment from white cardstock and the shadow from vellum. Adhere the two together before attaching to the card front.
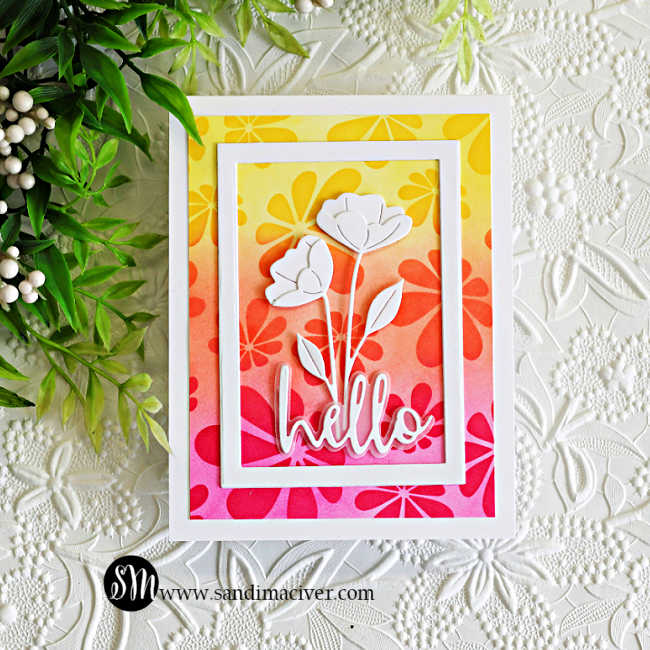
Keeping the flowers completely white against a bold ink blended background creates beautiful contrast and gives the card a fresh elegant spring feel without needing extra embellishments.
I hope today’s Hello Spring card inspires you to pull out your favorite bright inks and floral dies for a little spring creativity of your own. The Retro Daisies Stencil Creates such a fun, cheerful background, and paired with the artic poppies dies, it becomes the perfect clean and modern floral card design.


Never Miss a Cardmaking Tutorial
Subscribe to my blog and get the latest cardmaking ideas, tutorials, and inspiration delivered straight to your inbox — plus access to exclusive content and updates you won’t want to miss!

Visit my YouTube channel for 270+ cardmaking tutorials, techniques, and creative ideas to inspire your next project
Cardmaking Supplies Used:
Here are the supplies I used to create today’s Hello Spring Retro Daisy Card.
Many of the links below are compensated affiliate links. This means if you click through and make a purchase, I may receive a small commission at no additional cost to you.
These commissions help support my website and allow me to continue sharing cardmaking tutorials, videos, and inspiration. I truly appreciate your support.
All products were personally purchased unless otherwise noted. Simon Says Stamp In My Heart products were provided by the company for design purposes.
You can find my full affiliate disclosure on my disclosure page.
Click the icons below each product to shop my favorite stores.
Let’s Connect & Get Inspired
Follow along for more cardmaking ideas, techniques, and tutorials:
- Follow me on Instagram
- Join 38,800+ creatives on Pinterest
- Subscribe to my YouTube Channel
- Follow me on Facebook
- Join my Cardmaking Obsession Facebook Group
FREE Cardmaking Tutorials Library
Looking for more inspiration? Explore my FREE PDF GALLERY with 359+ cardmaking tutorials — packed with ideas, techniques, and step-by-step projects to spark your creativity.

Don’t Miss This Week’s Deals
Lot’s of great paper crafting sales and new releases happening now — check them out here!

Shop My Favorite Craft Brands
Browse my Go to Brands and supplies using my affiliate links.
I love this Sandi! It’s such a bright, happy card! The colour combo is perfect!
thank you Sharon, I’m celebrating spring, haha
Just beautiful Sandi! The inked background is amazing!!
thank you Amy
Sandi, thanks for always adding what you use and details, I love your Spring design and outstanding colours. ♥
thanks so much Annie
so pretty Sandi, beautiful colours
thank you Lisa