
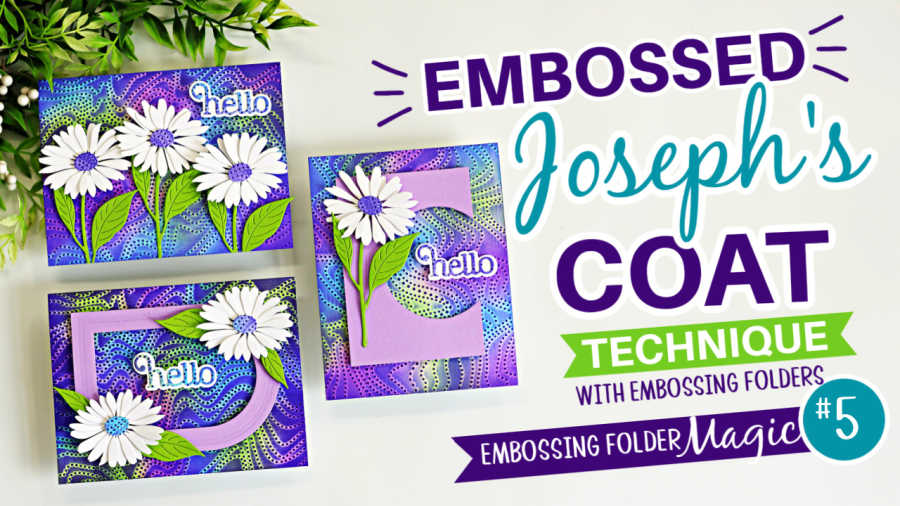
Good morning, crafty friends. I asked if you wanted a video on this technique, and the answer was a resounding YES, so here it is! Today’s Joseph’s Coat Technique with Embossing Folders | Embossing Folder Magic #5 showcases the Dotty Contour Embossing Folder and the Dewdrop Daisy Die.
The true Joseph’s Coat technique uses a solid image stamp and clear heat embossing, so this version is more of a cross between that classic technique and the Blackout Technique. It’s quicker, easier, and skips the heat embossing mess — haha!
Scroll down for the step-by-step instructions.

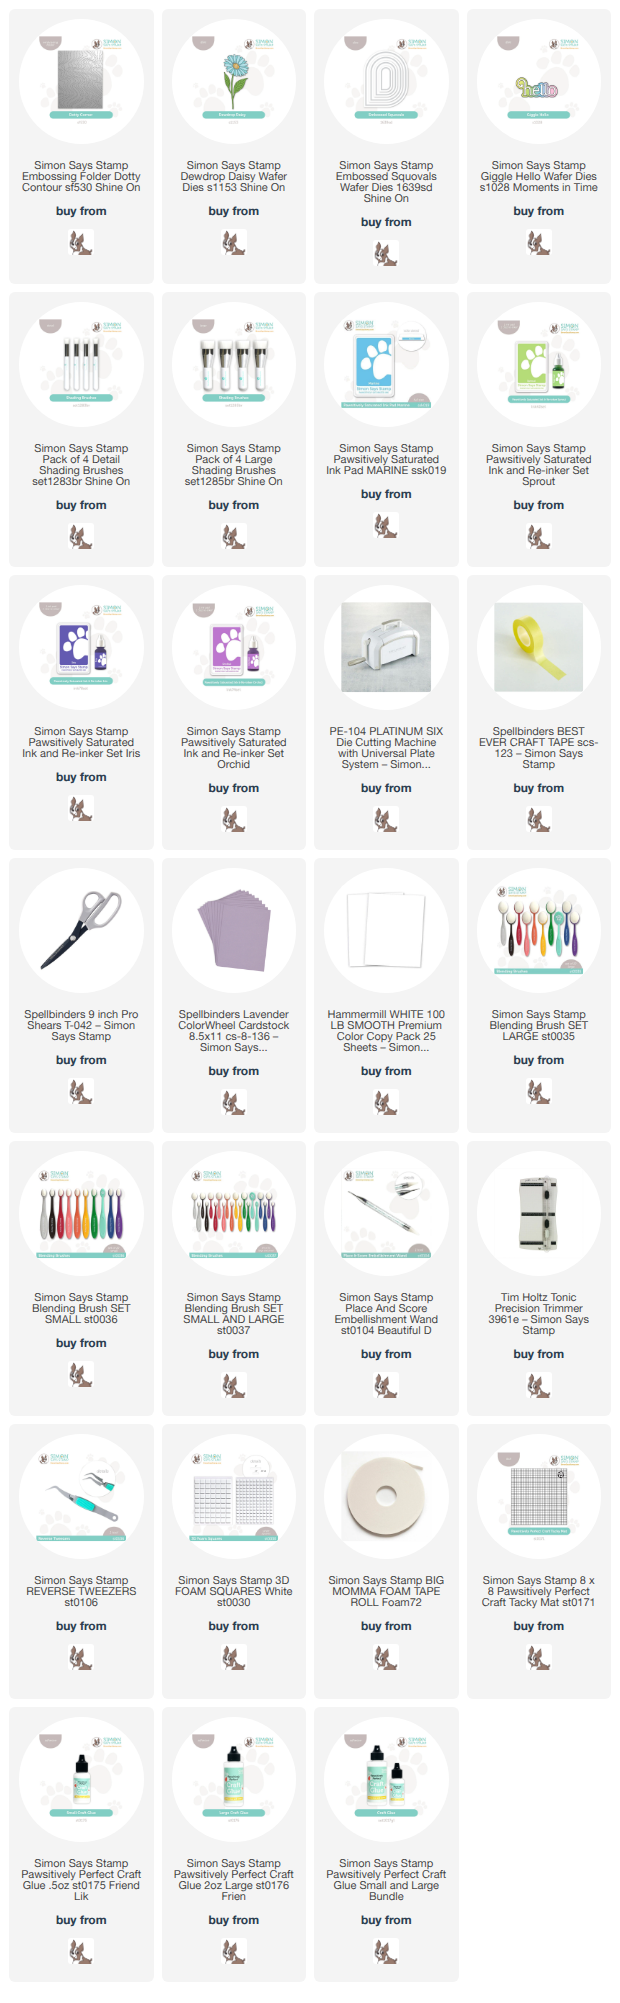
Products Used for today’s Joseph’s Coat Technique with Embossing Folders :
How to create the Embossed Joseph’s Coat Technique with Embossing Folders :
Create the card front:
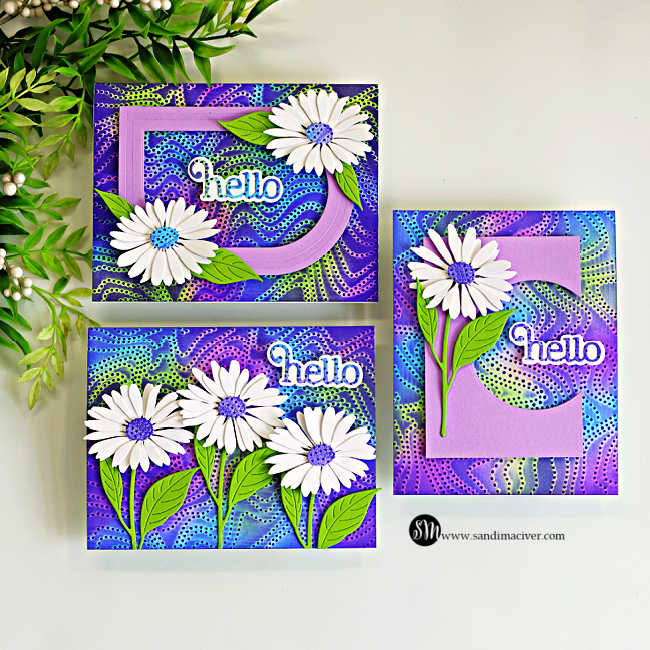
For the first two cards, you can find the written instructions in THIS BLOG POST for the written instructions. Today’s card uses the same Embossed Joseph’s Coat Technique, but with a slightly different design.
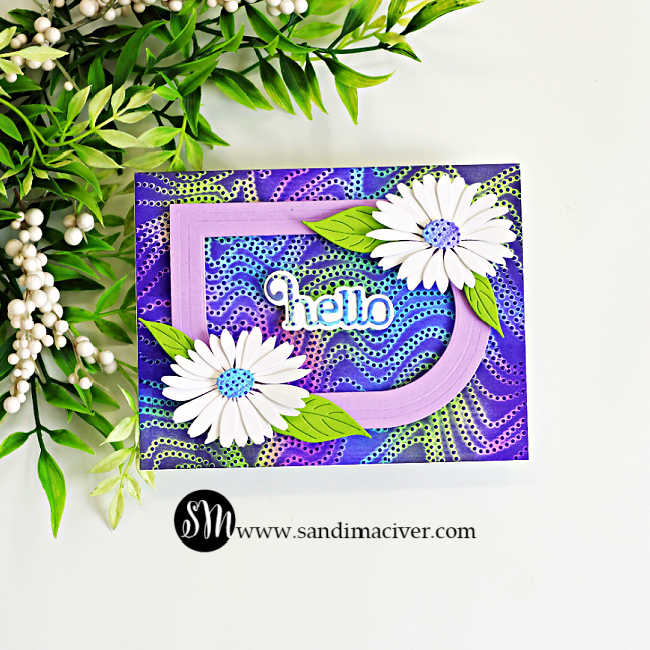
Start with a panel of white cardstock trimmed to 4-1/4″ x 5-1/2″. Using ink blending brushes, randomly apply Sprout, Orchid and Marine ink until the entire surface is covered.
Next, emboss the panel with the Dotty Contour Embossing Folder, making sure the raised embossed dots are on the inked side of the cardstock.
Drag the Iris ink pad directly over the embossed surface. This darkens the background and the raised dots while allowing the original blended colors to peek through around the embossed design, creating the beautiful Embossed Joseph’s Coat Technique. I think it looks a bit like colorful squiggly neon lights.
Attach the finished panel to the front of an A2-sized, side-folding white card base.
Create the Frame:
Use the center two dies from the Embossed Squovals to die cut a Lavender frame. Attach it to the center of the card front with foam squares.
Die cut the Flowers:
Die cut the Dewdrop Daisy twice from White and Green Apple cardstock. Assemble the flowers, then attach them top right and bottom left corners of the frame. Add two leaves beside each flower.
Finally, die cut the sentiment from the extra panel and the shadow from white cardstock. Layer them together and attach the sentiment to the center of the frame with foam squares.
Here’s today’s Joseph’s Coat Technique with Embossing Folders Video:
I hope you enjoy it! If you do, I’d greatly appreciate a thumbs up and would love for you to share it with your crafty friends. Leaving a kind comment and shopping through my affiliate links are wonderful ways to support my channel and help me continue creating free cardmaking tutorials like this one.


Never Miss a Cardmaking Tutorial
Subscribe to my blog and get the latest cardmaking ideas, tutorials, and inspiration delivered straight to your inbox — plus access to exclusive content and updates you won’t want to miss!

Visit my YouTube channel for 270+ cardmaking tutorials, techniques, and creative ideas to inspire your next project
Cardmaking Supplies Used:
Here are the supplies I used to create today’s Joseph’s Coat Technique with Embossing Folders Cards.
Many of the links below are compensated affiliate links. This means if you click through and make a purchase, I may receive a small commission at no additional cost to you.
These commissions help support my website and allow me to continue sharing cardmaking tutorials, videos, and inspiration. I truly appreciate your support.
All products were personally purchased unless otherwise noted. Simon Says Stamp Shine On products were provided by the company for design purposes.
You can find my full affiliate disclosure on my disclosure page.
Click the icons below each product to shop my favorite stores.
Let’s Connect & Get Inspired
Follow along for more cardmaking ideas, techniques, and tutorials:
- Follow me on Instagram
- Join 38,800+ creatives on Pinterest
- Subscribe to my YouTube Channel
- Follow me on Facebook
- Join my Cardmaking Obsession Facebook Group
FREE Cardmaking Tutorials Library
Looking for more inspiration? Explore my FREE PDF GALLERY with 359+ cardmaking tutorials — packed with ideas, techniques, and step-by-step projects to spark your creativity.

Don’t Miss This Week’s Deals
Lot’s of great paper crafting sales and new releases happening now — check them out here!

Shop My Favorite Craft Brands
Browse my Go to Brands and supplies using my affiliate links.
Terrific video, Sandi. Love the colors and the results with all 3 cards. Beautiful!
thank you Gayle
Such pretty cards Sandi! The backgrounds are stunning! Love the flower die cuts too! 🙂
thank you Amy
stunning! beautiful cards and I really love those colourful backgrounds.
thank you Lisa