Hey cardmaking friends, welcome back. Tonight I’m sharing two cards created with the Simon Says Stamp Floral Harmony Embossing Folder and Cutting Dies Set. Yes, you read that right, Simon has come out with a 3D embossing folders with coordinating dies, and I had a blast playing with them.
The new LET’S CHILL release goes live tonight. It’s full of summer fun and positive vides. It’s hard to choose favorites, but this embossing folder die set might be my fav.
All supplies are linked to multiple sources in the thumbnails at the end of this post. Compensated affiliate links are used at no cost to you and product disclosure is below. As always, I appreciate your support of my Blog and YouTube Channel.

I am using Distress Oxides for today’s cards. The teal card background is created with Lindy’s Magicals powders in Tibetan Poppy and Teal. Watch my VIDEO about these cool powders. AND, you can get 10% off on your order using my code: SANDIMACIVER428.
I used the NEW Simon Says Stamp Detail Flat Brushes to add my ink to the die cut flowers. Love these tiny brushes, they are great for getting into small spots. The brushes are linked below.

Simon Says Stamp Floral Harmony Card #1
Start with a watercolor panel 4 x 5-1/4 colored with Lindy’s Magicals in Tibetan Poppy and Teal.
Next, place the blue card front inside the Floral Harmony embossing folder and run it through the die cut machine.
How to create the 3/d flowers:
Use the dies from the set to cut out three flowers from white cardstock scrap.
Place the individual flowers into the embossing folder over the coordinating flower and run through the die cutting machine to emboss them.
TIP, doing these steps in reverse will flatten the flowers when you die cut them.
After that, use the Detail Flat Brushes to add color to the die cut flowers using Wild Honey and Broken China for the flowers and Mowed Lawn on the leaves.
Next, attach the embossed card front to a top folding A2 sized White card base.
Add the embossed flowers using foam squares to pop them up
Finally, die cut a sentiment in black and vellum and attach to the bottom left corner of the card

Card #2
Create the card front by blending Distress Oxides in broken China, Kitsch Flamingo, Wild Honey, Wilted Violet
Follow all the steps for the above card.
Finally, die cut the Miss You sentiment in black and white and attach with foam squares

 Never Miss a Post – Subscribe to my blog posts.
Visit my Card Making PDF Gallery for 350+ more card ideas

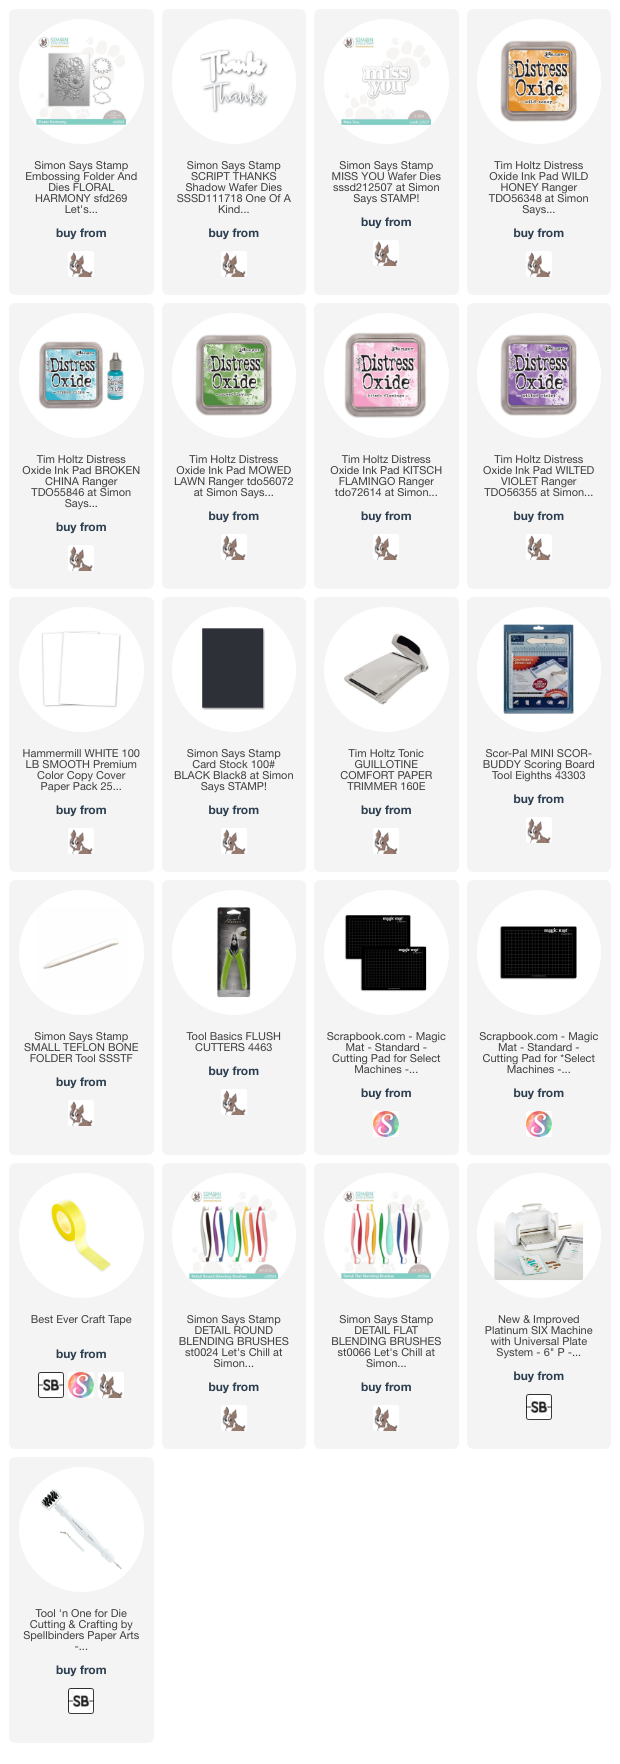
Card Making Supplies used for the Simon Says Stamp Floral Harmony cards:
Here are the products I used today. Compensated affiliate links used where available at no cost to you.
Clicking on a thumbnail link and shopping supports my website and allows me to continue bringing you new projects and videos. Thank you for your support. Affiliate and product disclosure are found on my disclosure page. All products were personally purchased except for the Floral Harmony Embossing Folder and cutting Dies set which were provided/sponsored by the company. As always, I was not paid to do this post. I only use and recommend products I love. Click on the icons below each product picture to go to my favorite stores.


-
- Follow me on INSTAGRAM
- Join 38,000+ following me on PINTEREST
- Subscribe to my YOUTUBE Channel
- Follow me on FACEBOOK
- JOIN our Card Making Stamp and Share Facebook Group
- Check out my FREE PDF Gallery for over 350+ Card Making Tutorials
- How to make a SLIMLINE CARD – Info PAGE

– LOTS of great Paper Crafting Sales and New Releases going on this week – Check them out here
 Shop my Favorite Brands


Wow wow wow!!!!!!! I love these!!!!!!! These new folders are AMAZING ❤️
Thanks Natasha, I had a blast with them
Really love these cards and can’t wait to try your techniques. Thank you.
Thanks Carol, they are super easy to make
Just beautiful Sandi! The colors are amazing, love the flower die cuts too! 🙂
thank you amy
Wow, these are gorgeous! Except they are just for A2 cards and now that 5.5×8.5 embossing folders are being offered, I’ve commited to buying only the more versatile, larger ones.
thank you, so glad you like them. I agree, the 5.5 x 8.5 folders are amazing, but these are amazing too, and give you much more versatility in your cardmaking
Your color combinations are eye-catching and vibrant! I can’t wait to give them a try.
Thanks for the inspiration.
They are both beautiful Sandi! The colours are gorgeous and having the coordinating dies adds so much more versatility to cardmaking – great idea. Im loving the look of those powders too lol
Thank you Lisa, those powders are amazing