
Hi craft friends, welcome back. Today I have a NEW Card Making Video: Three Easy Easel Card Designs. Easel cards have been around for a long time. I made my first video about 8 – 10 years ago. I thought it might be time to revisit them as they are so much fun to make. So I grabbed the NEW Simple Vintage Flower Shop Die sets from Spellbinders and started making cards. I came up with a 5 x 5 square card, an A2-sized one with an arched easel, and a 3.5″ Round one to share with you today.
Affiliate links are used throughout this post at no additional cost to you. This allows me to keep bringing you content. I appreciate your support.

Today’s Video covers three different sizes of Easel Cards. There are lots of videos out there, and lots of different ways of putting these together, this is how I like to put them together.
Products Used:
- Simple Vintage Flower Shop – Flower Cart Etched Dies
- – Stitch and Dots Scallop Border
- – Scallop Journal Cards
- Essential Arches
- Handwritten Sentiments from the Tulip Garden Collection

The same color cardstock was used in all three cards, White, Black, Waterfall, Blush, Tutu, Dahlia, Rainforest and Silver, all from Spellbinders and linked below.
Three Easy Easel Card Designs – Card #1 – How to make a 5 x 5 Square Easel Card.
Card Base: 5″ x 10″, score and fold at 5″ and 2.5″.
Next, cut mats and card fronts.
Black Mat 4-7/8″ square (2)
Fog card front: 4-3/4″ square (2)
Die cut all the embellishments: Use Kraft cardstock for the flower cart and ink blend it with Gathered Twigs Distress Oxide Ink.
Smaller pieces of Waterfall, Blush, Tutu, Dahlia and Rainforest are used for the rest along with scraps of silver, black and white.
How to create the base for this Square Easel Card instructions starts at 4:40 in the video below.

Three Easy Easel Card Designs – Card #2 – How to make a A2 or 4-1/4″ x 5-1/2″ Easel Card.
Start with a white card base 4-1/4″ x 11″, score and fold at 5-1/2 then 2-3/4″ to create the easel base.
Next, cut mats and card fronts.
Black: 4-1/4″ x 5-1/2″ (2)
Waterfall: 4 x 5-1/4″ (2)
For the top part (the easel) – use the Essential Arches to die cut the pieces. The largest die for the black mat and the second largest die for the front panel
Then, die cut all the embellishments and attach them as shown in the video.
The A2 sized Easel Card instructions starts at 8:47 in the Video

Three Easy Easel Card Designs – Card #3 – How to make a Round Easel Card.
There are quite a few different ways to make die cut easel cards. This is one of the ways.
Use a circle die larger than the largest round scalloped die from the Scallop Journal Cards Die set to cut 3 circles to create the Easel Card.
Next, cut 2 large scalloped circles in white.
Then, cut the leaf and flower sprig twice to create the wreath for the card front.
Finally, use the Handwritten Sentiments Die set from the Tulip Garden Collection to create the two sentiments in silver and black.
The Round Easel Card instructions start at 12:47 in the video
Three Easy Easel Card Designs Video:
Here is today’s card making video on Three Easy Easel Card Designs. You can watch it on my YouTube Channel, and don’t forget to subscribe to be notified of future uploads.

Here are a two more Easel Cards I thought you might like.
 Spellbinders Flyby Greetings – in this post
 Spellbinders Pins and Needles Easel Card – in this post

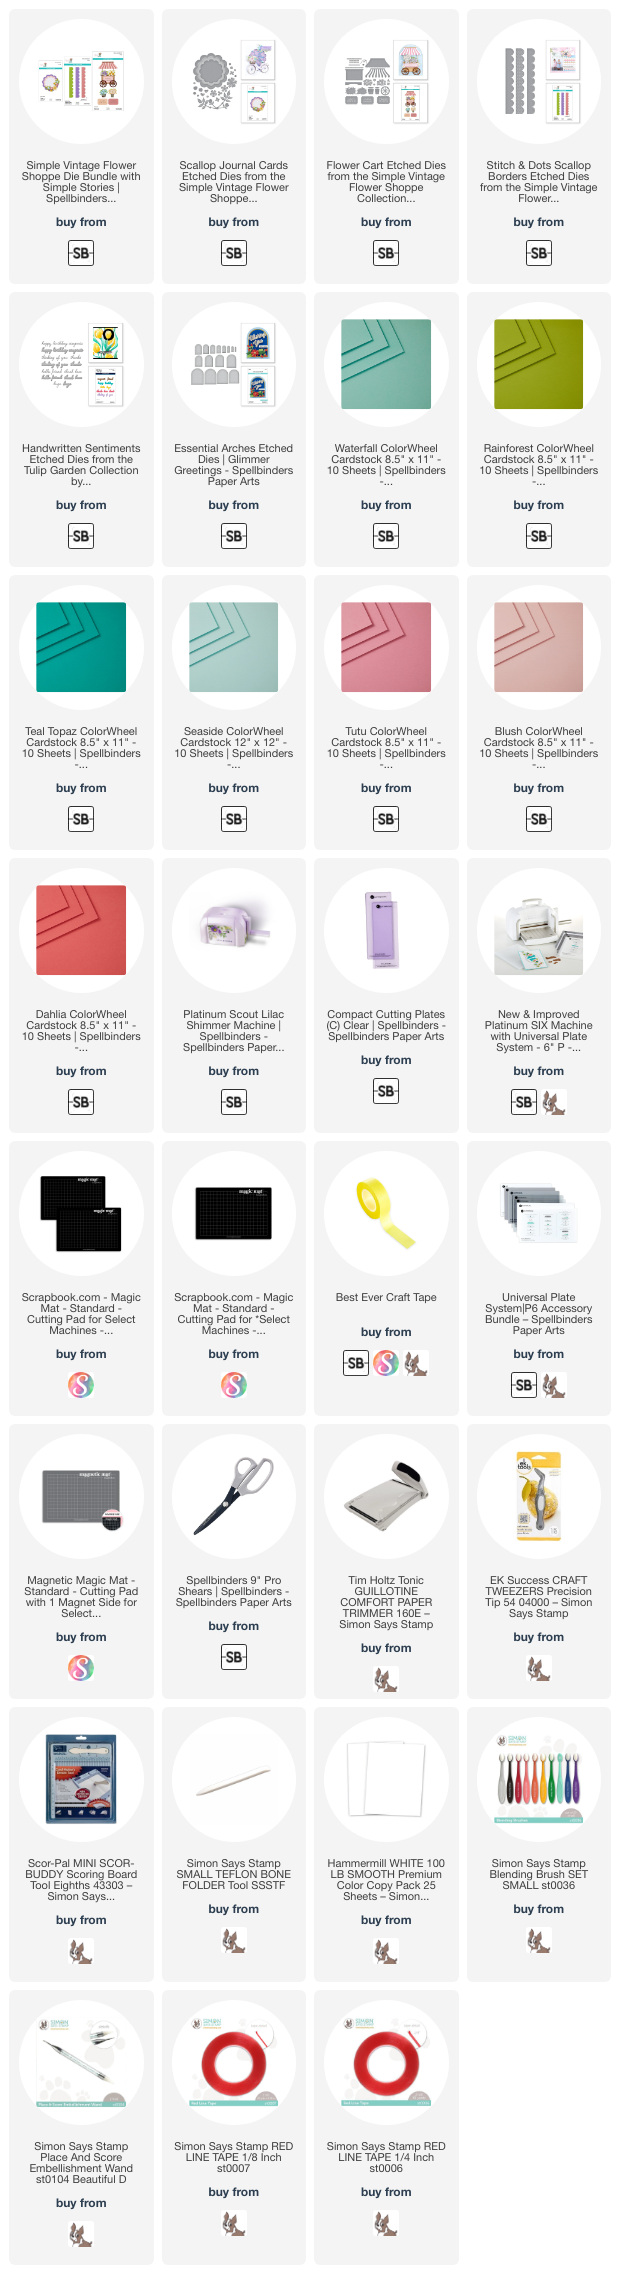
Card Making Supplies used for the Three Easy Easel Card Designs Cards:
Here are the products I used today. Compensated affiliate links used were available at no cost to you.
Clicking on a thumbnail link and shopping provides me with a small commission (at no additional cost to you), which supports my website and allows me to continue bringing you new projects and videos. Thank you for your support. Affiliate and product disclosures are found on my disclosure page. All products were personally purchased except for Spellbinders Simple Vintage Flower Shop Dies which were provided/sponsored by the company. As always, I was not paid to do this post. I only use and recommend products I love. Click on the icons below each product picture to go to my favorite stores.


-
-
- Follow me on INSTAGRAM
- Join 38,000+ following me on PINTEREST
- Subscribe to my YOUTUBE Channel
- Follow me on FACEBOOK
- Amazon Store
- Follow my SOURDOUGH BREAD JOURNEY – over on my The Sour Strawberry BLOG
- JOIN my STAMP OBSESSION Facebook Group
- Check out my FREE PDF Gallery for over 350+ Card Making Tutorials
- How to make a SLIMLINE CARD – Info PAGE
- Do you like to stitch on cards? Then join our NEW FACEBOOK GROUP
-

– LOTS of great Paper Crafting Sales and New Releases going on this week – Check them out here
 Shop my Favorite Brands with my affiliate links
If you do place an order using my affiliate links (and thank you if you do) – please email me with the $$ amount before tax and shipping, and which company it was placed through, along with your mailing address and I’ll send you a hand made card as my thank you. [email protected]
The reason I ask for that specific info is the system that tracks the sales only gives us a dollar amount and company name, we do not know who made the sale.
I love these Sandi!! The little flower cart is so cute, love the floral die cuts too! Great fun fold designs! 🙂
thanks so much Amy
These are fabulous and so pretty! I do like the different shapes too!
Thanks Sharon, it makes it more fun when you can change up the shapes
Wow! These are gorgeous Sandi
thank you friend
Adorable cards, Sandi. You made it look so simple to do an easel card. I have been reluctant to try, but your video explains it all so well. The flower cart is so cute.
Thank you Gayle. They are pretty simple once you wrap your thought around where to attach the front panel, that is always what messes me up, haha
Thanks for the tip!
I need to make some easel cards! These are lovely Sandi – beautiful colours, fabulous designs and all around gorgeous inspiration!
Thanks Lisa, I love making easel cards, especially in different shapes