Hi there, Sandi MacIver here and I’m very excited to share with you two Spellbinders 3D floral Cards.
Recently, I was up on the Spellbinders blog shares these cards made with the Spellbinders Susan Tierney Cockburn Floral Dies. These new dies create realistic looking flowers and leaves allowing you to build beautiful cards quickly and easily. You can also use different mediums to color your florals and I am sharing two of them with you today.

Spellbinders 3D Floral Cards – Button and Daisy Chrysanthemum Etched Dies

For a beautiful lacy background, die cut the card base with the previously released Picot Petite Circles Etched dies.
Super fast and easy to cut out, offset layer a gold one in behind the blue one for some added bling.
Add the Glimmer foiled the Essential Glimmer Circles and foiled sentiment for even more fabulousness.
- Die cut three pieces for each flower and two sets of leaves for each.
- Color both sides of the flowers and leaves with copic markers:
- Copics Used: Flowers Y15, RV55, Y11, Centers Y15, Leaves: G29, G07 BG07
- Cut the center die for each flower (it cuts out 20 little stars)
- Bend each petal forward before layering and gluing each flower together
- Use tweezers to add the little star centers to each flower
- Die cut the largest of the Picot Petite Circles etched dies in Cool Pool , White and Brush Gold.
- Offset the blue and gold pieces before gluing together. Score a fold in the white one about 1 inch from the top and place adhesive above that fold to secure to the back so the card will open.
- Gold Foil a piece of White card with the largest plate in the Essential Glimmer Circles Hot Foil Plates and then cut it with the Standard Circles dies
- Gold foil the sentiment from Yana’s Sentiments Glimmer Hot Foil set and cut out with the coordinating die.
- Attach the flowers to the front left side of the card with white glue and then fill in with the leaves.
- Use Foam square pieces to attach the sentiment and then embellish with the Fashion Gold Embellishments

As a result of all this flower building, these cards will not fit in a standard envelope. I hand deliver them or create a box envelope for them.

Susan created a great video over on the Spellbinders YouTube Channel showing how she colors these floral images and then how she bends them into shape to make them more realistic. you can view the video HERE.
Moving on to the second card created with the Oriental Poppy Etched Dies.

These flowers always remind me of my childhood as my mom had a huge bush of them in the garden and I loved them.
- This time I cut all the pieces from Color Splash watercolor paper and painted them with jane Davenport Mermaid Markers.
- I then followed Susan Tierney Cockburn’s video on how to shape the pieces. You can view her video HERE:
- Fold and score a 4-1/4 x 11 card base at 5-1/2.
- Cut a separate piece of Color Splash Watercolor paper 4 x 5-1/4″ and use the same Mermaid Markers used to color the poppies to color the entire piece to use as a mat.
- The card front is Oatmeal Cookie cut at 3-7/8 x 5-1/8 and splattered with gold paint before attaching to the card.
- Over that, use the Picot Petite Ovals Etched die to cut a frame from Licorice Black and attach to the center of the card front.
- Use white glue to attach the flowers and leaves.
- Stamp the sentiment from Autumn Quotes onto a scrap of white card and die cut with the Classic Ovals Etched dies.
- Finally, embellish with the Fashion Gold embellishments

There is a beautiful selection of these floral dies on the Spellbinders site – Visit them here and pick out your favorites.
Thanks for the invite Spellbinders, and until next time – TOODLES!

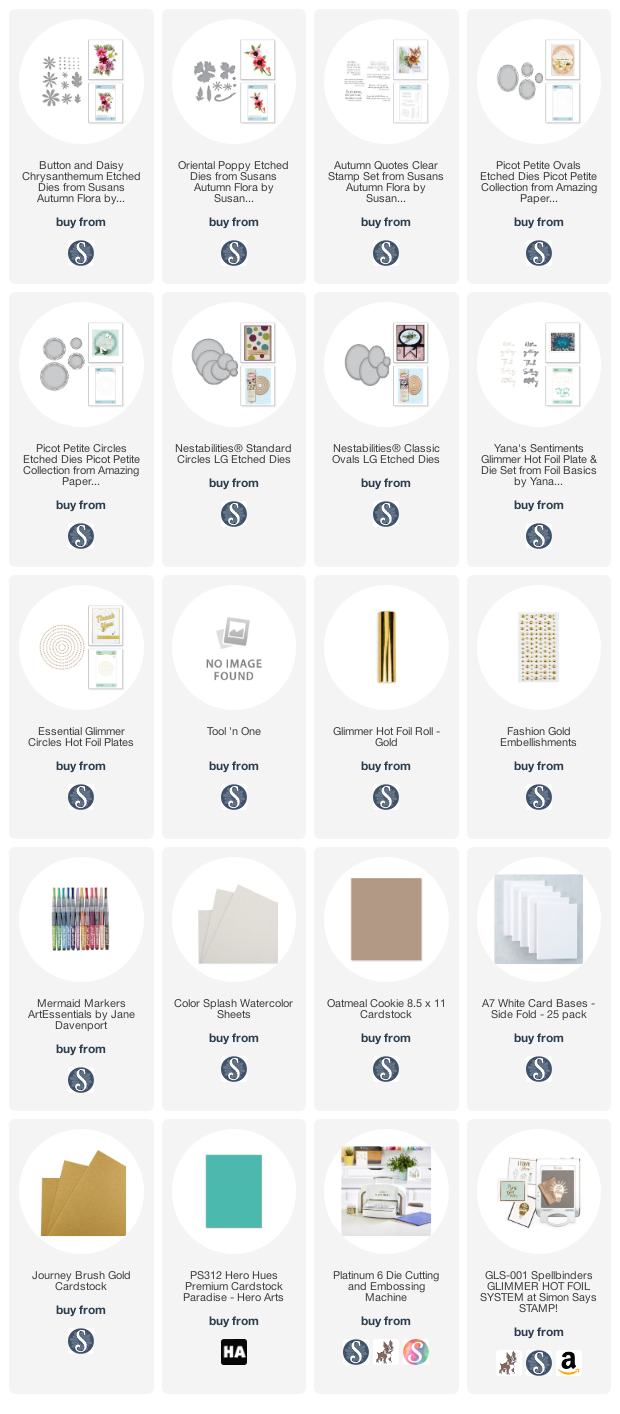
used for the Spellbinders 3D Floral Cards cards:
Want to find the products I used? I have them listed below. Compensated affiliate links used at no cost to you.
Thank you for your support, it helps to cover my blogging and video expenses.

-
- Follow me on INSTAGRAM
- Join 37,000+ following me on PINTEREST
- Subscribe to my YOUTUBE Channel
- Follow me on FACEBOOK
- Check out my FREE PDF Gallery for over 250+ Card Tutorials
- How to make a SLIMLINE CARD
 – LOTS of great sales and New Releases going on this week – Check them out here


These are gorgeous Sandi! I love the 3D flowers!!!!! So pretty!!!! Thank you for sharing!