Hi friends, thanks so much for stopping in today. I have Spellbinders Felt Snowmen and Candy Canes to share with you. I’m in a mad rush to get all these holiday projects finished before Christmas, as some are gifts, and some are package toppers/ornaments. These felt dies from Spellbinders are just the ticket for making plush 3d tags for your holiday gift-wrapping. You can customize the colors to match the paper/box or recipient. By adding a hanger, they turn into ornaments, or fill a dough bowl like I do for the holidays. I also have some of these in my tiered trays around the house.
Affiliate links are used throughout this post at no additional cost to you. This allows me to keep bringing you content. I appreciate your support.

You may have noticed I’m not a red and green Christmas color girl, LOL, I like my colors bright, and that includes my holiday décor. We are a turquoise and white house for the holidays, and I’m sneaking in a bit of pink and purple to the mix for a modern flair.

Spellbinders Felt Snowmen and Candy Canes.
These are two of the new dies Spellbinders has brought out in it’s Felt Stitch and Create Collection by Nichol Spohr. They are about 5 inches tall, and so fun to stitch together. I have been doing one a night trying to catch up.

PRO-TIP – I cut all the pieces and then place them in my large Craft Stax, with scissors, needles, the DMC cotton I want to use to stitch them together and anything else I want to use on them. Like beads to embellish, ribbon for hangers etc. The Craft Stax do actually stack, so they don’t take up much room on my end table. They have tight fitting lids too, so if you knock them over, there isn’t a huge mess.
Cutting Tips:
- When cutting with my Platinum 6, I like to add a shim. It seems to be the perfect sandwich for getting a clean cut with this beautiful wool felt..
- I use quilt batting to stuff them. Also cut with the dies, and then I just snip off the little edge with the holes.
- Don’t forget the back. As I said above, many of my plushies sit in my tiered trays so you can see both sides of them.

I always decorate the back. I love this little star snowman, he is so darn cute. Even his little butt is cute, haha.

Spellbinders Snowmen and Candy Canes – Stitching the Candy Cane.
Start by cutting all the pieces you need for both sides of the Candy Cane.
Next, lay the pink pieces onto the blue, and stitch the inside or across pink stitches only, do not stitch the edges.
Then, once both pieces have all the pink pieces stitched on, stuff with the quilt batting, and sew closed around the outside edge, blue pieces only, running the needle inside the piece under the pink.
Finally, once the blue stitching is complete, go back around and stitch the pink section closed, again, running the needle and thread inside the piece between the pieces.
This way you have a nice finished tone on tone candy cane. It’s a bit of extra work, but it’s so worth it.
I have already shared two videos on stitching these plushies together, so I didn’t do one for today’s projects. You can view the videos here:

The Felt Stitch and Create Pumpkins are here:

And Rudolph is here.
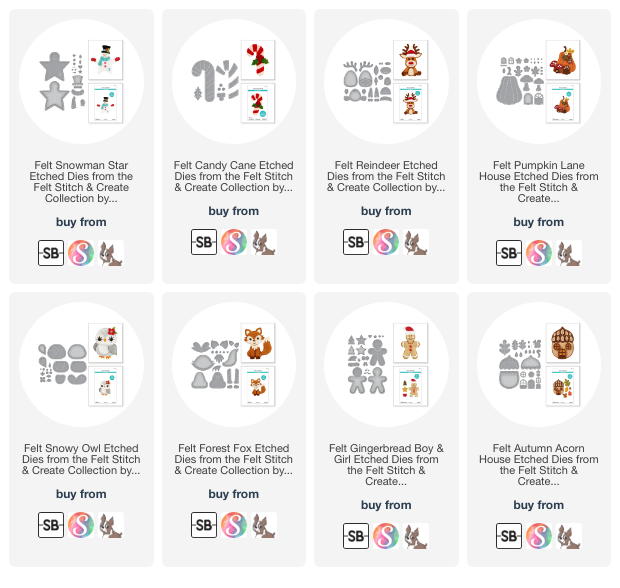
You can view the entire Felt and Stitch Collection here.

Visit my Card Making PDF Gallery for 350+ more card ideas.

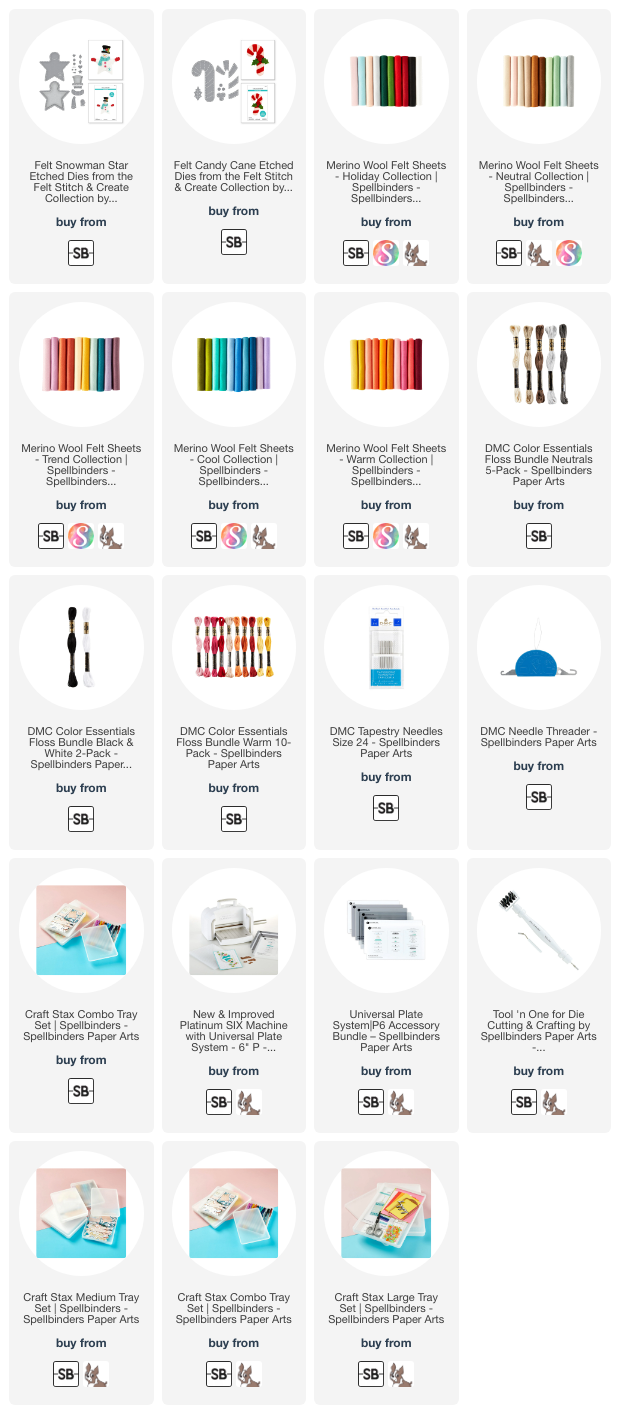
Card Making Supplies used for the Spellbinders Felt Snowmen and Candy Canes:
Here are the products I used today. Compensated affiliate links used were available at no cost to you.
Clicking on a thumbnail link and shopping provides me with a small commission (at no additional cost to you), which supports my website and allows me to continue bringing you new projects and videos. Thank you for your support. Affiliate and product disclosures are found on my disclosure page. All products were personally purchased except for Spellbinders Felt and Stitch Collection which was provided/sponsored by the company. As always, I was not paid to do this post. I only use and recommend products I love. Click on the icons below each product picture to go to my favorite stores.

-
-
- Follow me on INSTAGRAM
- Join 38,000+ following me on PINTEREST
- Subscribe to my YOUTUBE Channel
- Follow me on FACEBOOK
- JOIN my STAMP OBSESSION Facebook Group
- Check out my FREE PDF Gallery for over 350+ Card Making Tutorials
- How to make a SLIMLINE CARD – Info PAGE
- Do you like to stitch on cards? Then join our NEW FACEBOOK GROUP
-
– LOTS of great Paper Crafting Sales and New Releases going on this week – Check them out here
 Shop my Favorite Brands with my affiliate links
If you do place an order using my affiliate links (and thank you if you do) – please email me with the $$ amount before tax and shipping, and which company it was placed through, along with your mailing address and I’ll send you a hand made card as my thank you. [email protected]
The reason I ask for that specific info is the system that tracks the sales only gives us a dollar amount and company name, we do not know who made the sale.


Oh my goodness, how cute Sandi! Love the little felt images, such fun designs! 🙂
thanks Amy, super fun to stitch
Magnificent Sandi! Love them and the attention to detail!
Your colours are terrific and wouldn’t be the same in red and green!!!
Thanks Sharon, I love the colors too
So AMAZING and ADORABLE ❤️❤️❤️❤️❤️❤️
aw, thank you Natasha
love love love! and they look great in a bowl Sandi. I popped mine on my Christmas tree, just sitting within the branches. I had the owl and reindeer!
Thank you Lisa, mine have been moving around, haha. I just finished the gingerbread man and the acorns, so hopefully they will go live tomorrow.