
I have Two More Pink Halloween cards to share with you today! I’ve been having so much fun creating in this non-traditional color palette, and clearly, the trend continues, haha. For these projects, I used the adorable My Boo Stamp and Die set from the Simon Says Stamp STAMPtember® release. This one isn’t a collaboration set, so no worries – it will be restocked when it sells out. And that’s a good thing, because it’s just too cute! I honestly couldn’t stop making these sweet little goblins.
Card-making product affiliate links are used throughout this post at no additional cost to you. Your support enables me to continue providing you with content, and I genuinely appreciate your support!

Products used for the Two More Pink Halloween Cards:
- My Boo Stamp and Die set
- Trick or Treat die Cut
- Little Boo sentiment die
- Dibble Tile Embossing Folder
- Dotted Spiral Embossing Folder

Both of these cards are quick and easy to make! The images took less than 10 minutes to stamp, color and cut out, and just a few extra minutes to emboss the backgrounds. After that, it was simply a matter of layering the pieces and assembling the cards.
Card cuts: (for both cards)
- Card base: White – 4-1/4″ x 11″, score and fold at 5-1/2″
- Card Front: Cotton Candy: 4-1/4″ x 5-1/2″.
- Ghosts: White 4-1/4″ x 5-1/2″ for each card
- Frame: Black – 4-1/4″ x 5-1/2

How to create Card 1 of the Two More Pink Halloween Cards:
Start by placing a white cardstock panel into your Misti and stamping the ghost image in Memento Black Ink.
Next, add soft highlights and shadows using Copic Markers N0 and N1, and a touch of R21 for the cheeks. Die-cut the image and set it aside.
Next, stamp the frame onto black cardstock using VersaMark Ink. Cover with white embossing powder, tap off the excess, and heat set. Die-cut the frame and set it aside.
Using the Little Boo Dies, cut the sentiment pieces, layer them together and set aside.
Finally, emboss the pink card front with the Dotted Spiral Embossing Folder. Attach it to the card base with strong adhesive, then use foam squares to adhere the ghost, frame, and sentiment for added dimension.

How to create Card 2
Basically, all of the instructions are the same other than adding two additional ghosts, and changing the sentiment to the Trick or Treat Sentiment Die Set, and changing out the embossing Folder to the Dibble Tile Folder.
The stars are colored with Copic Markers: Y15, Y18, and Y19
You can view the entire Simon Says Stamp STAMPtembe® release HERE

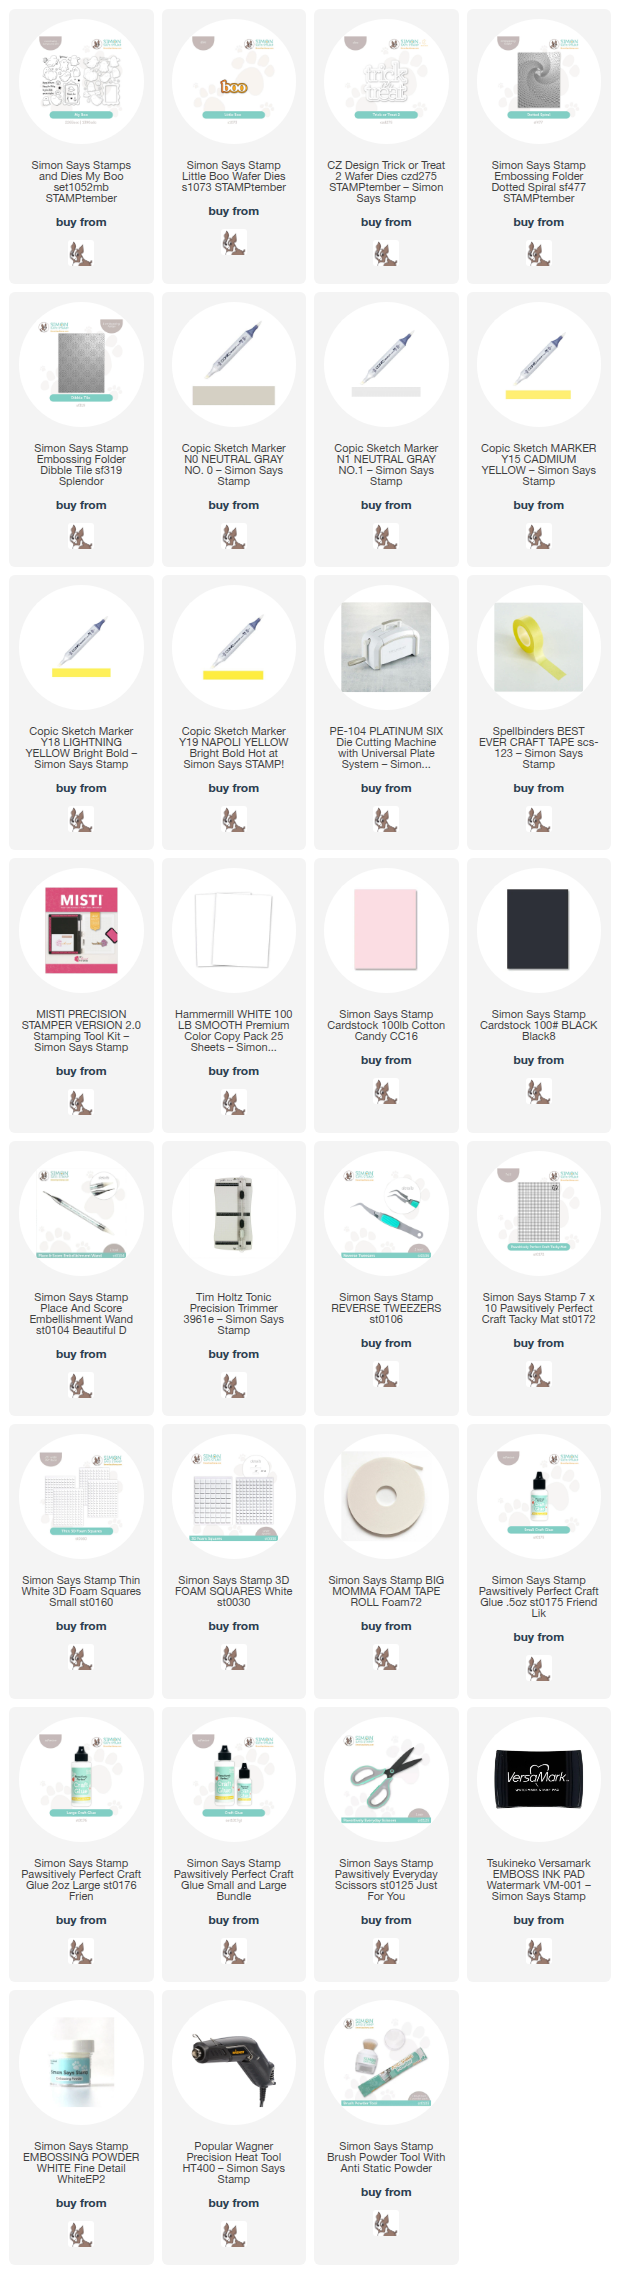
Card Making Supplies used for the Two More Pink Halloween Cards Post:
Here are the products I used today. Compensated affiliate links used were available at no cost to you.
Clicking on a thumbnail link and shopping provides me with a small commission (at no additional cost to you), which supports my website and allows me to continue bringing you new projects and videos. I appreciate your support. Affiliate and product disclosures are found on my disclosure page. All products were personally purchased except for the Simon Says Stamp STAMPtember® release products, which were provided/sponsored by the company. I only use and recommend products I love. Click on the icons below each product picture to visit my favorite stores.


-
-
- Follow me on INSTAGRAM
- Join 38,800+ following me on PINTEREST
- Subscribe to my YOUTUBE Channel
- Follow me on FACEBOOK
- JOIN my STAMP OBSESSION Facebook Group
- Check out my FREE PDF Gallery for over 350+ Card Making Tutorials
- How to make a SLIMLINE CARD – Info PAGE
- Do you like to stitch on cards? Then join our NEW FACEBOOK GROUP
-

– LOTS of great Paper Crafting Sales and New Releases going on this week – Check them out here
 Shop my Favorite Brands with my affiliate links
Fabulous fun cards, Sandi, with the perfect embossed background!
thanks so much Sharon
Too cute! Such fun little ghost images, love the frame and die cut sentiment too! 🙂
thanks Amy, always fun to play with goblins, haha
Too sweet! I love the non traditional color palette too.