
Howdy friends – welcome back!
Today I have two cards to share with you, created with the NEW Simon Says Stamp A2 Notched Rectangles Die set. Why two cards? Because I’m going to show you how to use the leftover “cast-off” piece from one die cut to create the frame for the second card – making this a fun little no-waste die-cutting event, haha.
I’m also using a stamp set you may recognize — the Wild and Free Flowers and Stencil Set. One thing I love that Simon Says Stamp does with their releases is bring back favorite products from previous monthly card kits, and this beautiful floral set is one of the returning favorites for June. There are a couple of past club favorites being rereleased this month, so definitely take a peek at those as well.
Ok, enough chatting, let’s dive into these cards, shall we?
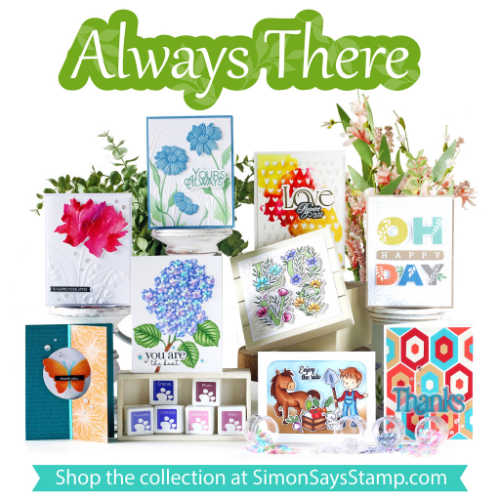
You can view the entire NEW RELEASE HERE
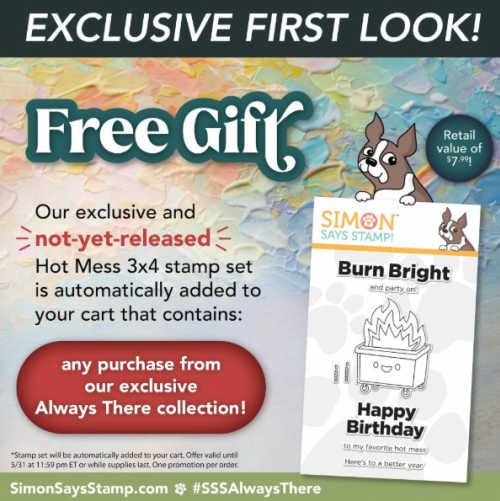
Receive a FREE Not Yet Released – Hot Mess Stamp Set with Any order from the Always There Collection
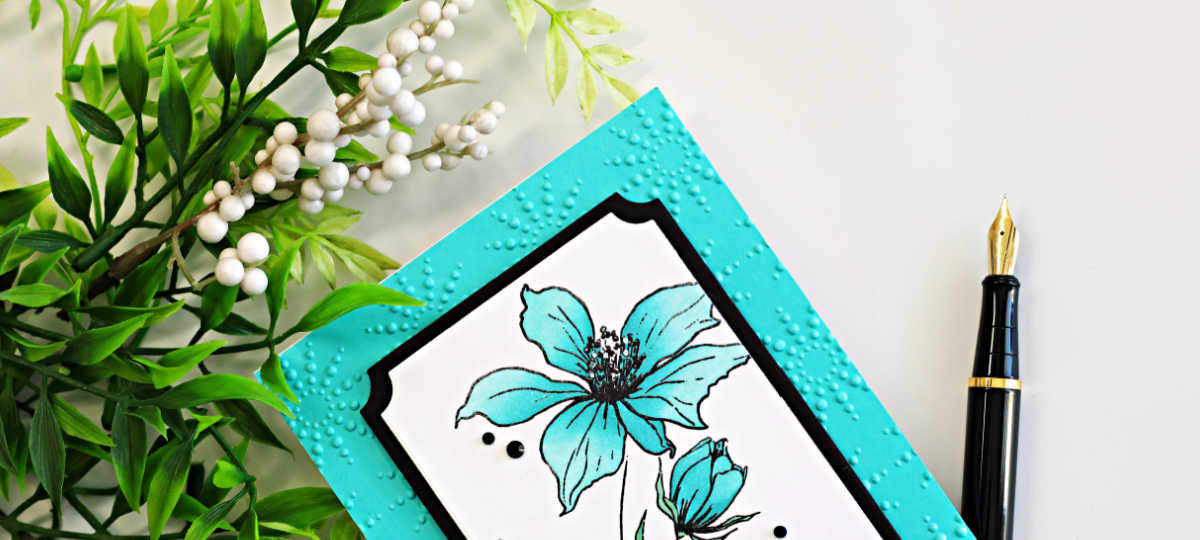
Products used for today’s Wild and Free Floral Frames Cards:
- Wild and Free Flowers – Stamp and Stencil combo
- A2-Notched Rectangles
- Dotty Circles Embossing Folder
- Black Pawsitively Dazzling Gems
- #10 White Gell Pen
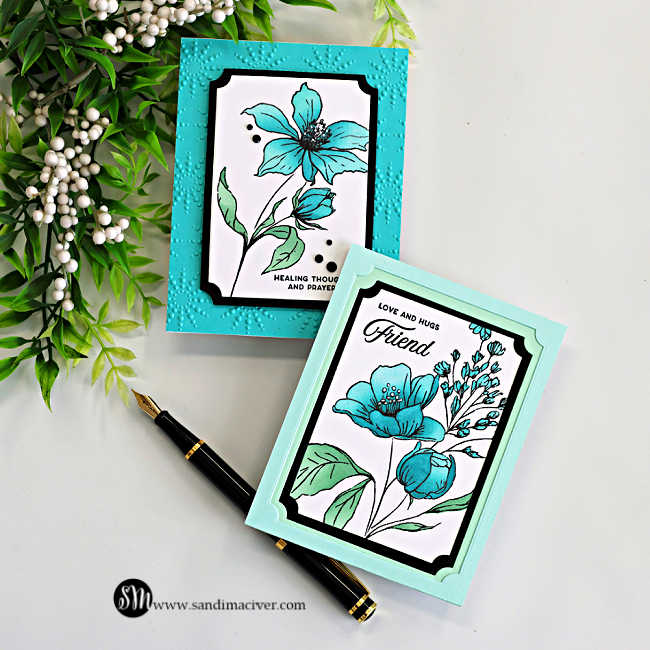
How to create the Wild and Free Floral Frames Cards:
One Die Cut – two Panels:
The secret to these no-waste frames is surprisingly simple. Start by cutting all your cardstock panels to 4-1/4″ x 5-1/2″.
Next, carefully center each of the A2 Notched Rectangle dies on the panels before die cutting. Sure, it takes an extra minute to line everything up, but it’s absolutely worth it because you’ll end up with a second set of beautiful frames for another card.
For today’s example, I created and designed the top card first, then used the leftover outer frame pieces to build the layered frame for the second card.
Create the card base:
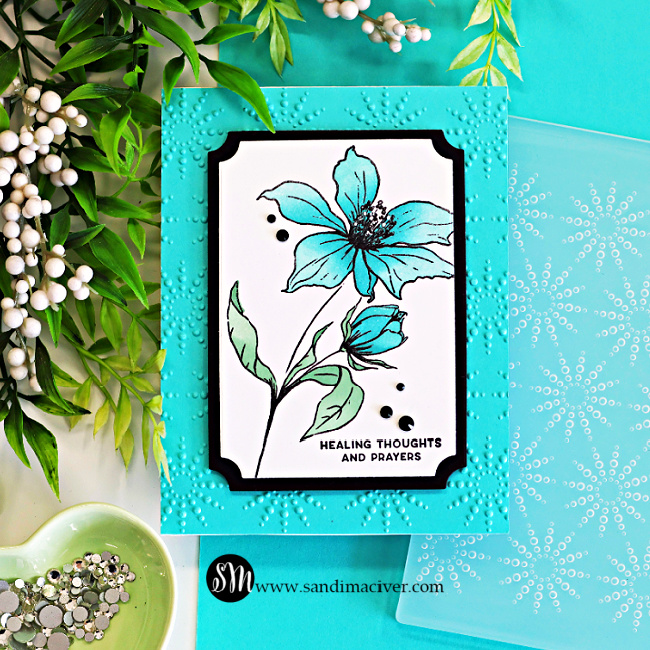
Trim a panel of Audrey Blue to 4-1/4″ x 5-1/2″. Emboss it with the Dotty Circles Embossing Folder, then attach it to the front of a white top-folding A2-sized card base.
Create the art piece:
Start with a 4-1/4″ x 5-1/2″ panel of white cardstock. Stamp and emboss the floral image onto the center of the panel, then color it using the coordinating layering stencils.
Place the panel into your Misti and stamp a sentiment in the bottom right corner.
Ink Colors Used:
Simon Says Stamp Pawsitively saturated Inks:
- Dew/Mist
- Sage/Aspen
I like using both a light and dark shade of each color on these large open stencil areas because it helps create soft shadows and added depth in the florals.
Create the Frame layers:
Start with the smallest of the A2 Notched Rectangles frame that fits around your finished art piece and die cut the panel.
Next, use the next largest die to cut a black mat layer, making sure to center the die before cutting. Set the leftover outer black frame aside for card #2.
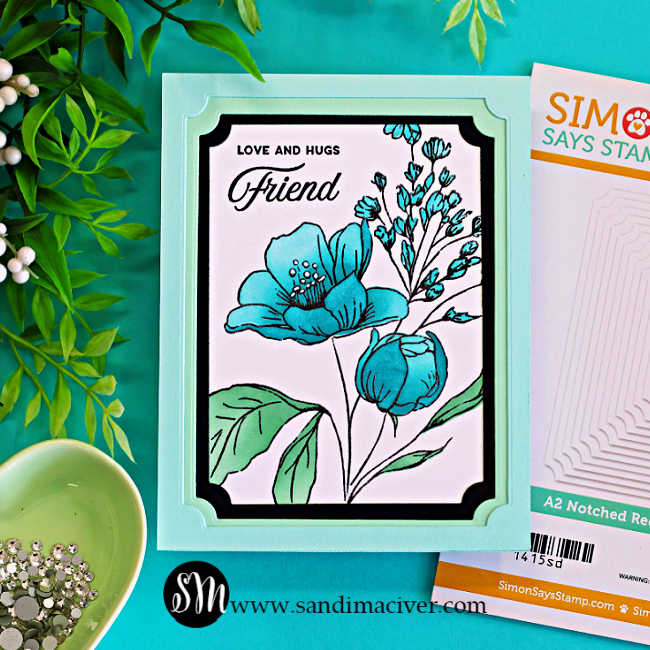
For this card, I also die cut additional frames from Mint and Sea Glass cardstock using the next two larger dies. In the end, I decided to keep card one simple with only the black mat layer, but I used all three of the leftover outer frames on card two. Bonus–I still have extra mat layers left over for future cards.
Assemble the Card:
Attach the art piece to the black mat layer, then add foam tape to the back and attach it to the center of the card,
Embellish with a few black gems, then use a #10 white gel pen to add tiny white dots to the flower centers for extra detail.
Assemble Card #2:
The second card is essentially the reverse of card one.
Start by attaching the floral panel directly to the front of the card base.
Then, layer the leftover frames around the panel starting with the black frame, followed by the Mint frame, and finally the Sea Glass frame. Since each frame becomes slightly smaller as you layer inward, you’re left with a beautiful three-tiered dimensional frame surrounding the floral art work.
Products used today are listed below, and you can see the entire new Always There release here:

Never Miss a Cardmaking Tutorial
Subscribe to my blog and get the latest cardmaking ideas, tutorials, and inspiration delivered straight to your inbox — plus access to exclusive content and updates you won’t want to miss!

Visit my YouTube channel for 270+ cardmaking tutorials, techniques, and creative ideas to inspire your next project
Cardmaking Supplies Used:
Here are the supplies I used to create today’s Wild and Free Floral Frames Card
Many of the links below are compensated affiliate links. This means if you click through and make a purchase, I may receive a small commission at no additional cost to you.
These commissions help support my website and allow me to continue sharing cardmaking tutorials, videos, and inspiration. I truly appreciate your support.
All products were personally purchased unless otherwise noted. Simon Says Stamp Always There products were provided by the company for design purposes.
You can find my full affiliate disclosure on my disclosure page.
Click the icons below each product to shop my favorite stores.

Let’s Connect & Get Inspired
Follow along for more cardmaking ideas, techniques, and tutorials:
- Follow me on Instagram
- Join 38,800+ creatives on Pinterest
- Subscribe to my YouTube Channel
- Follow me on Facebook
- Join my Cardmaking Obsession Facebook Group
FREE Cardmaking Tutorials Library
Looking for more inspiration? Explore my FREE PDF GALLERY with 359+ cardmaking tutorials — packed with ideas, techniques, and step-by-step projects to spark your creativity.
Don’t Miss This Week’s Deals
Lot’s of great paper crafting sales and new releases happening now — check them out here!

Shop My Favorite Craft Brands
Browse my Go to Brands and supplies using my affiliate links.
Beautiful cards Sandi! Love the blue floral images, perfect! 🙂
thank you Amy
Beautiful, Sandi. Always love to see the “2 from 1” ideas! Great coloring and stunning on the white background.
thanks so much Gayle
Terrific and so pretty! Those scraps do come in handy!!!
Thanks Sharon, they certainly do
Wow!!! These are really Beautiful!!!
thanks so much Maureen
love a no waste event! these are lovely.
thank you Lisa