
Hi crafty friends, and welcome back. Strawberry season is finally here, and today’s sweet little card would be absolutely perfect tucked alongside a jar of homemade strawberry jam for a thoughtful summer gift. I used the adorable Strawberry Basket Dies from Simon Says Stamp to create this bright and cheerful design, combining layered die cuts, soft ink blending, and delicate white heat embossing for a fresh-picked summer feel.
The combination of Seaside, Waterfall, Tutu and Peridot cardstock creates such a happy color palette, while the tiny white flowers add the perfect finishing touch.
All products are from the NEW Simon Says Stamp Always There Release which you can view here.
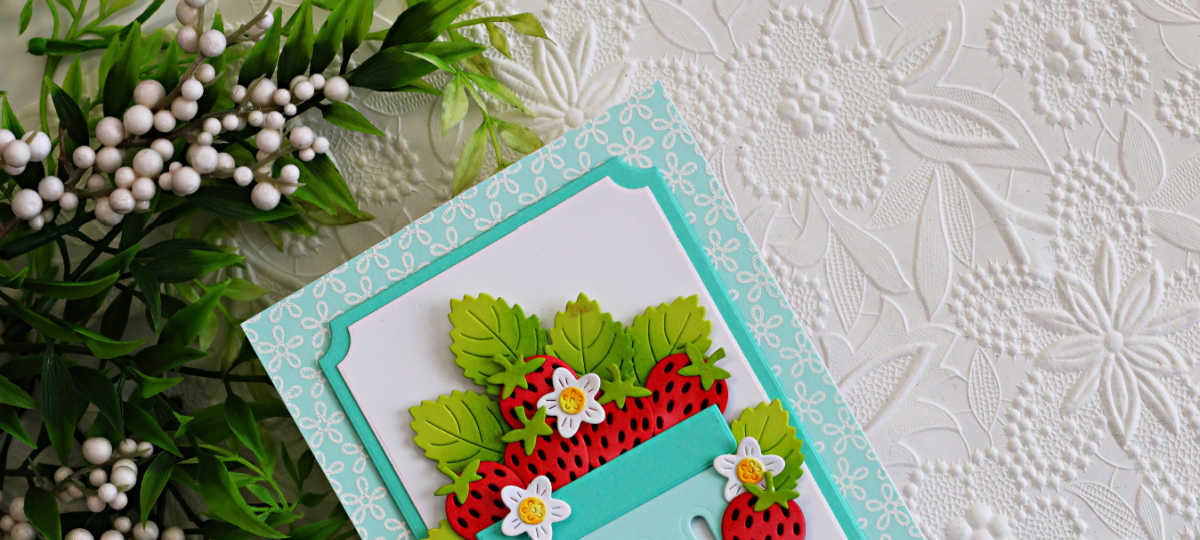
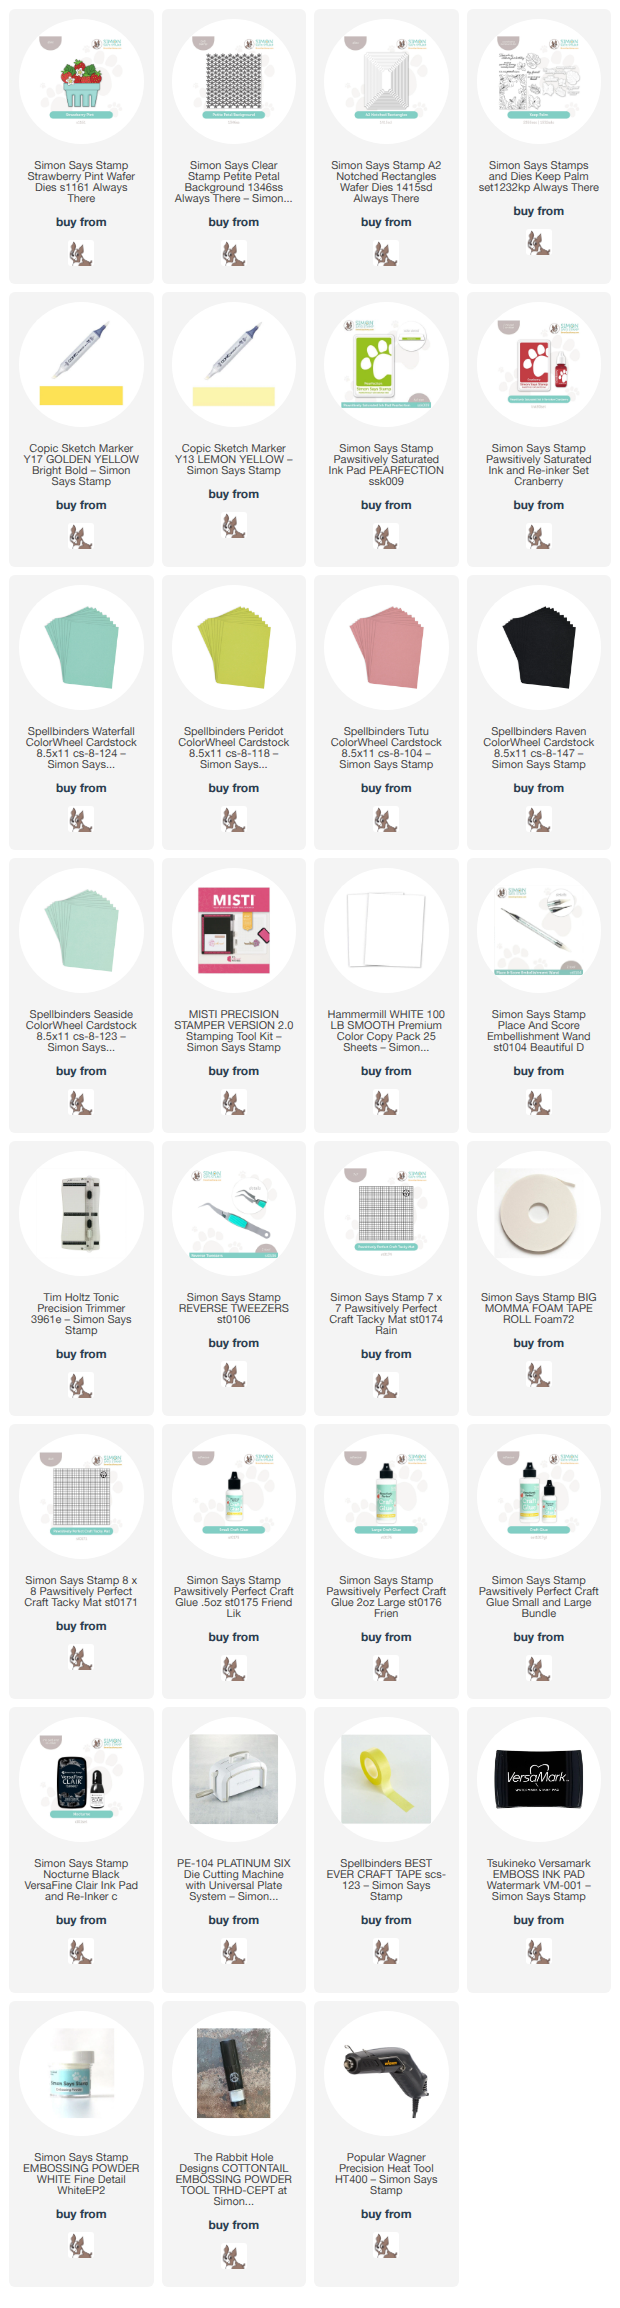
Products used on todays Strawberry Basket Card:
- Petite Petal Background Stamp
- Strawberry Pint Die Set
- A2 Notched Rectangles
- Keep Palm Stamp and Die Set (sentiment)
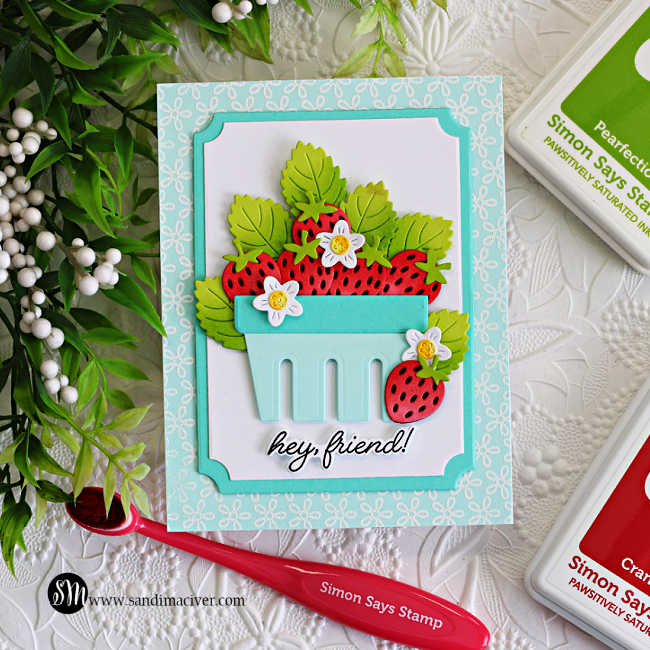
How to create the Strawberry Basket Card:
Create the Card Base:
Trim a panel of Seaside cardstock to 4-1/4″ x 5-1/2″. Stamp the Petite Petal Background stamp onto the panel using VersaMark ink, cover with white embossing powder, shake off the excess and heat set.
Attach the finished panel to the front of a white, top-folding, A2-sized card base.
Create the Layered Mats:
Die cut the A2 Notched Rectangles from both white and waterfall cardstock. Layer the panels together and attach them to the center of the card front using foam tape for added dimension.
Die Cut the Strawberry Basket:
Die cut the strawberries from Tutu cardstock and softly ink blend them with Cranberry Ink to create shading and depth.
Die cut the leaves from Pearfection cardstock and add additional ink blending with Perfection Ink for extra detail and dimension.
Die cut the basket pieces from Seaside and Waterfall cardstock and assemble the basket before attaching it to the card front with foam squares.
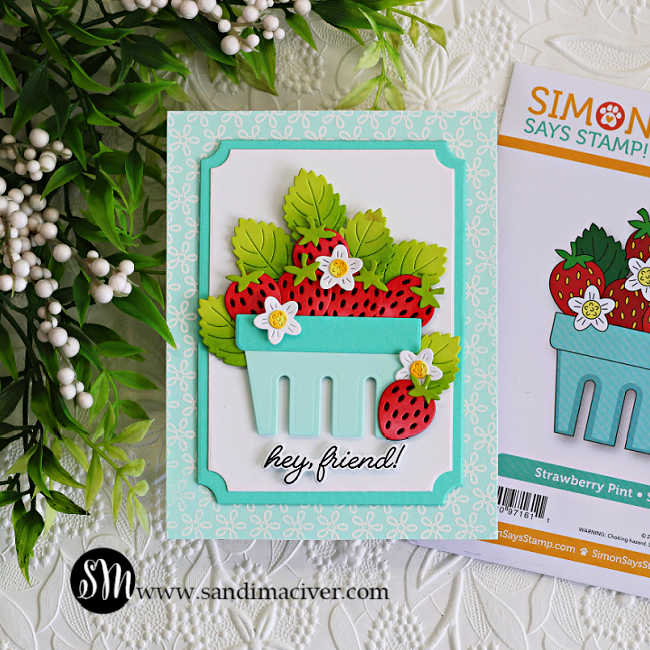
Assemble the Card:
Arrange the strawberries and leaves inside and around the basket, layering the die cuts with foam adhesive to create fullness and dimension.
Add the small white flowers throughout the arrangement. Color the flower centers with Copic Markers Y13 and Y17 for a soft yellow detail that brings the entire design to life.
Finish the card by adding the “hey friend” sentiment below the basket, stamped and die cut using the Keep Palm Stamp and Die Set.
Final Thoughts:
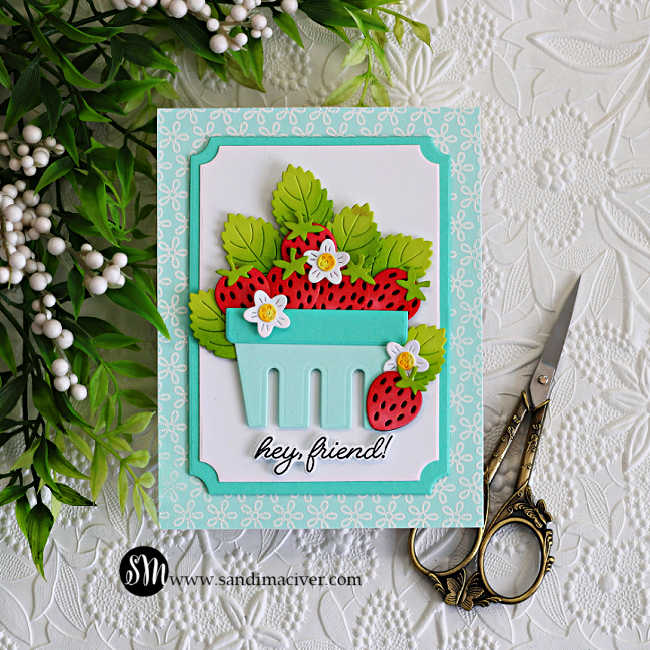
I love how the white heat embossed Petite Petal Background adds soft texture without competing with the bright strawberries. The layered A2 Notched Rectangle frames help draw your eye directly to the focal image while adding depth and polish to the overall design.
The card feels fresh, cheerful, and full of summer sweetness.
Thanks so much for stopping by today, and I hope this project inspires you to pull out your favorite fruit-themed dies and create something bright and happy for a friend.
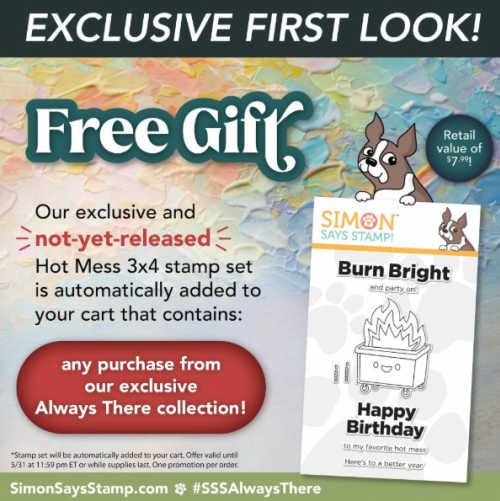
Receive a FREE Hot Mess Stamp Set with any purchase from the Always There Collection


Never Miss a Cardmaking Tutorial
Subscribe to my blog and get the latest cardmaking ideas, tutorials, and inspiration delivered straight to your inbox — plus access to exclusive content and updates you won’t want to miss!

Visit my YouTube channel for 270+ cardmaking tutorials, techniques, and creative ideas to inspire your next project
Cardmaking Supplies Used:
Here are the supplies I used to create today’s Strawberry Basket Card Idea.
Many of the links below are compensated affiliate links. This means if you click through and make a purchase, I may receive a small commission at no additional cost to you.
These commissions help support my website and allow me to continue sharing cardmaking tutorials, videos, and inspiration. I truly appreciate your support.
All products were personally purchased unless otherwise noted. Simon Says Stamp Always There products were provided by the company for design purposes.
You can find my full affiliate disclosure on my disclosure page.
Click the icons below each product to shop my favorite stores.
Let’s Connect & Get Inspired
Follow along for more cardmaking ideas, techniques, and tutorials:
- Follow me on Instagram
- Join 38,800+ creatives on Pinterest
- Subscribe to my YouTube Channel
- Follow me on Facebook
- Join my Cardmaking Obsession Facebook Group
FREE Cardmaking Tutorials Library
Looking for more inspiration? Explore my FREE PDF GALLERY with 359+ cardmaking tutorials — packed with ideas, techniques, and step-by-step projects to spark your creativity.

Don’t Miss This Week’s Deals
Lot’s of great paper crafting sales and new releases happening now — check them out here!

Shop My Favorite Craft Brands
Browse my Go to Brands and supplies using my affiliate links.
Oh my goodness, that’s so cute!! Love the little basket and the strawberries are awesome! 🙂
thank you Amy
cute and sweet! can’t wait for strawberry season!
we just had our first last night, so good, LOL
Delicious!
thank you Sharon