
Hi cardmaking friends – Welcome Back!
Tonight I’m excited to share the latest Simon Says Stamp Release – Always There, along with a new project featuring some of the beautiful new products. I started by using the new Willowweave Plate, die cutting and layering it twice to create the dimensional lattice background. I then used the A2 Rectangles dies from a previous release to frame the design and add even more depth and definition.
For the focal point, I stamped and Copic colored the gorgeous Blooms of Encouragement floral image before layering it over the lattice background. I absolutely love the combination of texture, dimension, and all that crisp white space that lets the florals really shine.
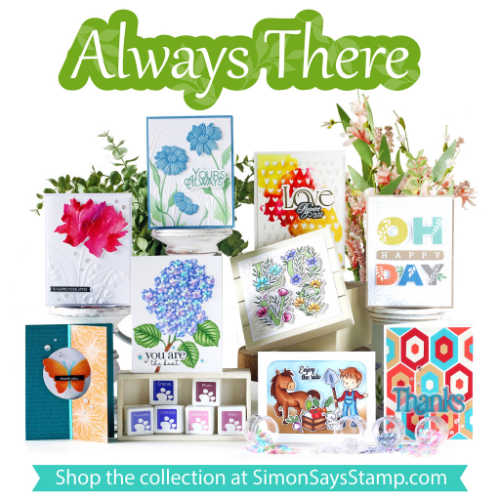
Check out the entire Always There Release HERE
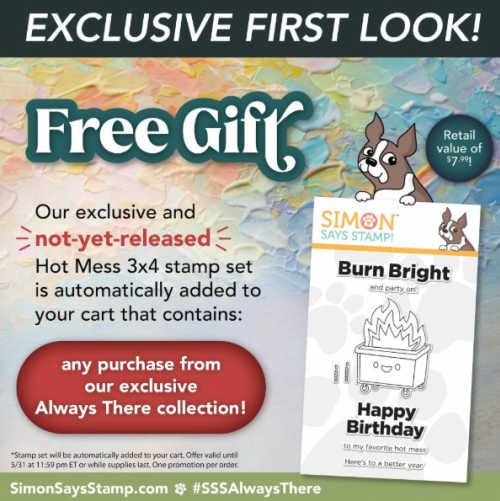
Receive a “Not Yet Released” – FREE Hot Mess Stamp Set with any order from the Always There Collection
For my Color Combo:
My inspiration for today’s color palette once again came from my trip (or should I say trips!) to the garden center. They had the most incredible orange petunias I’ve ever seen. I didn’t buy any — and honesty, I’m still kicking myself for that — but I did snap a photo and tried my best to recreate those vibrant colors on today’s card.
So let’s jump in, and I’ll show you how to create today’s Framed Lattice Background Card!
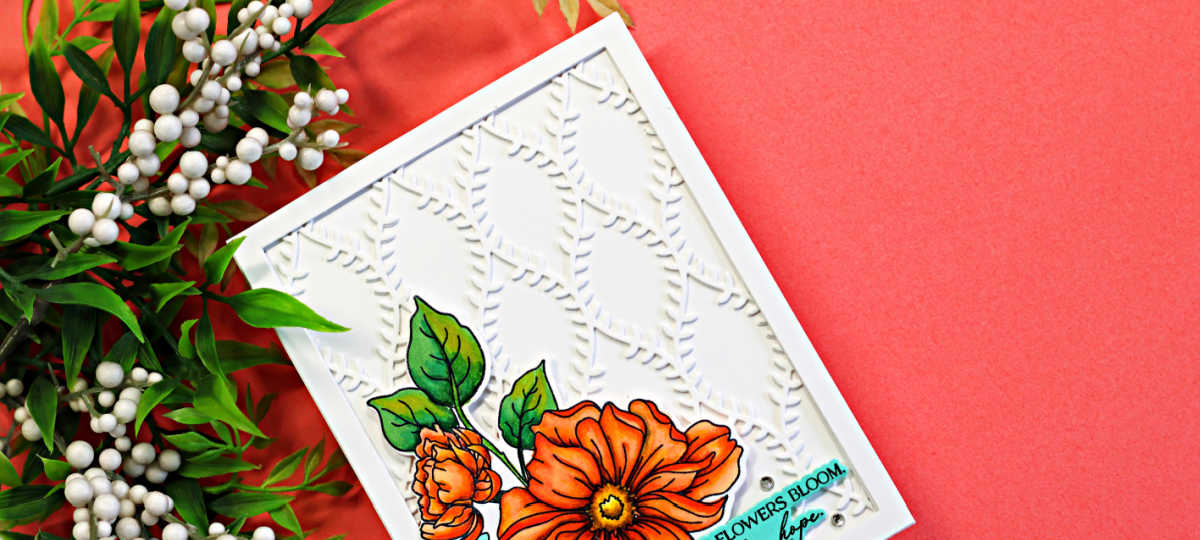
Products used for today’s Framed Lattice Background Card:
- Blooms of Encouragement Stamp and Die Set
- Willowweave Plate
- A2-Rectangles
- Clear Pawsitively Dazzling Gems
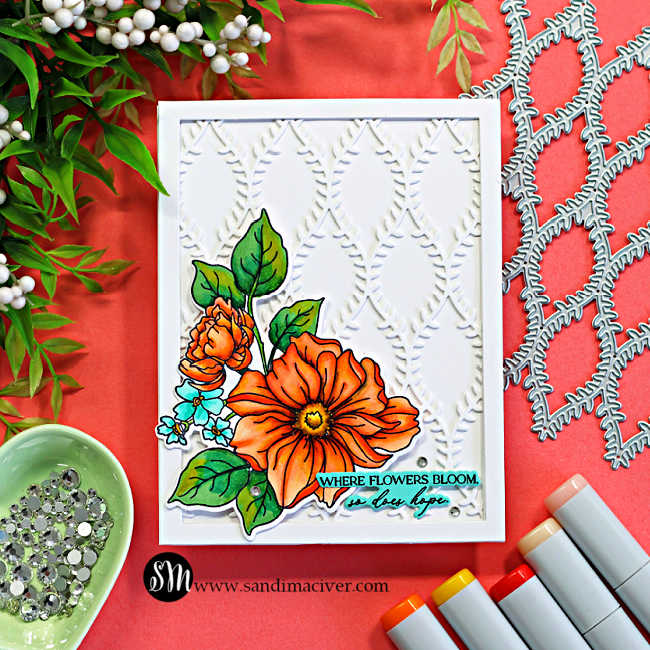
How to Create the Framed Lattice Background Card:
Create the Card Base:
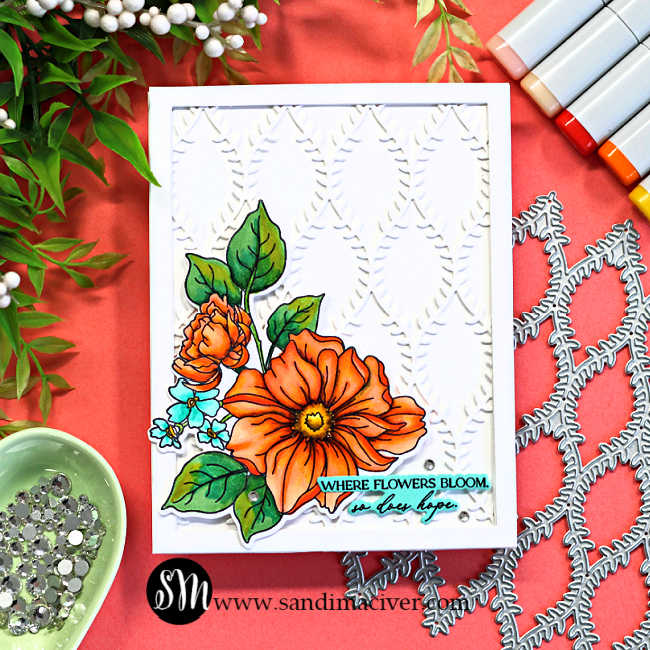
Die cut the Willowweave Plate from white cardstock twice. Layer the die cuts together to create extra dimension, then attach them to the front of a white, top-folding A2-sized card base.
Next, use the A2 Rectangles Dies to cut three frames from white cardstock. Layer and glue them together before attaching the frame over the lattice background to add depth and definition to the design.
Create the Floral Image:
Stamp the Blooms of Encouragement floral image into Hammermill white cardstock using Memento Tuxedo Black Ink. Color the image with Copic Markers, then die cut it using the coordinating dies.
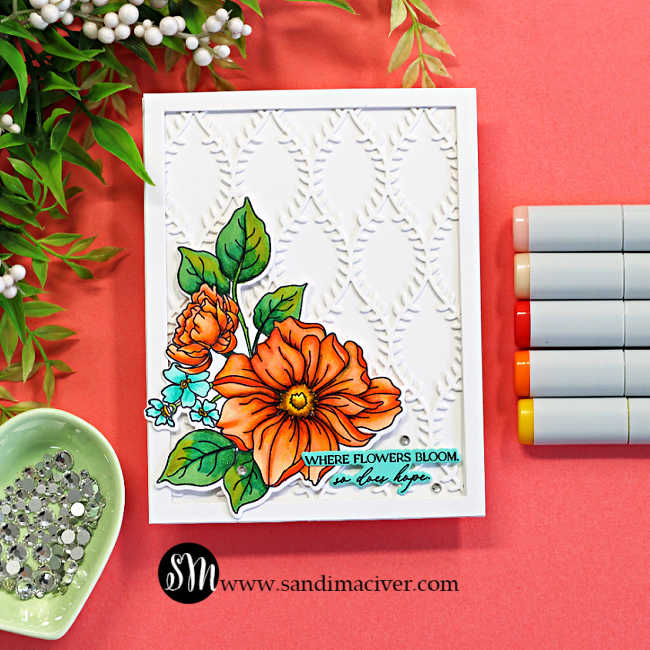
Copic Markers used:
Turquoise: BG11, BG13
Flower: E00, E93, YR16, R14
Leaves: G21, G43, G28, BG11, Y15
Flower Center: Y11, Y15, Y19, E44
Shadows: E44
PRO-TIP: For the leaves, I tried a new coloring technique and absolutely love the results. I first flooded the leaves with G21, then added touches of G43, BG11, and a hint if Y15 before softly blending the green areas back with G21. The combination of the three distinct colors creates beautiful sunshine highlights and soft shadows at the same time, adding extra depth and realism to the leaves.
Create the Sentiment:
Since I added small touches of turquoise to the floral image, I decided to stamp the sentiment on to a scrap of Waterfall cardstock to tie the colors together. The Blooms of Encouragement set also includes coordinating sentiment dies, which I used to cut out the sentiment.
Assemble the Card:
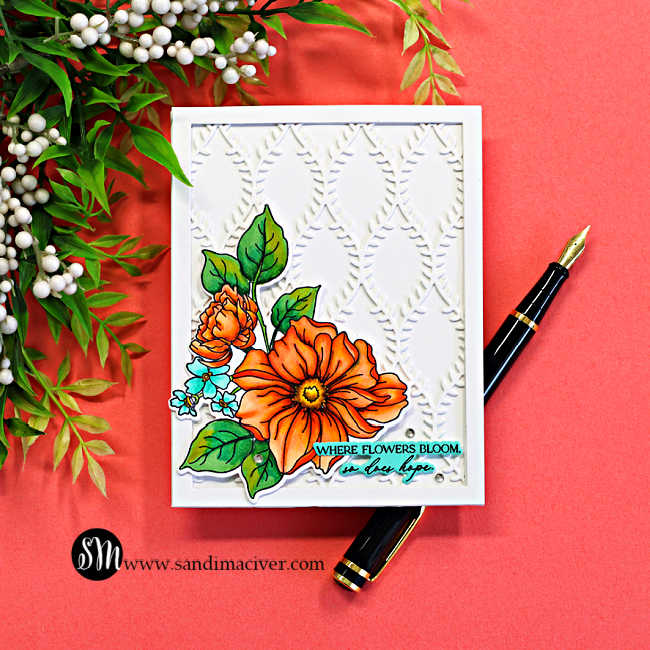
Use foam squares to attach the floral image to the bottom left side of the card front. Then add the sentiment using small pieces of foam tape for added dimension.
Finish the card with a few Clear Pawsitively Dazzling Gems for a touch of sparkle and shine.
See the full ALWAYS THERE release here.


Never Miss a Cardmaking Tutorial
Subscribe to my blog and get the latest cardmaking ideas, tutorials, and inspiration delivered straight to your inbox — plus access to exclusive content and updates you won’t want to miss!

Visit my YouTube channel for 270+ cardmaking tutorials, techniques, and creative ideas to inspire your next project
Cardmaking Supplies Used:
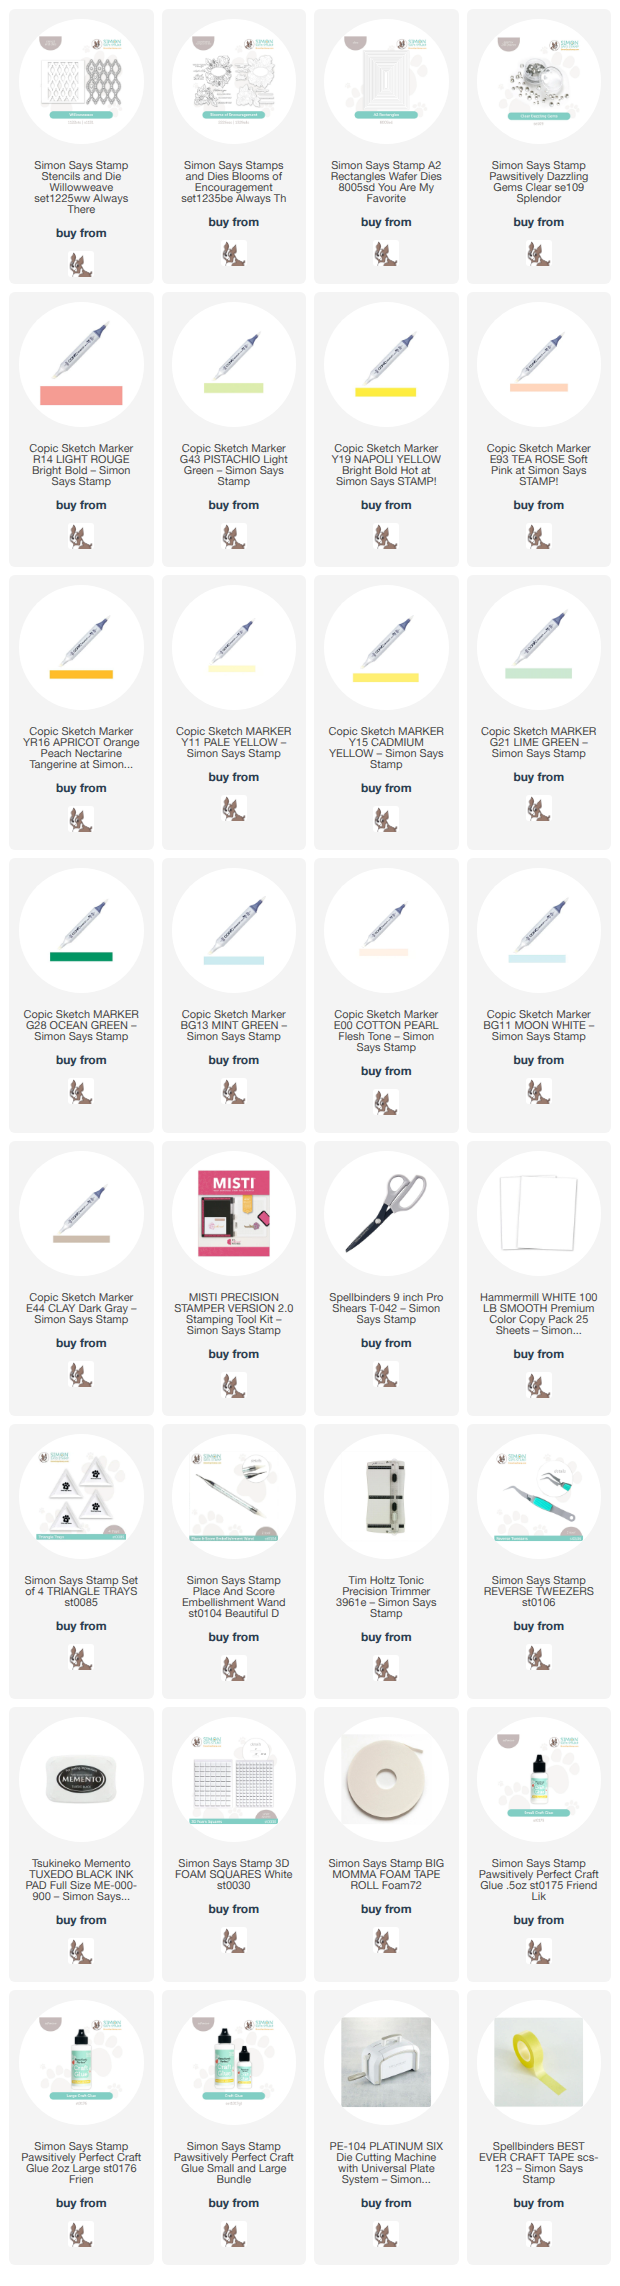
Here are the supplies I used to create today’s Framed Lattice Background Card.
Many of the links below are compensated affiliate links. This means if you click through and make a purchase, I may receive a small commission at no additional cost to you.
These commissions help support my website and allow me to continue sharing cardmaking tutorials, videos, and inspiration. I truly appreciate your support.
All products were personally purchased unless otherwise noted. Simon Says Stamp Always There products were provided by the company for design purposes.
You can find my full affiliate disclosure on my disclosure page.
Click the icons below each product to shop my favorite stores.
Let’s Connect & Get Inspired
Follow along for more cardmaking ideas, techniques, and tutorials:
- Follow me on Instagram
- Join 38,800+ creatives on Pinterest
- Subscribe to my YouTube Channel
- Follow me on Facebook
- Join my Cardmaking Obsession Facebook Group
FREE Cardmaking Tutorials Library
Looking for more inspiration? Explore my FREE PDF GALLERY with 359+ cardmaking tutorials — packed with ideas, techniques, and step-by-step projects to spark your creativity.

Don’t Miss This Week’s Deals
Lot’s of great paper crafting sales and new releases happening now — check them out here!

Shop My Favorite Craft Brands
Browse my Go to Brands and supplies using my affiliate links.


Stunning card Sandi! The delicate lattice under the beautiful floral image is just perfect! 🙂
thank you Amy
this is lovely Sandi. the orange pops right off that white background.
Thank you Lisa
What can I say! This is gorgeous! Love how you made the lattice background!
Thank you Sharon, as soon as I saw that die, I knew what I was doing with it, haha