
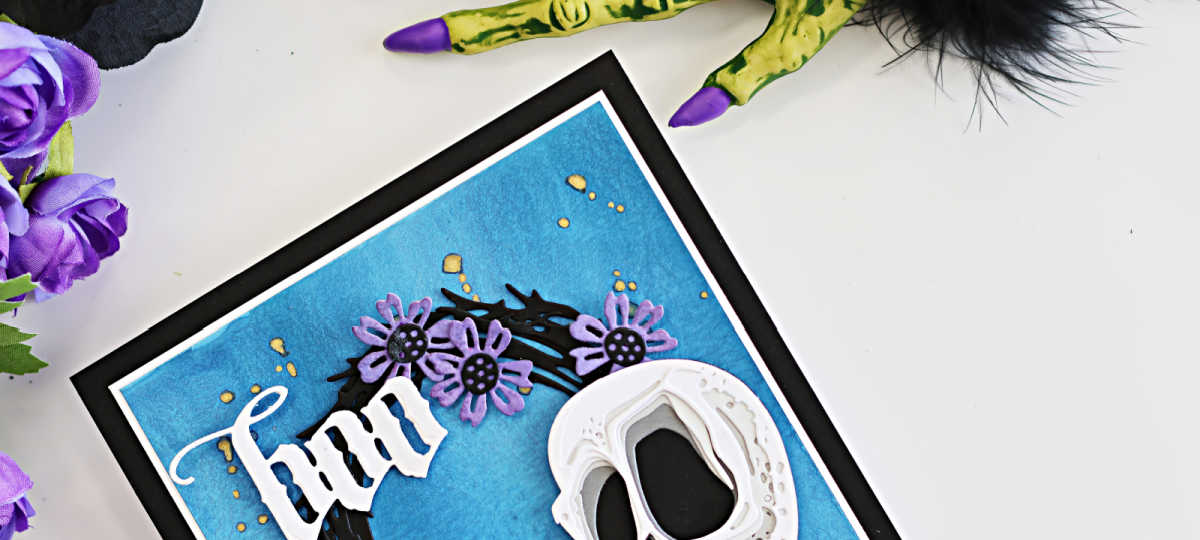
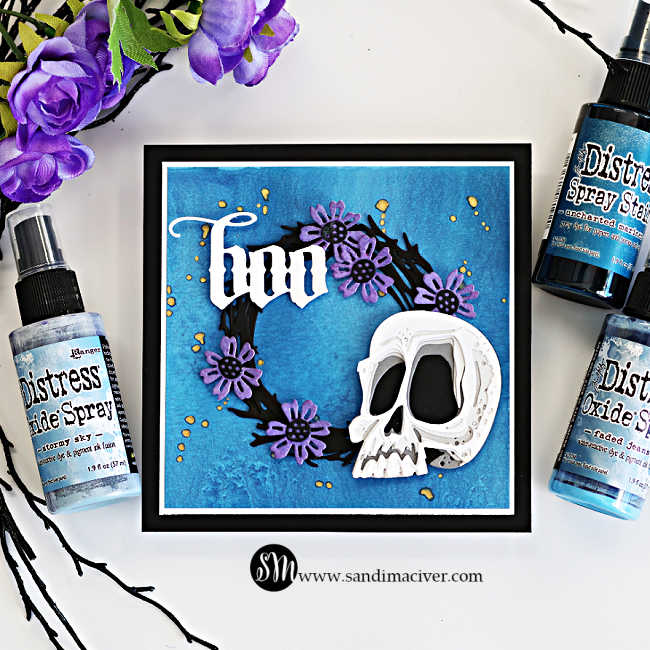
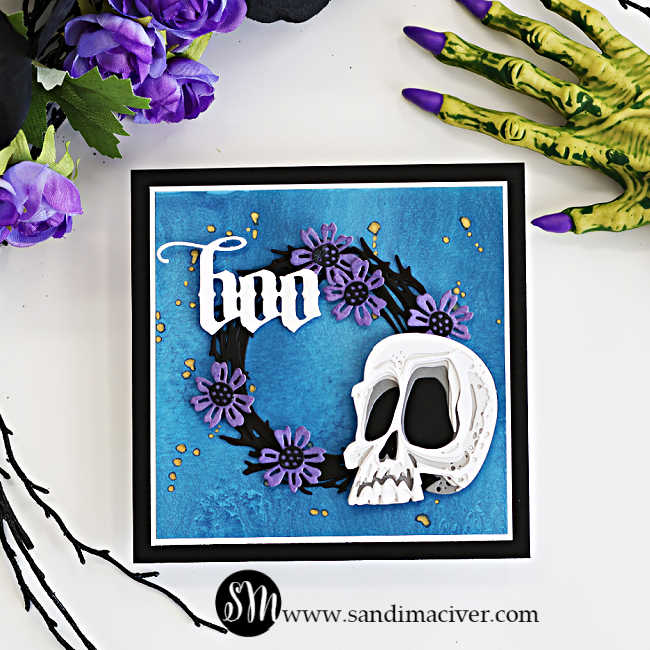
Create a spooky Tim Holtz Halloween card featuring Spencer Colorize, Vault Foliage Wreath, purple flowers and a Gothic Boo sentiment. I couldn’t resist diving right in and creating this spooky Tim Holtz Halloween Card – Spencer Says Boo! I combined the new Vault Foliage Wreath, Moonlight Scare and Vault Gothic Portraits dies to create this delightfully creepy Halloween Design. I love seeing these Tim Holtz Classics given a fresh new look and, of course, Spencer makes the perfect centerpiece for a little Halloween fun!
Scroll down for tips and tricks on how to make this Boo card!
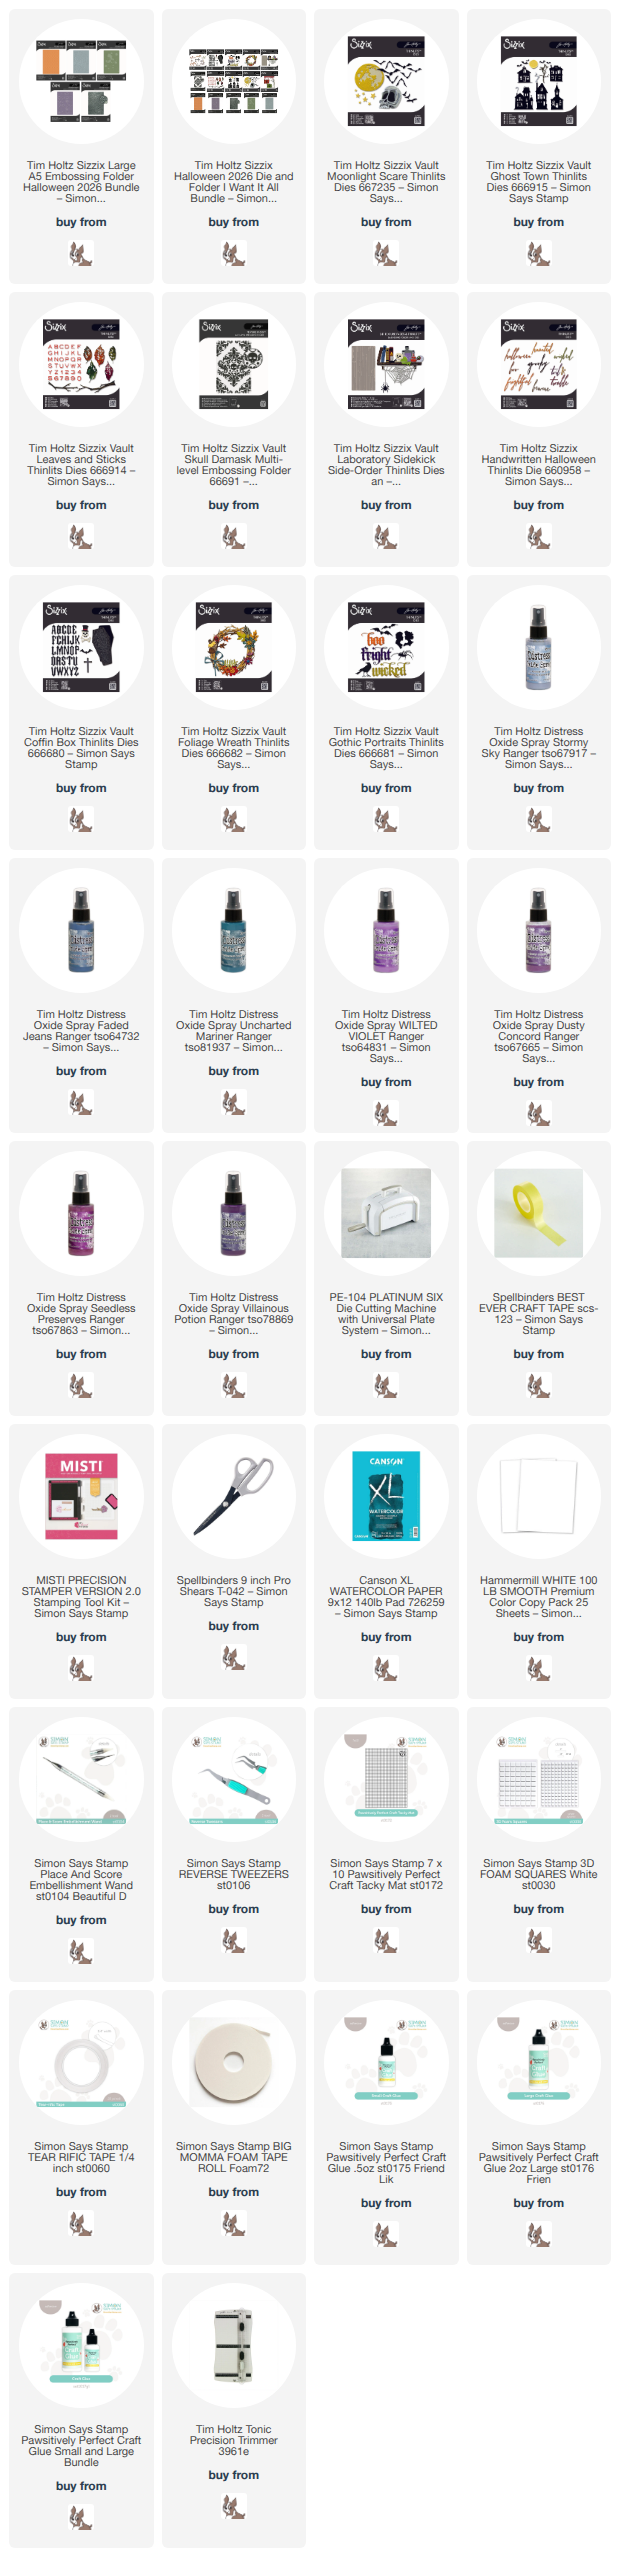
Products used to create the Tim Holtz Halloween Card – Spencer Says Boo:
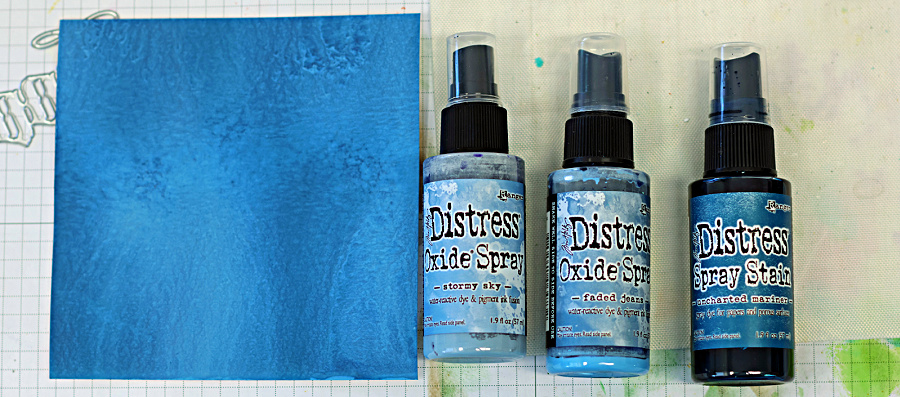
Distress Oxide Sprays in:
Stormy Sky, Faded Jeans and Uncharted Mariner
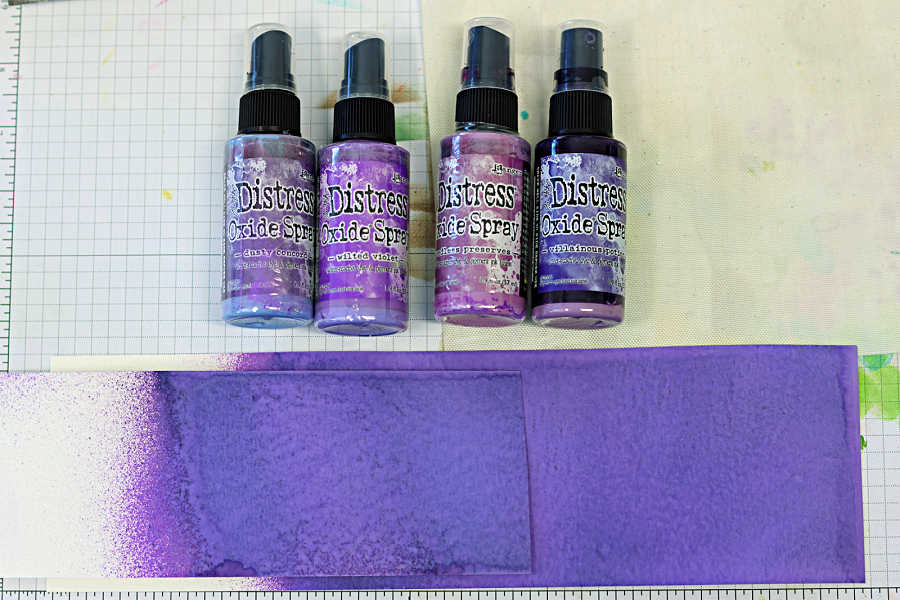
Wilted Violet, Seedless Preserves, Dusty Concord and Villainous Potion
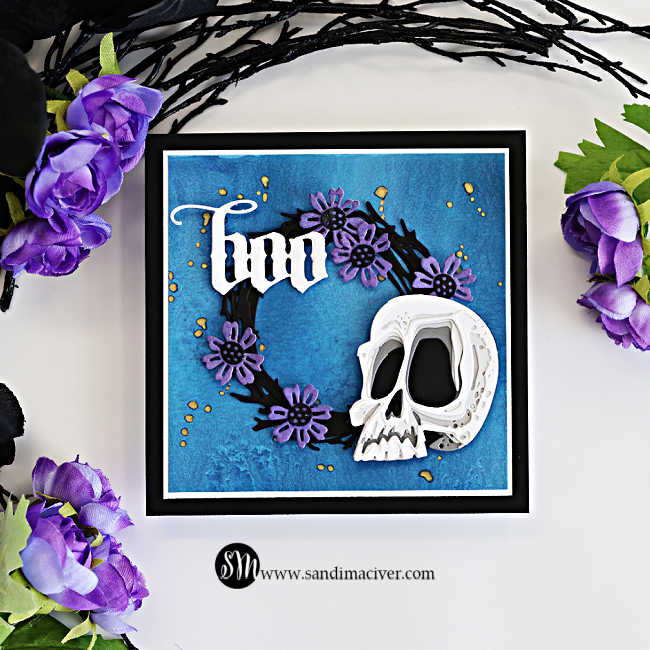
How to Create the Tim Holtz Halloween Card – Spencer Says Boo!
Card Cuts:
- Watercolor Paper 4-7/8″ square – and scraps for purple flowers.
- White Cardstock – 5″ square
- Black Cardstock – 5-1/2″ square
- White Cardstock – 5-1/2″ x 11″ – score and fold at 5-1/2 – card base
Place the watercolor paper inside your Splat Box and spray it with Stormy Sky, Faded Jeans and Uncharted Mariner Distress Oxide Sprays. Once the background is completely dry, splatter it with gold paint for a little extra texture and shine.
Attach the watercolor panel to the white mat, followed by the black mat, and then adhere the completed panel to the card base.
Next, spray the watercolor paper scraps with Wilted Violet, Seedless Preserves, Dusty Concord, and Villainous Potion Distress Oxide Inks. Allow them to dry completely, then die-cut five flowers. Die-cut the flower centers from black cardstock and assemble the flowers.
Create Spencer (the skull):
Using White, light gray, medium gray, dark gray and black cardstock, die-cut the layers for Spencer. Layer and glue the pieces together to create the dimensional skull.
At the same time, die-cut the “BOO” sentiments three times from white cardstock. Stack and glue the layers together to create a thicker, more dimensional sentiment.
Create the Wreath:
Using the Wreath die from the Tim Holtz Vault Foliage Wreath, die-cut the wreath twice from black cardstock. Stack and glue the two pieces together, then attach the wreath to the center of the card front.
Assemble the Card:
Attach Spencer to the lower-right side of the wreath and the “Boo” sentiment to the upper-left, using foam squares to add extra dimension.
Finally, arrange the purple flowers around the wreath and attach them with foam squares. The purple flowers against the black wreath add a fun pop of Halloween color while keeping Spencer the star of the card.


Never Miss a Cardmaking Tutorial
Subscribe to my blog and get the latest cardmaking ideas, tutorials, and inspiration delivered straight to your inbox — plus access to exclusive content and updates you won’t want to miss!

Visit my YouTube channel for 270+ cardmaking tutorials, techniques, and creative ideas to inspire your next project
Cardmaking Supplies Used:
Here are the supplies I used to create today’s Tim Holtz Halloween Card – Spencer Says BOO!
Many of the links below are compensated affiliate links. This means if you click through and make a purchase, I may receive a small commission at no additional cost to you.
These commissions help support my website and allow me to continue sharing cardmaking tutorials, videos, and inspiration. I truly appreciate your support.
All products were personally purchased unless otherwise noted. Simon Says Stamp products were provided by the company for design purposes.
You can find my full affiliate disclosure on my disclosure page.
Click the icons below each product to shop my favorite stores.
Let’s Connect & Get Inspired
Follow along for more cardmaking ideas, techniques, and tutorials:
- Follow me on Instagram
- Join 38,800+ creatives on Pinterest
- Subscribe to my YouTube Channel
- Follow me on Facebook
- Join my Cardmaking Obsession Facebook Group
FREE Cardmaking Tutorials Library
Looking for more inspiration? Explore my FREE PDF GALLERY with 359+ cardmaking tutorials — packed with ideas, techniques, and step-by-step projects to spark your creativity.

Don’t Miss This Week’s Deals
Lot’s of great paper crafting sales and new releases happening now — check them out here!

Shop My Favorite Craft Brands
Browse my Go to Brands and supplies using my affiliate links.
Such a cool card! Love the way that you did the background. Those dies are fantastic too! 🙂
Thanks Amy, I have been having some fun with Distress Oxide Sprays lately, LOL