
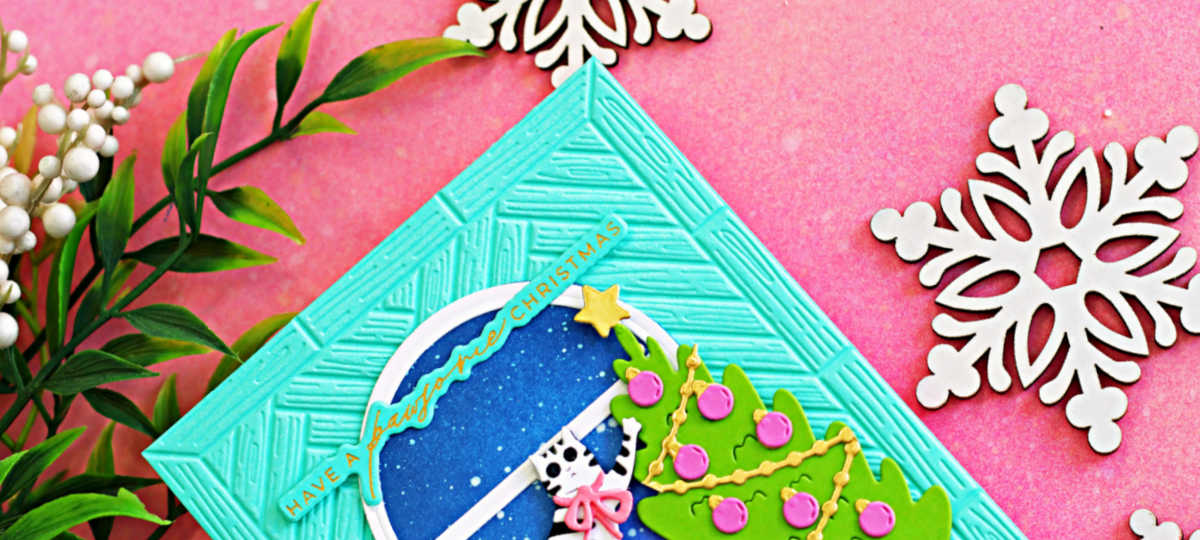
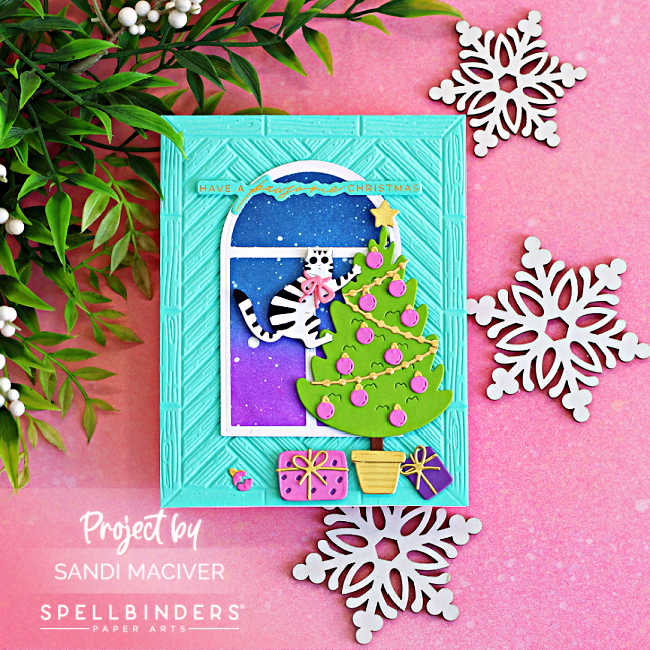
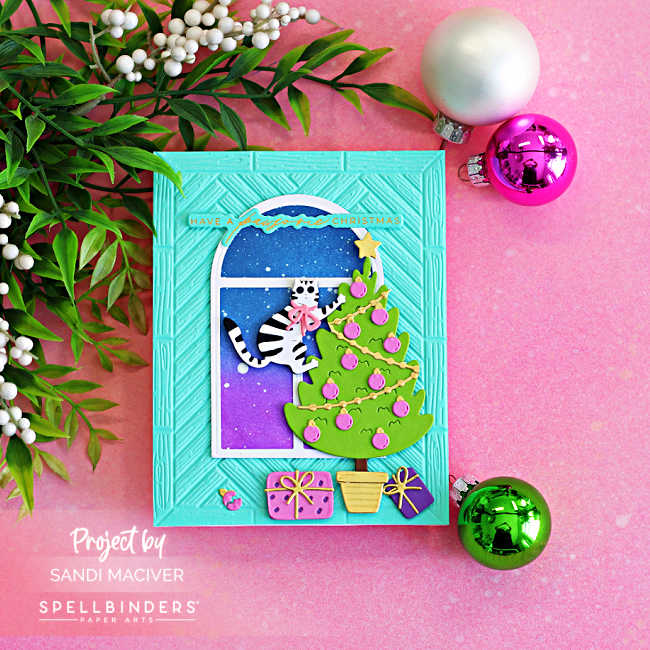
Hi cardmaking friends! I have another Cute Christmas Cat Window Scene Card to share with you today, created with Yana’s Christmas Cat Collection from Spellbinders.
This time, that mischievous little kitty has climbed the Christmas tree and is having a great time knocking the ornaments off…in the middle of the night, of course, just to wake everyone up! LOL.
For the background, I used the new A2 Herringbone Decor Embossing Folder, while the Christmas Cats Window View Die Set creates the beautiful arched window that frames the nighttime scene perfectly.
Scroll down for the step-by-step instructions to create this sweet holiday card!
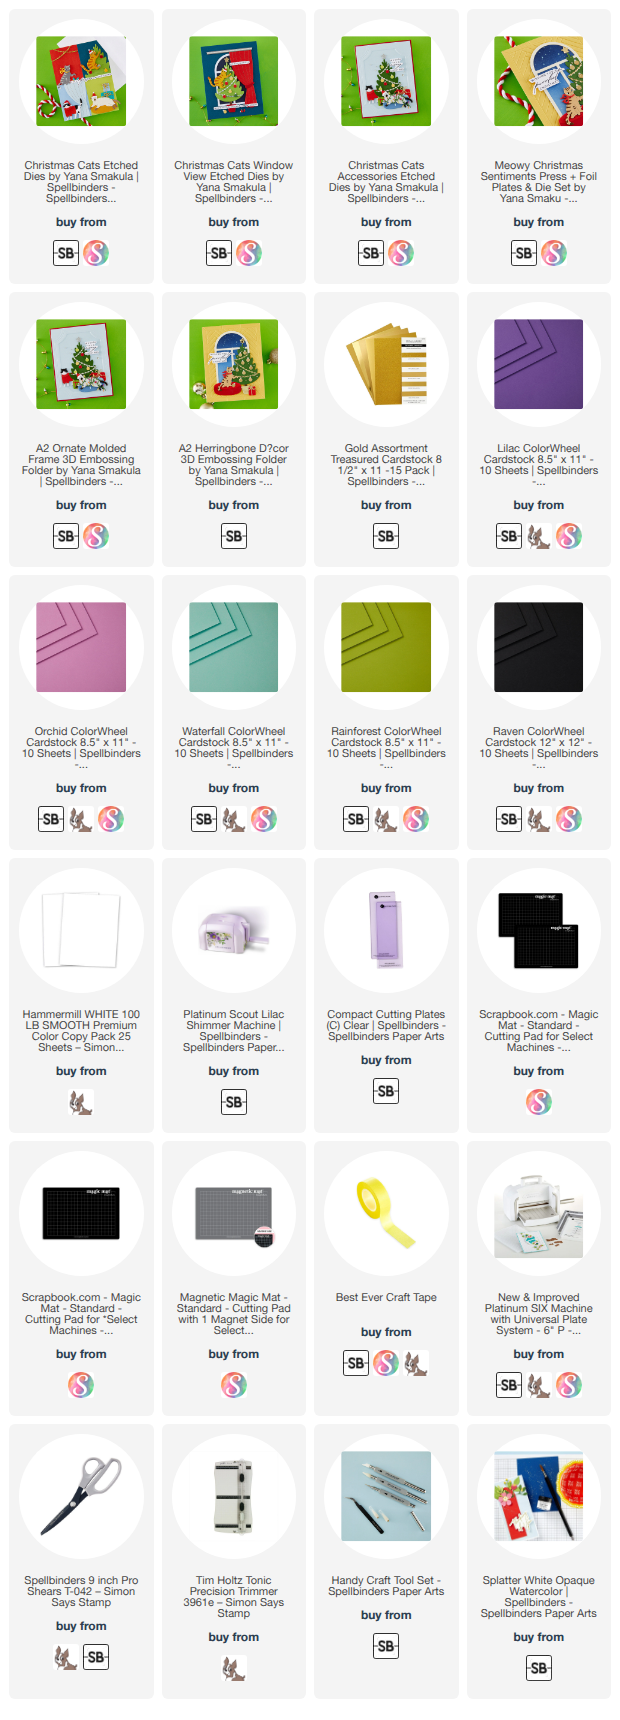
Products used for today’s Cute Christmas Cat Window Scene Card:
- Christmas Cats
- Christmas Cats Accessories
- Christmas Cats Window View
- Meowy Sentiments
- A2 Herringbone Decor
How to create the Cute Christmas Cat Window Scene Card:
I really enjoyed the color palette from my previous card, and since those supplies were still sitting on my worktable, I decided to use them again – this time with a completely different design.
Create the Card Base:
Trim a panel of Waterfall Cardstock to 4-1/4″ x 5-1/2″ and emboss it using the A2 Herringbone Decor Embossing Folder. Adhere the embossed panel tot he front of a white, top-folding A2-sized card base.
Create the Window:
Die cut the window frame from white cardstock. Next, use only the outer window die to cut a second panel from white cardstock.
Place the solid panel on a sticky mat and ink blend a nighttime sky. Begin at the bottom with Amethyst Ink, blend Dust Ink through the center, and finish with Night Ink at the top.
Place the ink-blended panel inside a splatter box and splatter it with white paint to create the illusion of stars. Once dry, adhere the window frame over the sky panel, then attach the completed window to the center of the card front.
Die cut the Art Elements:
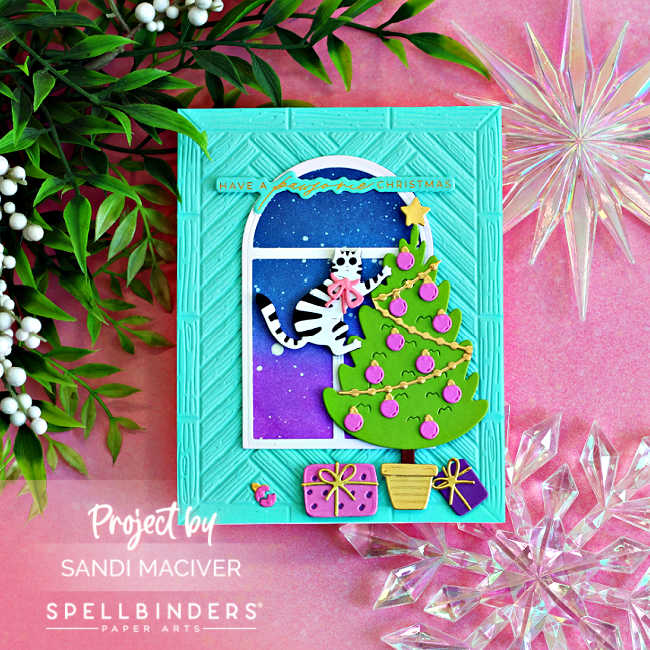
Die cut and assemble the cat, Christmas tree, gifts and broken ornament.
Use foam squares to attach the tree along the right side of the window, then tuck the playful cat over it as though it’s climbing the tree. Add the wrapped gifts along the bottom and finish by placing the broken ornaments near the lower left corner.
Foil the Sentiment:
Using the Meowy Sentiments Press and Foil plates, hot foil a sentiment onto Waterfall Cardstock with gold foil. Die cut it with the coordinating die and adhere it across the top of the window to complete your cute Christmas Cat Window Scene Card.
Cardmaking Supplies Used:
Here are the supplies I used to create today’s Cute Christmas Cat Window Scene Card.
Many of the links below are compensated affiliate links. This means if you click through and make a purchase, I may receive a small commission at no additional cost to you.
These commissions help support my website and allow me to continue sharing cardmaking tutorials, videos, and inspiration. I truly appreciate your support.
All products were personally purchased unless otherwise noted. Spellbinders products were provided by the company for design purposes.
You can find my full affiliate disclosure on my disclosure page.
Click the icons below each product to shop my favorite stores.
Let’s Connect & Get Inspired
Follow along for more cardmaking ideas, techniques, and tutorials:
- Follow me on Instagram
- Join 38,800+ creatives on Pinterest
- Subscribe to my YouTube Channel
- Follow me on Facebook
- Join my Cardmaking Obsession Facebook Group
FREE Cardmaking Tutorials Library
Looking for more inspiration? Explore my FREE PDF GALLERY with 359+ cardmaking tutorials — packed with ideas, techniques, and step-by-step projects to spark your creativity.

Don’t Miss This Week’s Deals
Lot’s of great paper crafting sales and new releases happening now — check them out here!

Shop My Favorite Craft Brands
Browse my Go to Brands and supplies using my affiliate links.

That’s too cute! And yep, looks like a typical cat! 🙂 Fun holiday card!
haha, for sure, thanks Amy
Terrific! Another cute card with this set!
thank you Sharon
Another lovely scene Sandi – especially love that sky blend.
thank you Lisa