
Hi cardmaking friends!
Today I’m sharing my Merry Shuffle Single Z-Fold Christmas Card, created with the Spellbinders Large Die of the Month for July – Merry Shuffle.
I was working my way through all the die-cut pieces yesterday. I started by assembling the tree and lights, then the elf, and finally Santa. Once I had everything put together, I started playing around with different card layouts when the lightbulb went on–why not turn it into an easy Single Z-Fold Card? It’s a simple way to add a little extra interest and dimension without making the card difficult to create.
I kept the design fairly simple because there is a lot of die cutting in this set. I didn’t even spend time ink blending like I normally would because, well… this card took me over two hours to make! If you’re planning to make a batch for Christmas, that’s a pretty big time commitment, LOL.
Scroll down for all card details, along with measurements and step-by-step instructions for creating this easy Single Z-Fold Card
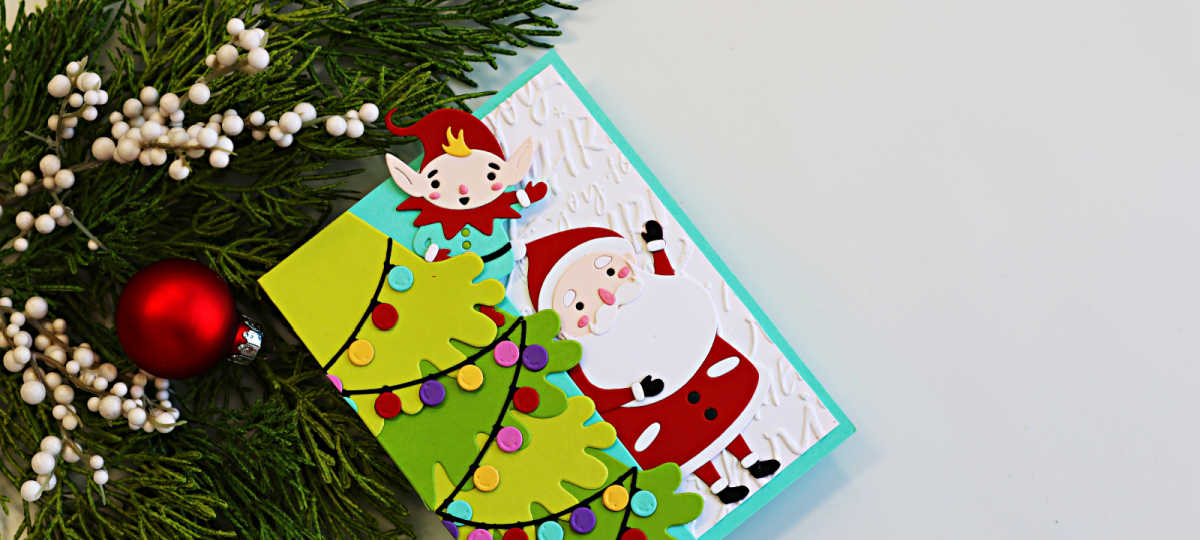
Products used for today’s Merry Shuffle Single Z-Fold Christmas Card:
- Merry Shuffle – Large Die of the Month – July 2026 – Spellbinders
- Festive Greetings 3D Embossing Folder – 3D Embossing Folder of the Month – July 2026 – Spellbinders
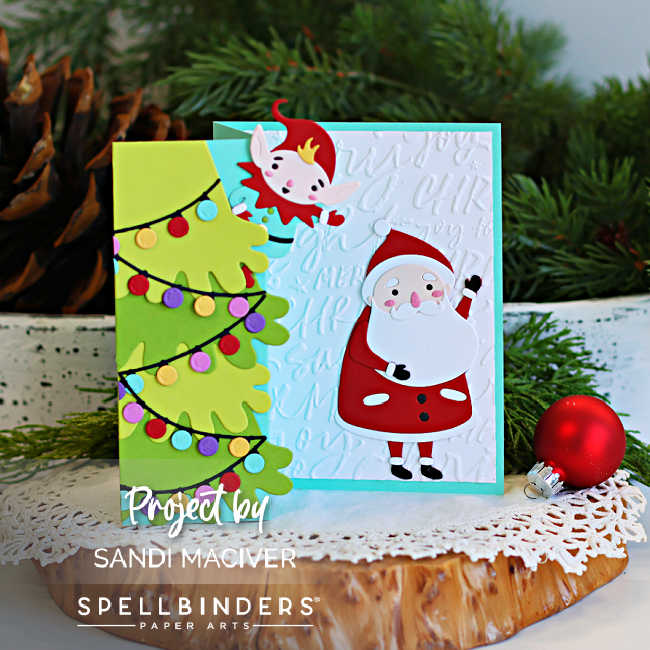
How to create the Merry Shuffle Single Z-Fold Christmas Card:
Start with a panel of Waterfall cardstock trimmed to 5.25″ x 8.50″. From the left, score the cardstock at 2.125″ and center at 4.25″.
Fold the first score line into a mountain fold and the second score line into a valley fold to create the Single Z-Fold fold card base.
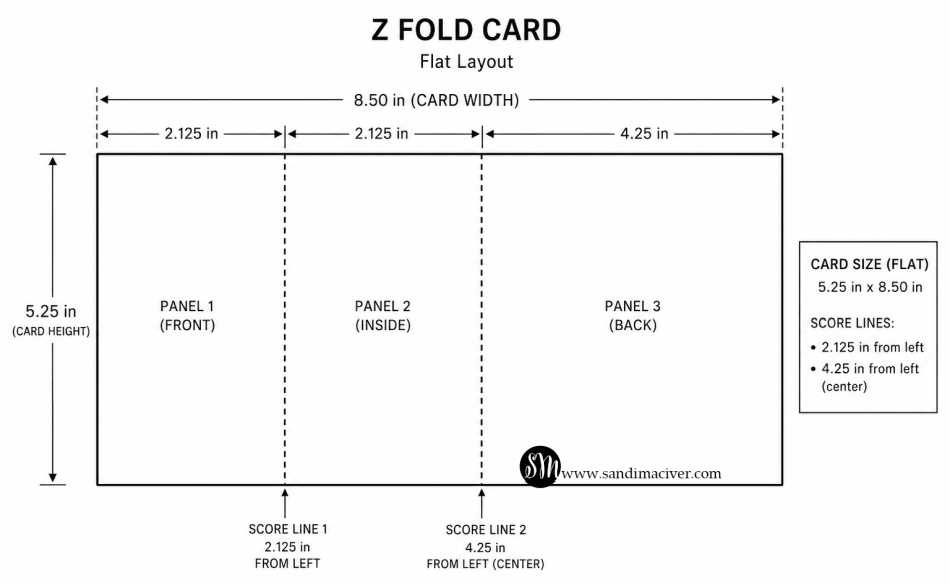
Trim a panel of white cardstock to 4″ x 5.25″, emboss it with the Festive Greetings 3D embossing folder and adhere it to panel 3 on the right hand side.
Use liquid glue to attach the layered Christmas tree to panel 1 (the front panel), then add the elf peeking from behind the tree. Finally, attach Santa to Panel 3.
PRO-TIP: Before gluing everything in place, close the card to make sure the elf and Santa don’t overlap. A quick test fit will ensure the card folds flat.
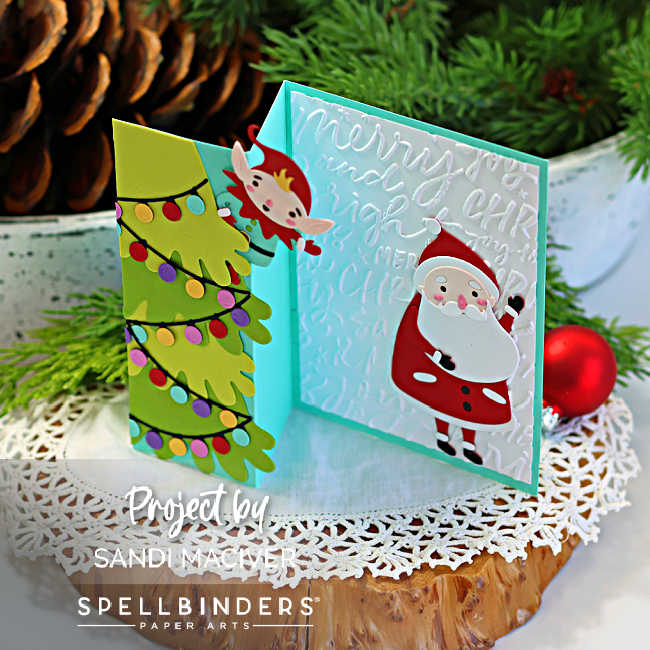
The photo above shows the card from an angled to view so you can easily see how the panels are positioned and how the Single Z-Fold opens and closes.
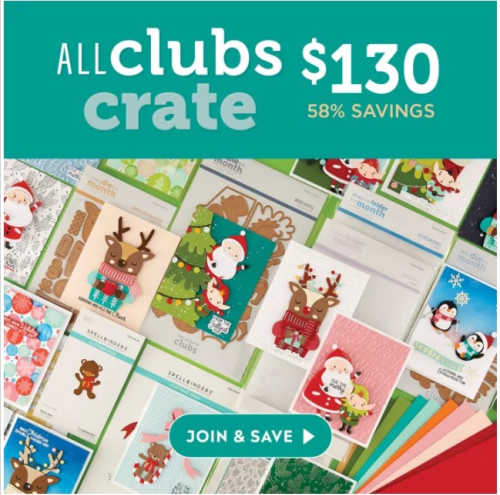
You can check out all of the July Spellbinders Clubs HERE> Unfortunately, the All Clubs Crate has already sold out for this month.


Never Miss a Cardmaking Tutorial
Subscribe to my blog and get the latest cardmaking ideas, tutorials, and inspiration delivered straight to your inbox — plus access to exclusive content and updates you won’t want to miss!

Visit my YouTube channel for 270+ cardmaking tutorials, techniques, and creative ideas to inspire your next project
Cardmaking Supplies Used:
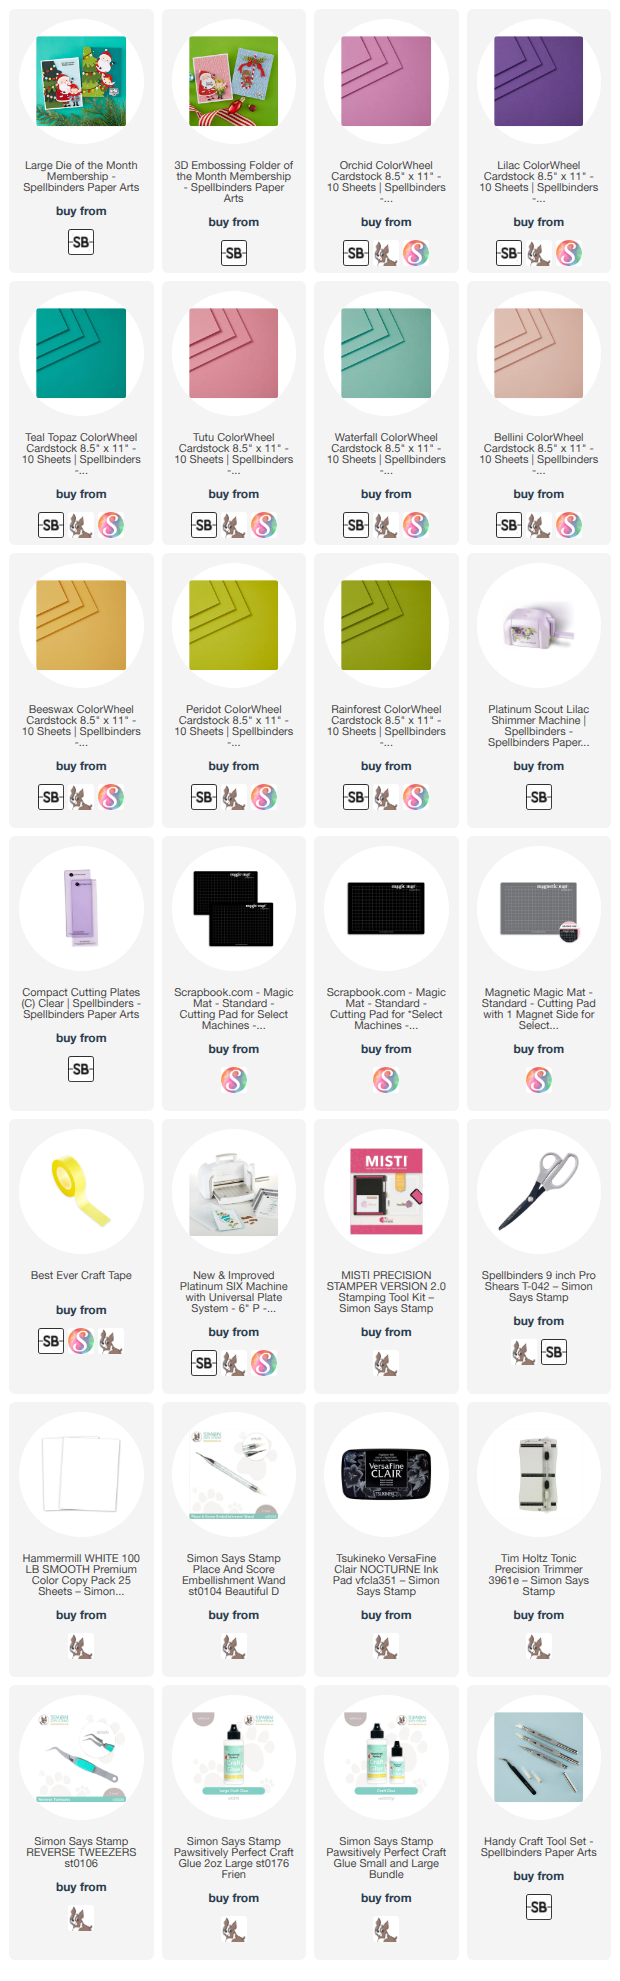
Here are the supplies I used to create today’s Merry Shuffle Single Z-Fold Christmas Card.
Many of the links below are compensated affiliate links. This means if you click through and make a purchase, I may receive a small commission at no additional cost to you.
These commissions help support my website and allow me to continue sharing cardmaking tutorials, videos, and inspiration. I truly appreciate your support.
All products were personally purchased unless otherwise noted. Spellbinders Club Kits are provided by the company for design purposes.
You can find my full affiliate disclosure on my disclosure page.
Click the icons below each product to shop my favorite stores.
Let’s Connect & Get Inspired
Follow along for more cardmaking ideas, techniques, and tutorials:
- Follow me on Instagram
- Join 38,800+ creatives on Pinterest
- Subscribe to my YouTube Channel
- Follow me on Facebook
- Join my Cardmaking Obsession Facebook Group
FREE Cardmaking Tutorials Library
Looking for more inspiration? Explore my FREE PDF GALLERY with 359+ cardmaking tutorials — packed with ideas, techniques, and step-by-step projects to spark your creativity.

Don’t Miss This Week’s Deals
Lot’s of great paper crafting sales and new releases happening now — check them out here!

Shop My Favorite Craft Brands
Browse my Go to Brands and supplies using my affiliate links.
I love it! Such a cute design, perfect for the z-fold card! 🙂
thank you Amy
I appreciate you, Sandi, and all your many tutorials. They’re helpful, inspiring, and easy to understand — and you provide SO MANY! I’m sure it takes considerable effort and time. Plus, all your lovely cards for examples…THANK YOU.
Karen T.
thank you Karen, I appreciate you following me
Amazing! What a fab idea to turn it into a z-fold card! Looks great Sandi
thank you Lisa