
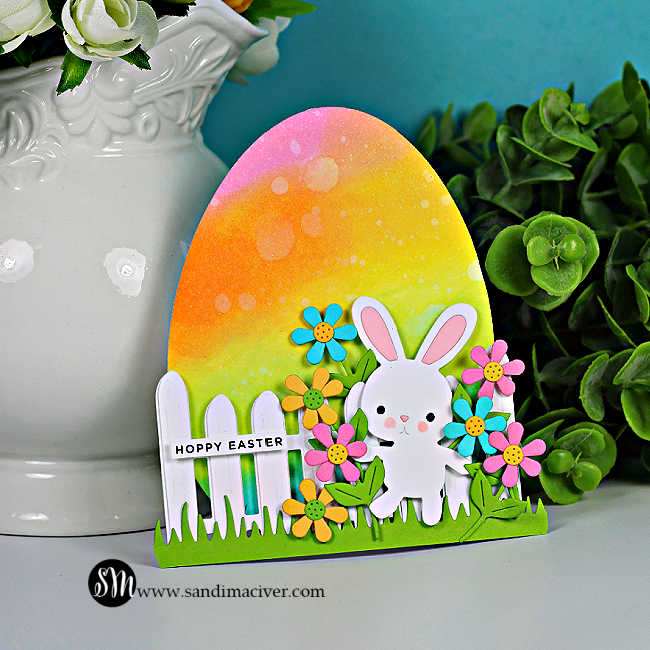
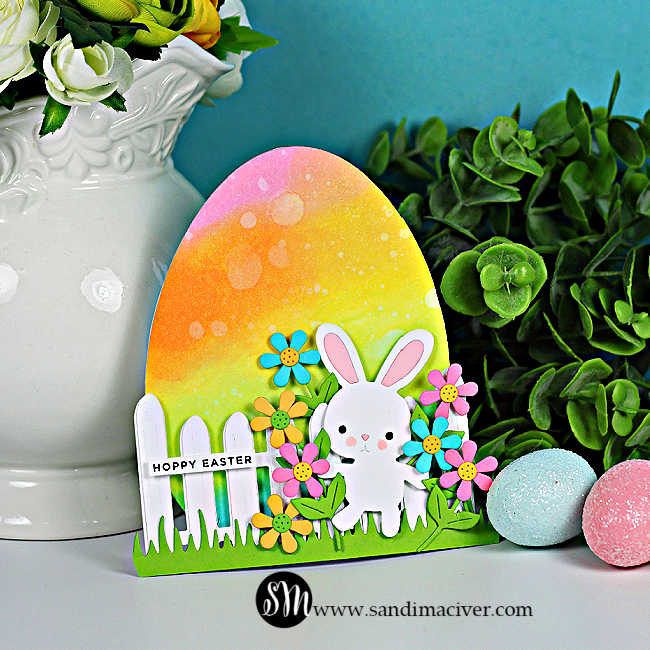
Are you in the mood for spring Crafting? Then this project is for you. Today I’m sharing how to make this adorable Easter Egg-Shaped card that actually stands up on its own – no special base, no complicated folds required. I’ll walk you through how to create the egg shape, blend this bright rainbow background, and use one simple die to turn it into a free-standing card.
I was playing with some of the new Easter dies from the Simon Says Stamp “In My Heart Release, and this design just came together. It’s such a fun project–I can’t stop making them, especially those colorful rainbow eggs!
Video Tutorial
Watch the full step-by-step video below or over on my YouTube Channel:
Products used for today’s New Video: Free Standing Easter Egg-Shaped Card Tutorial
Flower Bunny Dies
Garden Fence Dies
Basic Shapes Nested Eggs Dies
Grassy Edges Dies
Easter EZ Strips
Cardstock Cuts:
Egg- Shaped Card Base: Two panels of white Hammermill Cardstock 4-1/4″ x 5-1/2″
Picket Fence: One panel of white Hammermill Cardstock 4-1/4″ x 5-1/2″
Bunny: White Hammermill cardstock, 2″ x 4-1/4″
Grass: Spellbinders Rainforest cardstock, 1″ x 5-1/2″
Flowers and leaves: 1-1/2″ 5″ strips of Rainforest, Audrey Blue, Cotton Candy, and Doll Pink

Ink Blending with Soft Spring Colors
For the ink blending I used Distress Oxide Inks in a mix of soft spring colors to create a bright, blended rainbow effect.
- Kitsch Flamingo
- Salvaged Patina
- Carved Pumpkin
- Mustard Seed
- Twisted Citron
Create the Non-rolling Egg Shaped Card:
By adding the Garden Fence die cut along the bottom of the egg-shaped card it not only enhances the Easter scene but also stabilizes the design so the card stands up without rolling. It’s a quick and easy step that makes a big impact on the finished card.

If you enjoyed this free-standing Easter egg-shaped card tutorial, be sure to check out the full supply list below and save this idea for your spring cardmaking projects!

Never Miss a Cardmaking Tutorial
Subscribe to my blog and get the latest cardmaking ideas, tutorials, and inspiration delivered straight to your inbox — plus access to exclusive content and updates you won’t want to miss!

Visit my YouTube channel for 270+ cardmaking tutorials, techniques, and creative ideas to inspire your next project
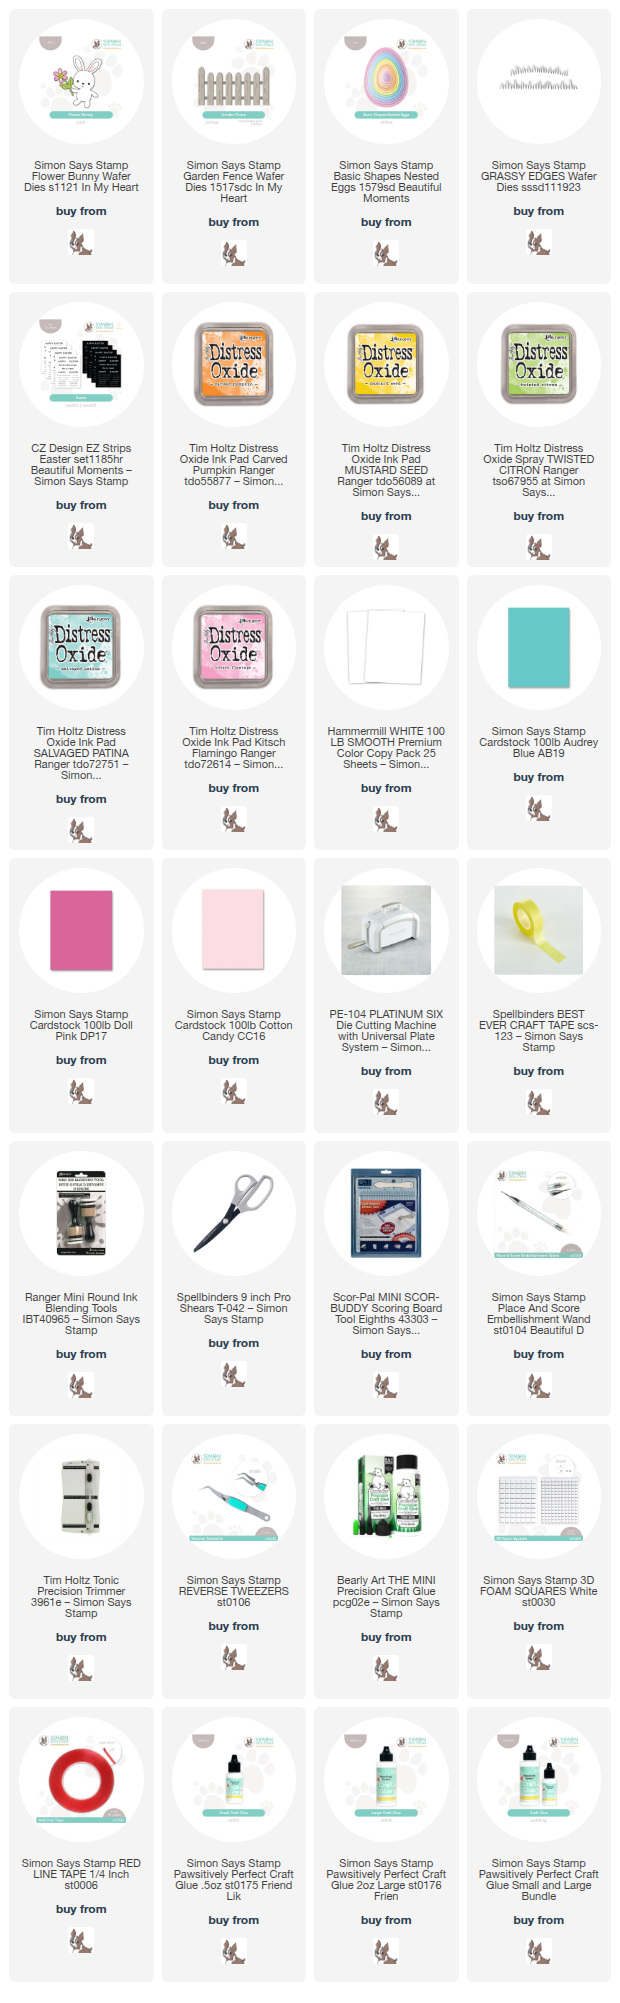
Cardmaking Supplies Used:
Here are the supplies I used to create today’s Free Standing Easter Egg-Shaped Card Tutorial.
Many of the links below are compensated affiliate links. This means if you click through and make a purchase, I may receive a small commission at no additional cost to you.
These commissions help support my website and allow me to continue sharing cardmaking tutorials, videos, and inspiration. I truly appreciate your support.
All products were personally purchased unless otherwise noted. Simon Says Stamp In My Heart products were provided by the company for design purposes.
You can find my full affiliate disclosure on my disclosure page.
Click the icons below each product to shop my favorite stores.
Let’s Connect & Get Inspired
Follow along for more cardmaking ideas, techniques, and tutorials:
- Follow me on Instagram
- Join 38,800+ creatives on Pinterest
- Subscribe to my YouTube Channel
- Follow me on Facebook
- Join my Cardmaking Obsession Facebook Group
FREE Cardmaking Tutorials Library
Looking for more inspiration? Explore my FREE PDF GALLERY with 359+ cardmaking tutorials — packed with ideas, techniques, and step-by-step projects to spark your creativity.

Don’t Miss This Week’s Deals
Lot’s of great paper crafting sales and new releases happening now — check them out here!

Shop My Favorite Craft Brands
Browse my Go to Brands and supplies using my affiliate links.
Oh my goodness, those are so cute!! Love the little bunny, the picket fence and flowers are so sweet too!
Thanks so much Amy
Simply fabulous! The picket fence is perfect to help keep it upright!
thanks Sharon, I sure thought so
Adorable, Sandi! Great to see the use of Distress Oxides; my personal favorite for ink blending. The darker pink gives a lovely contrast to the other flowers. I always love your videos and personal tips.
thanks so much Gayle
That a cute card. I like both colors, but I think the dark pink is the winner!
thank you Karen
As sweet as can be! darling card Sandi