
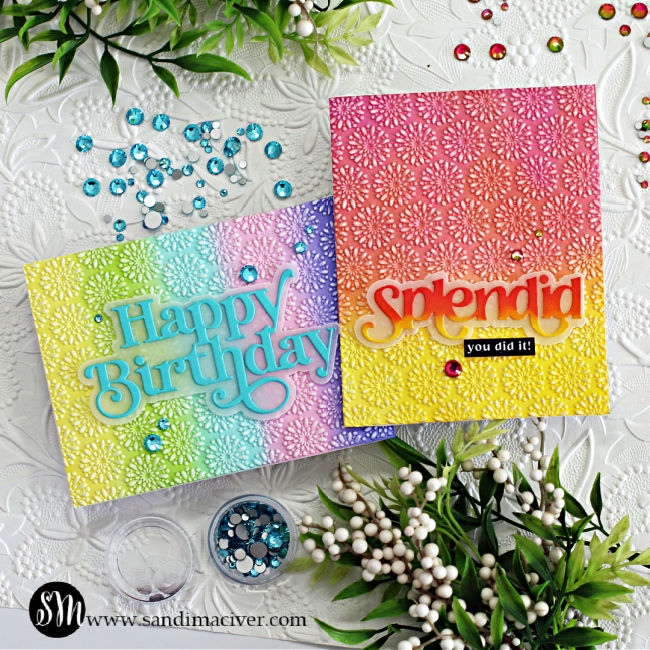
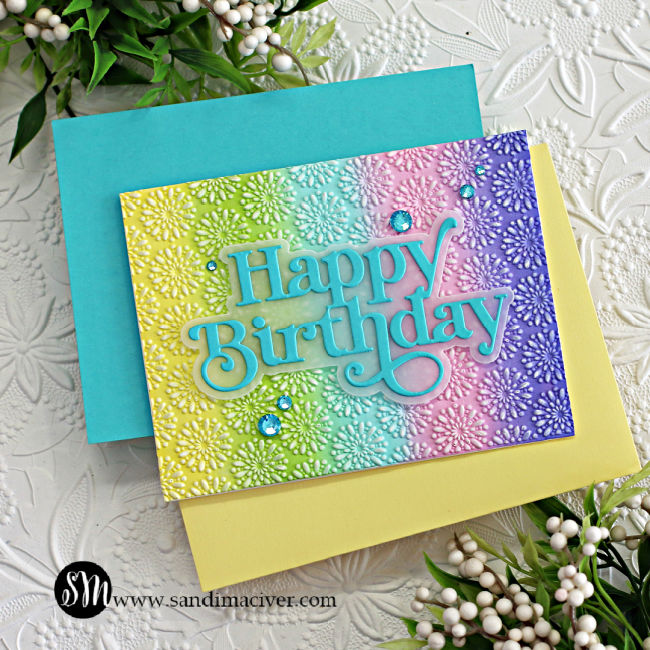
Hey card making friends, welcome back. Today I have two Simon Says Stamp Flower Buds Embossing Folder Cards to share with you. This new 3D embossing folder is from the recent CELEBRATE release. In has a super deep impression of a round blooming flower that is repeated across the folder which when embossed, creates a beautiful background pattern for your cards. Or in the case of today’s cards, is the focal point of my cards.
PLEASE NOTE: This post contains affiliate links. See below for my full disclosure.
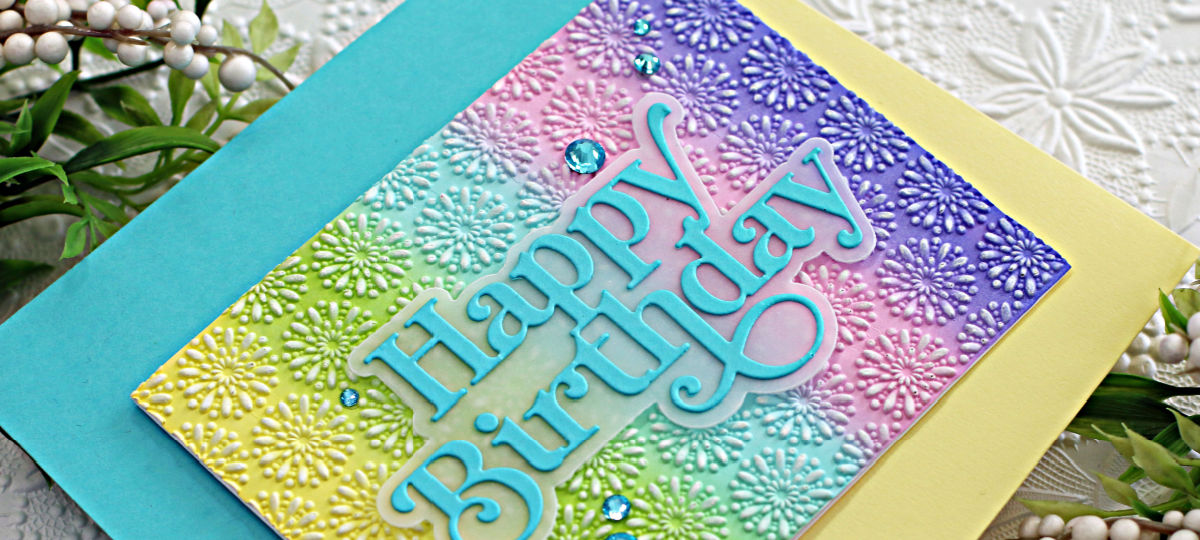
For todays cards I started with some ink blending using Simon’s Positively Saturated Inks. Once blended, I let them dry for a bit, then I spritzed the back of the cardstock with water, placed it inside the embossing folder and ran it through my Platinum 6 Die Cutting Machine. As this is a very deep embossed image, spritzing with water will help the paper fibers stretch instead of tearing giving you a beautiful flawless finish.
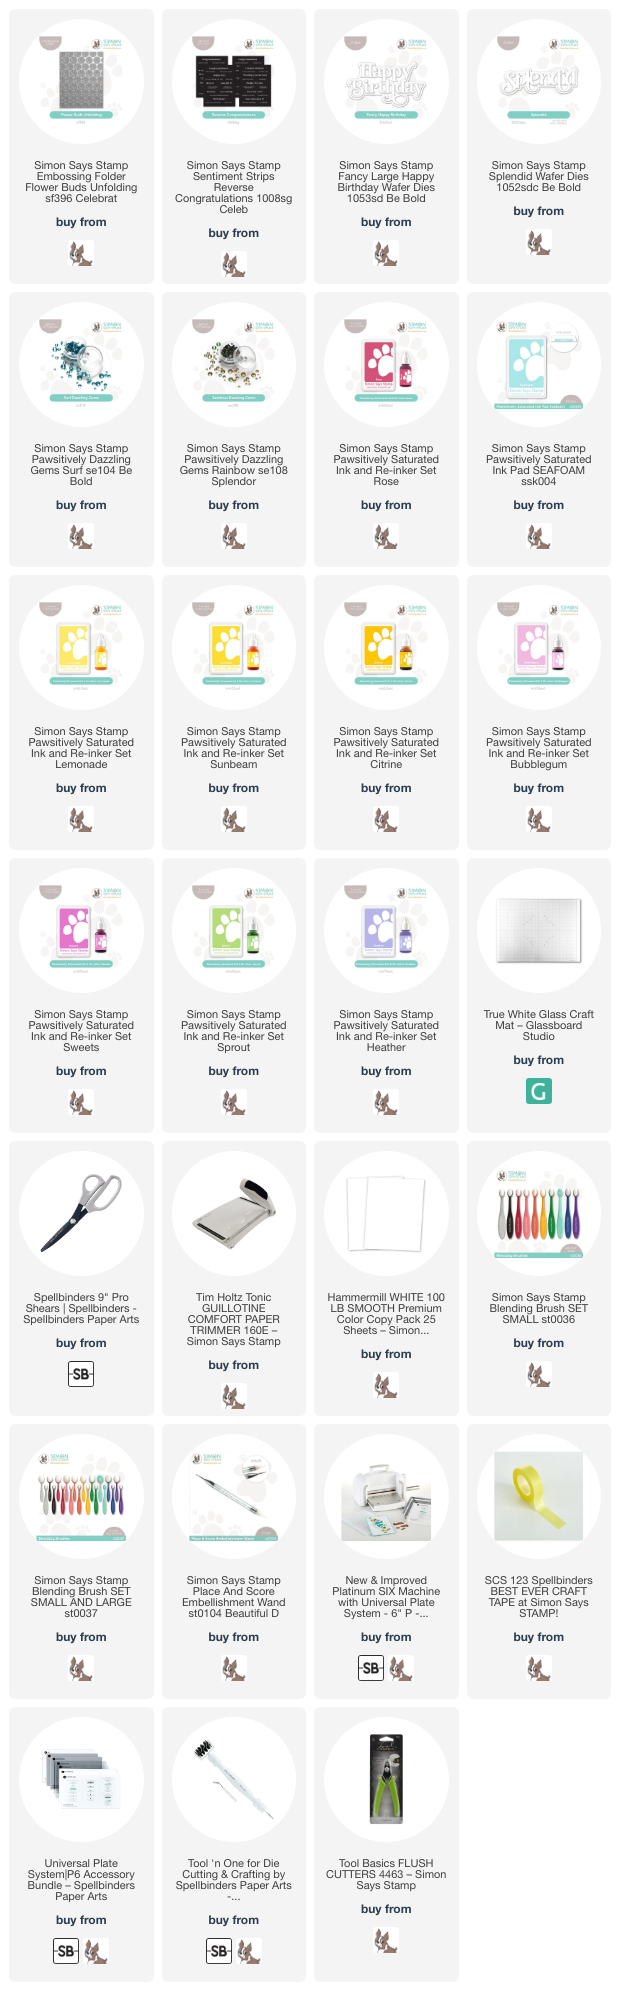
Products used for today’s cards:
- Flower Buds 3D Embossing Folder
- Fancy Happy Birthday dies
- Splendid Dies
- Sentiment Strips Reverse Congratulations
- Pawsitively Dazzling Gems – Surf and Rainbow
- Pawsitively Saturated Inks:
- Rainbow – Lemonade, Sprout, Seafoam, Bubblegum and Heather
- Pink/Yellow: Sweets, Rose, Sunbeam, and Citrine
How to create the Simon Says Stamp Flower Buds Embossing Folder Cards #1
Start by ink blending the rainbow across the 4-1/4″ x 5-1/2″ white card front panel.
Next, spritz the back of the panel with water, place inside the embossing folder and run it through the die cutting machine. Once dry, attach it to a top folding A2 sized card base 5-1/2″ x 8-1/2″, scored and folded at 4-1/4′.
PRO-TIP: this embossing folder is so deep, it will shorten the piece, so be prepared to trim the card base.
Then, if you want the embossing to really stand out, lightly glide a white die ink pad across the top of the embossing to highlight the raised image.
Finally, die cut the Fancy Happy Birthday sentiment die from Audrey Blue cardstock and the shadow from vellum. glue together and use foam squares to attach to the center of the card front.
Embellish with the NEW Pawsitively Dazzling Gems (man, these things are sparkly – you need some). This color is SURF
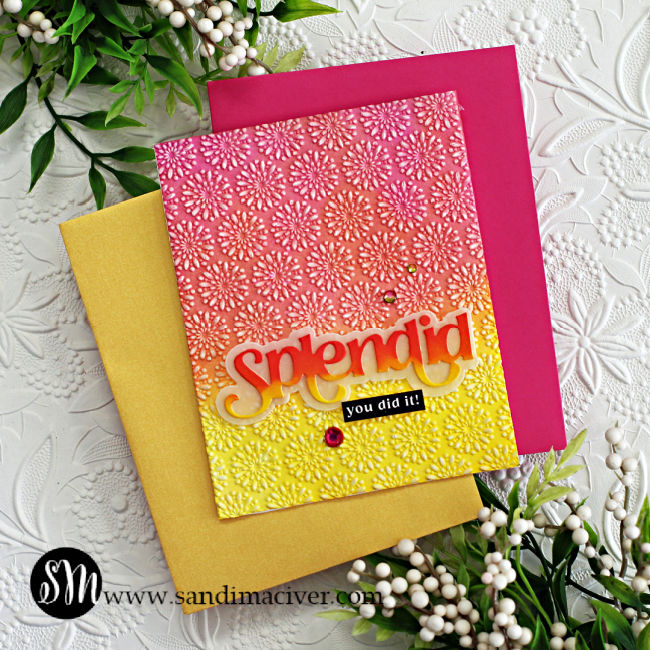
How to create the Simon Says Stamp Flower Buds Embossing Folder Cards #2
Basically the instructions are exactly the same except this card is flipped to a top folding A2 sized card 4-1/4″ x 11″, score and fold at 5-1/2″.
Use the Splendid sentiment die to create the sentiment for this one, and the black printed sentiment is from Sentiment Strips Reverse Congratulations, also part of the new Celebrate release.
PRO-TIP – I ink blended a separate piece to die cut the sentiment so that it would match perfectly with the card
Finally, embellish with the New Rainbow Pawsitively Dazzling Gems.

Visit my Card Making PDF Gallery for 350+ more card ideas

Card Making Supplies used for the Simon Says Stamp Flower Buds Embossing Folder Cards :
Here are the products I used today. Compensated affiliate links used where available at no cost to you.
Clicking on a thumbnail link and shopping provides me with a small commission which supports my website and allows me to continue bringing you new projects and videos. Thank you for your support. Affiliate and product disclosure are found on my disclosure page. All products were personally purchased except for Simon Says Stamp Flower Buds Embossing Folder which was provided/sponsored by the company. As always, I was not paid to do this post. I only use and recommend products I love. Click on the icons below each product picture to go to my favorite stores.


-
-
- Follow me on INSTAGRAM
- Join 38,000+ following me on PINTEREST
- Subscribe to my YOUTUBE Channel
- Follow me on FACEBOOK
- JOIN my STAMP OBSESSION Facebook Group
- Check out my FREE PDF Gallery for over 350+ Card Making Tutorials
- How to make a SLIMLINE CARD – Info PAGE
- Do you like to stitch on cards? Then join our NEW FACEBOOK GROUP
-

– LOTS of great Paper Crafting Sales and New Releases going on this week – Check them out here
 Shop my Favorite Brands with my affiliate links
If you do place an order using my affiliate links (and thank you if you do) – please email me with the $$ amount before tax and shipping, and which company it was placed through, along with your mailing address and I’ll send you a hand made card as my thank you. [email protected]
The reason I ask for that specific info is the system that tracks the sales only gives us a dollar amount and company name, we do not know who made the sale.
This embossing folder looks amazing!! Your cards are fantastic!
Lori S in PA
thank you Lori, I LOVE this embossing folder, using it again on a card today that you will see tomorrow for the IG hop
Beautiful, fabulous, gorgeous, splendid, wonderful, magnificent, awesome,
terrific, super! Love this folder and what you have done with it!
haha, thank you Sharon,
What a beautiful embossing folder that creates such a simple, but fun card. I love your idea of using vellum for the shadow die and also inking a separate piece for the sentiment to match the card colors.
thank you Gayle, I always do that, I am very much a matchy matchy girl, haha
Awesome cards Sandi! Love the die cut sentiments, pretty colors too! 🙂
THANKS SO MUCH AMY
These colors are STUNNING 💛
thanks so much Natasha
Outstanding and exquisite results.. Sandy, I appreciate your sharing your details on your blog too xx
thank you Annie, super easy, but super fun too
fun embossing folder and two beautiful cards!
thank you Lisa
Wow how beautiful is this!! I purchased (thru your link!) almost everything you used and can’t wait to try this! One thing that really struck me with this project that I just had to ask you about… How the heck did you get such straight blends and evenly blended so all of the columns are exactly the same width??? Did you use a regular blending tool or perhaps one of the mini tools from Altenew? I just loved it and if you don’t mind sharing your secret, I would be very appreciative!
Thank you so much for the inspiration!
Hi Amy, first, thank you on the cards and thank you for using my link, please send me your mailing address so I can send you a thank you card.
For the blending, I use the small brushes from Simon Says STamp, their heads are small enough that you can get that many colors across the front of a card and blend them easily.
Have fun creating