
Hey cardmaking friends, it’s Sandi here and I have a couple of cards to share with you today created with the Spellbinders Floral Beauties and Layered Wildflowers stamp sets.
These are new stamp sets designed by Sushma Hegde and they are so light and fun I really enjoyed creating with them.

I’ve noticed a few of my cardmaking friends have been knocking the dust of their Gel Presses and getting busy with them again. I love this idea so I dug mine out.
I decided to try Distress Oxide Inks for my blend and I just love how these backgrounds turned out. They remind me of a silk screen.

We use our Misti’s for stamping, but it’s also a great place to put your Gel Press. That way you can turn it, pick it up, tip it to make ink run, all kinds of fun things.
I admit, I was pretty boring with my print today, I simply added Mowed Lawn and Peacock Feather ink direct from the ink pad.
Next, blend it with a brayer and cover with a clean piece of white card stock.
Rub all over with your fingers and gently pull the card stock up to reveal your print. I turned it to vertical for the next card and I didn’t even clean it, I just added more ink again and pulled a print.
Stamp the florals in black ink and when dry, fill in the flowers with a Sakura White Gelly Roll #10

Spellbinders Floral Beauties Card #2
For the second card, the instructions are the same except use Mowed Lawn to stamp the stems and leaves.
This is the Layered Wildflowers stamp set, and that large flower has two layers of ink. I used Worn Lipstick and Picked Raspberry. I love the chalky look and how they blended. The darker ink on the small florals is Seedless Preserves.
Of course, the Misti also made short work of this layered stamping as I was able to line up the stamps perfectly.
Once all the ink was dry, splatter both panels with white, green blue and gold Gansai Tambi watercolors. I just love a little splatter don’t you?
Cut out the panels with the Essentials Rectangle dies
White heat emboss the sentiment on black for both cards.
Glimmer foil the mat with the Spellbinders Essential Duo Lines Glimmer Hot Foil Plate to add the perfect two layer gold bling around your art piece.
Finally, attach to a A2 card base.

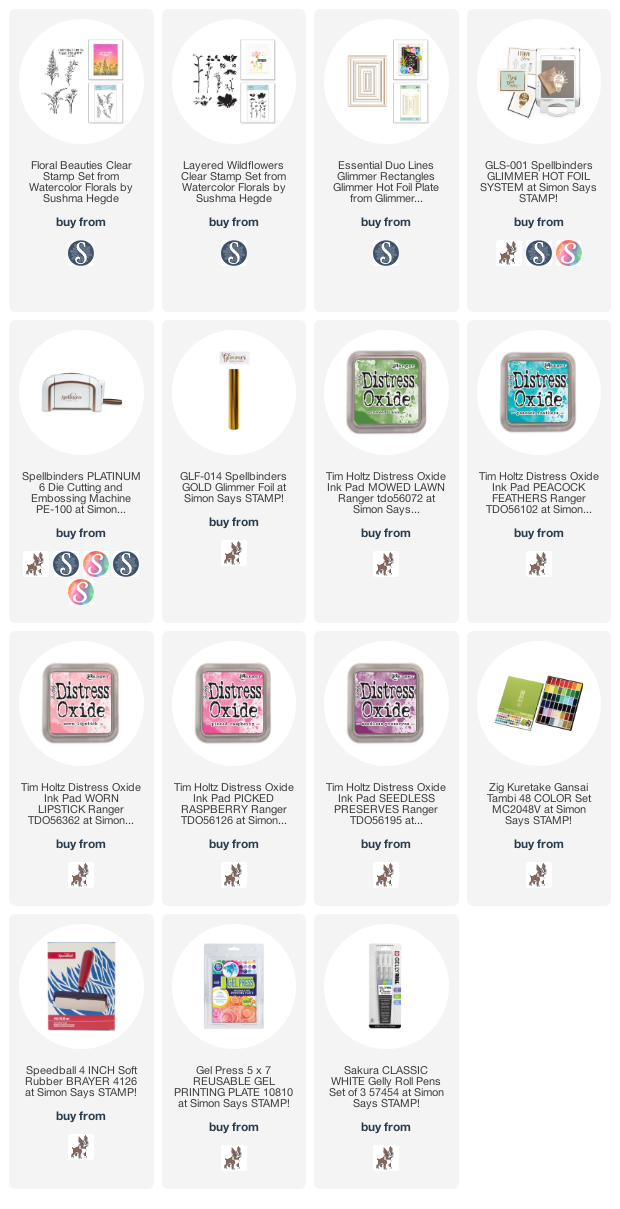
used for the Spellbinders Floral Beauties Cards:
Want to find the products I used? I have them listed below. Compensated affiliate links used at no cost to you.
Thank you for your support, it helps to cover my blogging and video expenses.


-
- Follow me on INSTAGRAM
- Join 37,500+ following me on PINTEREST
- Subscribe to my YOUTUBE Channel
- Follow me on FACEBOOK
- Check out my FREE PDF Gallery for over 250+ Card Tutorials
- How to make a SLIMLINE CARD
 – LOTS of great sales and New Releases going on this week – Check them out here
 <<<<Click to shop through me at my favorite brands
Oh my goodness! How pretty!! Love the color and your designs are fantastic! 🙂
thanks Amy, fun, fast and easy, just what you need some days, LOL