
Hey, crafty friends! Today, I’m excited to join a fun Instagram Hop with Altenew to celebrate their 12th Anniversary. You can start the hop over on my Instagram page and follow along with lots of beautiful inspiration from an amazing group of designers.
Giveaways:
Altenew is giving away twelve $50. gift cards – yeah! There are also 22 talented companies and crafty friends celebrating along with us. For your chance to win, be sure to visit each stop along the Instagram Hop and leave a comment by April 12, 2026. Winners will be announced on the Altenew Blog on April 13, 206.
Sulfer Cosmos Card | Smooshed and Stenciled Background
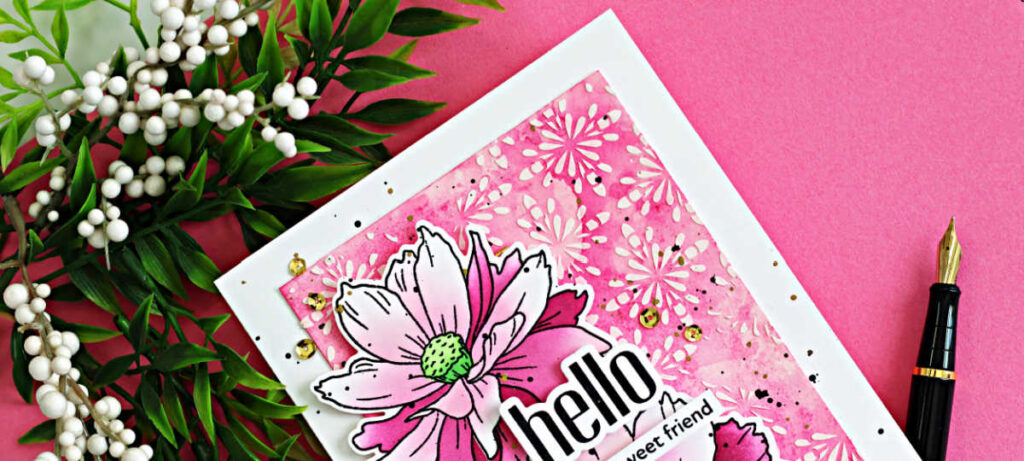
For today’s project, I’m sharing a Sulfur Cosmos Card created with the Sulfur Cosmos Stamp, Stencil and Die Bundle. The flowers are ink blended through the stencil, then die cut and layered over a coordinating ink smooshed background.
To add even more depth and texture, I used the background stencil with white relief paste over the background, keeping the color palette cohesive while adding dimension. A few ink splatters finish off the design, bringing extra movement and interest to the card.
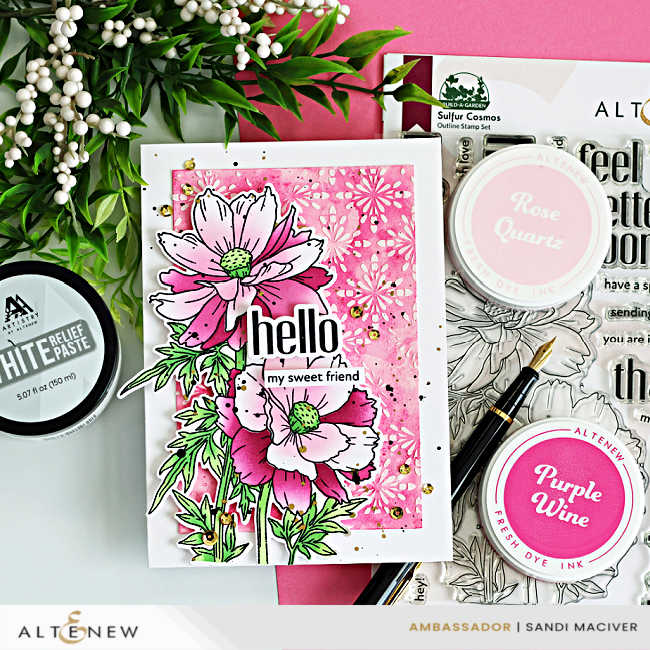
Products used for the Sulfur Cosmos Card:
- Altenew Sulfur Cosmos Stamps, stencils and add on die
- White Relief Paste
- Ink: Rose Quarter, Puffy Heart, Purple Wine, Cosmic Berry
- Firefly, Grass Field, Shadow Creek
- Gold Sequins
How to create the sulfur Cosmos Card | Stenciled and Smooshed Background:
Create the Card Base:
Cut a panel of Hammermill White cardstock to 7″ x 10″, score and fold at 5″ to create your card base.
Next, trim a piece of watercolor cardstock to 4″ x 6″. Using Puffy Heart and Purple Wine Inks, create an ink smooshed background. Allow the panel to dry completely.
Once dry, place the stencil from the set, over the panel and use a palette knife to apply White Relief Paste down the right side to add texture.
Let the panel dry thoroughly, then adhere it to the front of the card base.
PRO-TIP: Clean your stencil and palette knife immediately after use to prevent the paste from drying and becoming difficult to remove.
Create the Art Piece:
Cut a panel of Hammermill White cardstock to 5″ x 7″. Stamp the Sulfur Cosmos image with VersaMark Ink and heat emboss in black.
Place the panel on a sticky mat and use the coordinating stencils to ink blend the flowers, starting with lighter shades and building up to the darker tones for depth.

I have a video HERE showing how to accomplish this, using blue inks
Die cut the image using the coordinating die.
Stamp and die cut both a large and small sentiment from white cardstock.
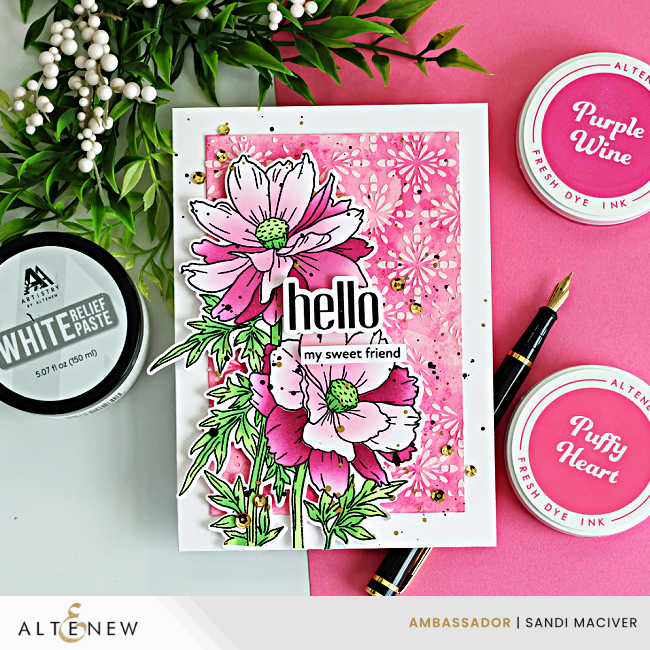
Assemble the card:
Use foam squares to adhere the floral image to the left side of the card base.
Add the sentiments, layering them slightly over the floral design for dimension.
Finish by splattering the card with gold and black ink, then add a few gold sequins for extra sparkle and interest.
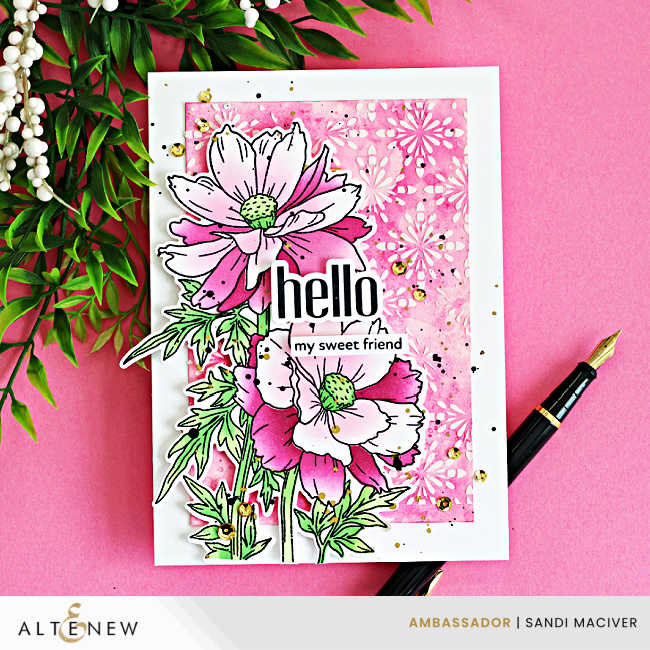
PRO-TIP:
For a cohesive look, use the same ink colors for both your ink smooshed background and your stenciled flowers. This keeps the design unified while still allowing the layered stenciling and texture paste to add depth and contrast.


Never Miss a Cardmaking Tutorial
Subscribe to my blog and get the latest cardmaking ideas, tutorials, and inspiration delivered straight to your inbox — plus access to exclusive content and updates you won’t want to miss!

Visit my YouTube channel for 270+ cardmaking tutorials, techniques, and creative ideas to inspire your next project
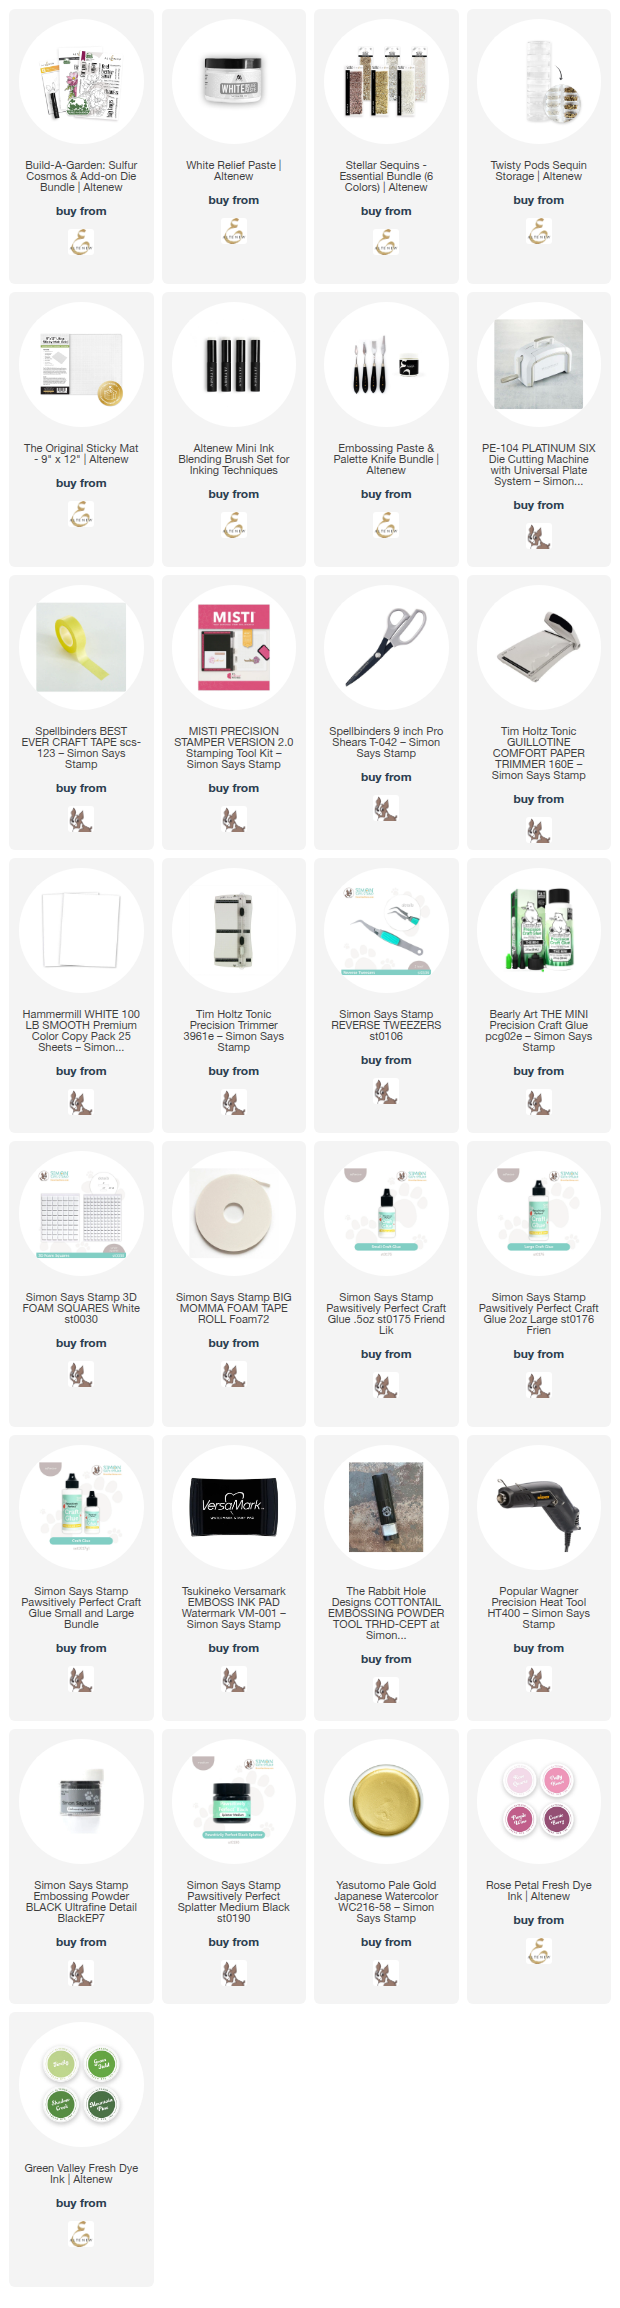
Cardmaking Supplies Used:
Here are the supplies I used to create today’s Sulfur Cosmos Card..
Many of the links below are compensated affiliate links. This means if you click through and make a purchase, I may receive a small commission at no additional cost to you.
These commissions help support my website and allow me to continue sharing cardmaking tutorials, videos, and inspiration. I truly appreciate your support.
All products were personally purchased unless otherwise noted. the Altenew Sulfur Cosmos Bundle was provided by the company for design purposes.
You can find my full affiliate disclosure on my disclosure page.
Click the icons below each product to shop my favorite stores.
Let’s Connect & Get Inspired
Follow along for more cardmaking ideas, techniques, and tutorials:
- Follow me on Instagram
- Join 38,800+ creatives on Pinterest
- Subscribe to my YouTube Channel
- Follow me on Facebook
- Join my Cardmaking Obsession Facebook Group
FREE Cardmaking Tutorials Library
Looking for more inspiration? Explore my FREE PDF GALLERY with 359+ cardmaking tutorials — packed with ideas, techniques, and step-by-step projects to spark your creativity.

Don’t Miss This Week’s Deals
Lot’s of great paper crafting sales and new releases happening now — check them out here!

Shop My Favorite Craft Brands
Browse my Go to Brands and supplies using my affiliate links.
Just beautiful Sandi! Love the colors and the background is amazing! 🙂
thanks so much Amy, I’ve been having fun with backgrounds lately
Awesome! Love all those pinks and that super bright green!
thank you Sharon
As a lover of pink, I have to say this is my kind of card! Really beautiful, Sandi. The smooshed and textured background is a really beautiful base for the gorgeous flowers.
thank you Christine, I had a lot of fun making this one
What a lovely card. I love the color as well as the dimension that you added to the ink-smooshed background with the white paste. Thanks for all the inspiration.
thank you Carole
Totally in love with this card! All that pink makes my heart sing! Bravo Sandi!
thank you Lisa, I was happy with the outcome, I love playing with paste